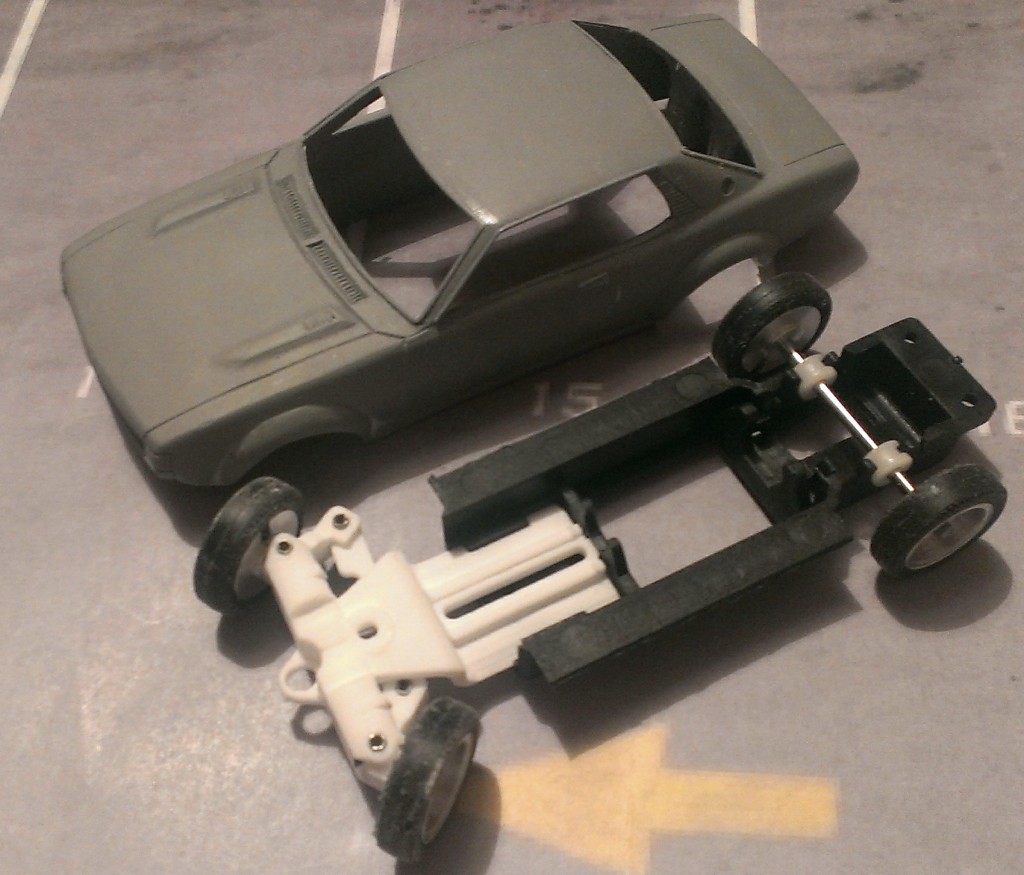
The Slot Classic / PCS32 chassis is very common and many builders put it under some magnificent bodyshells. Whilst the chassis is good value and very adaptable, I thought that adding steering would make the cars look much better, reflecting the impressive bodyshells. The main issue was that the chassis is used under cars of very different sizes, so as well as retaining the adjustable wheelbase, it also needed to handle different widths. And as people use different size wheels, the guide blade would need to be raised or lowered to suit.
The solution takes inspiration from my other chassis so many parts are similar, although nothing is identical.
There are 4 width options
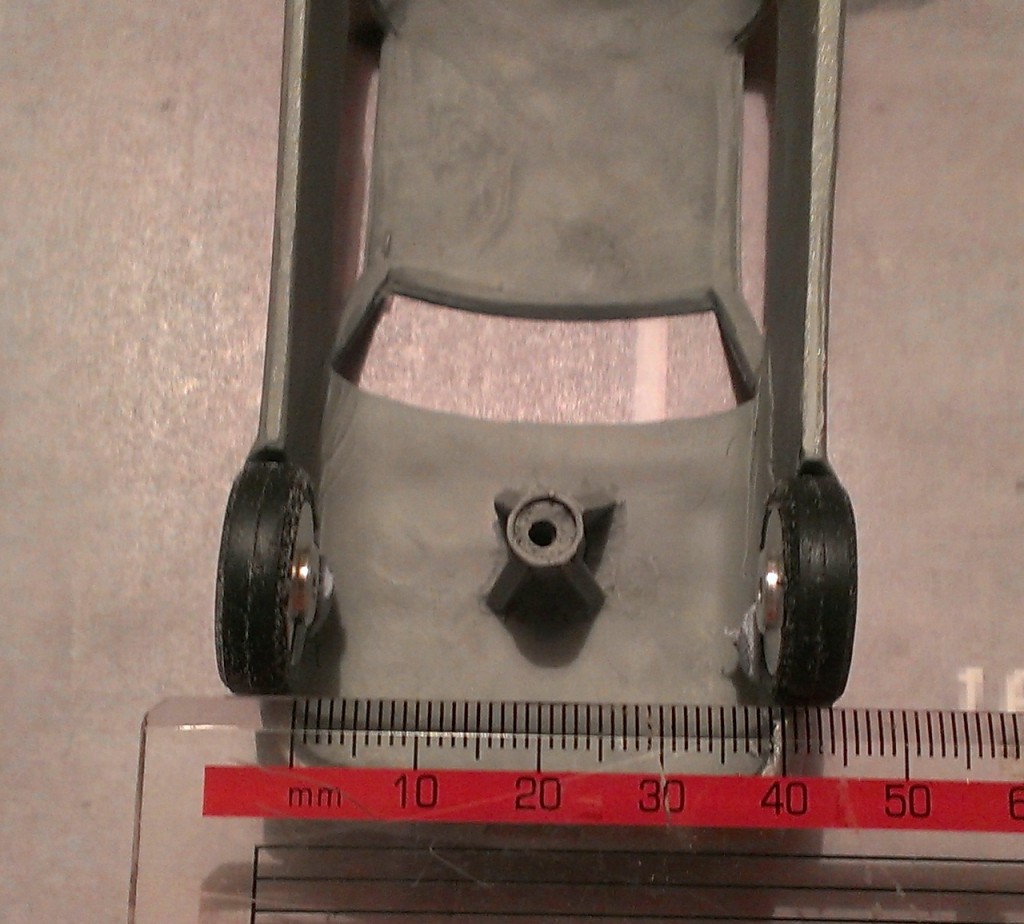
28mm, 32mm, 36mm, 40mm. This is the width as measured across the hubs. If you’re converting an existing slot car, measure from the inside of the left wheel to the inside of the right wheel. Below you can see it’s about 38mm so I used the 36mm version.
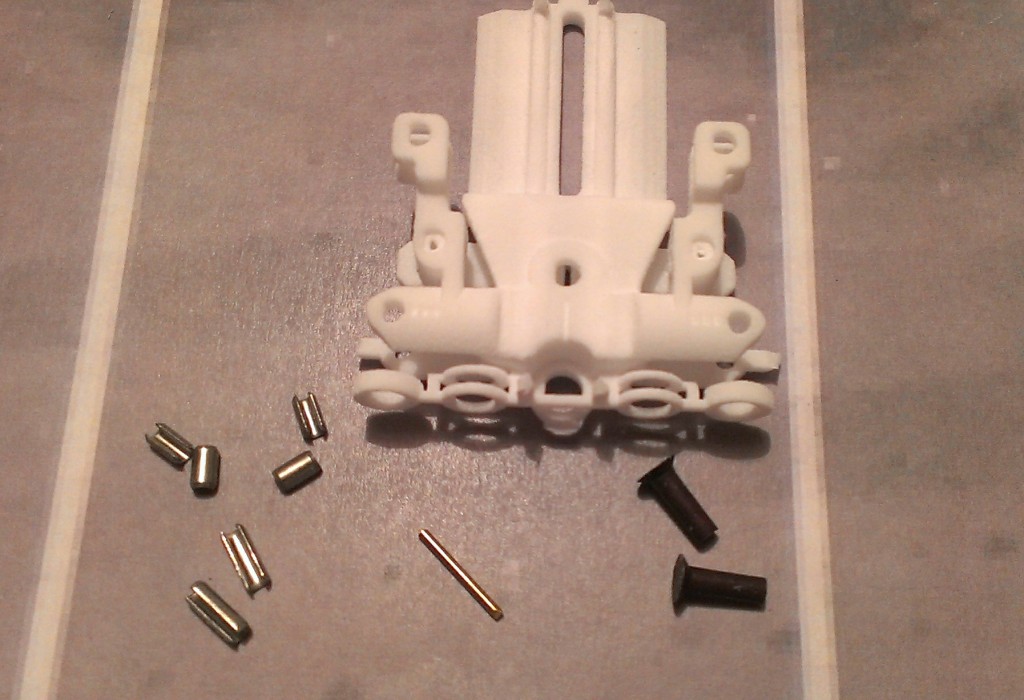
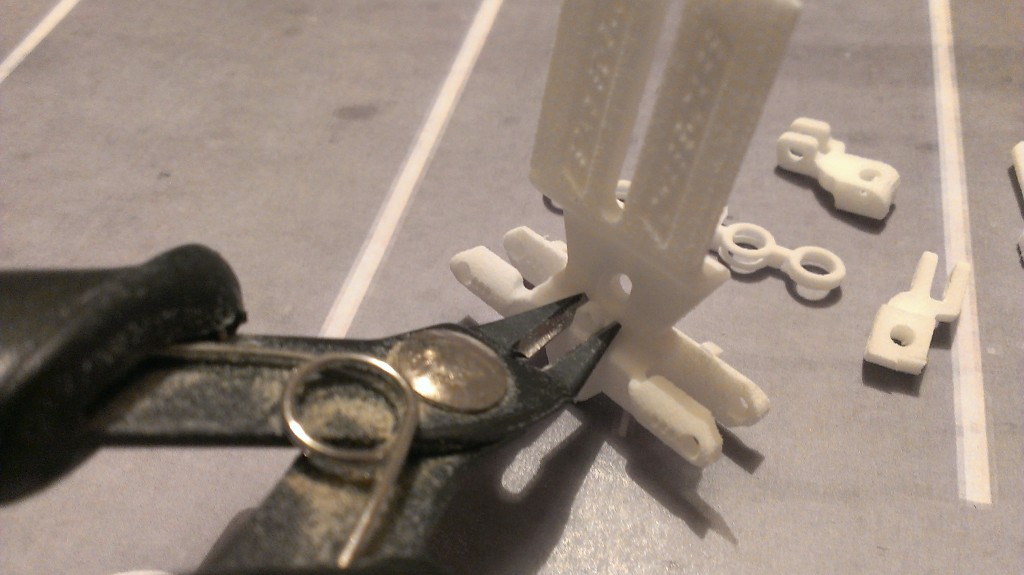
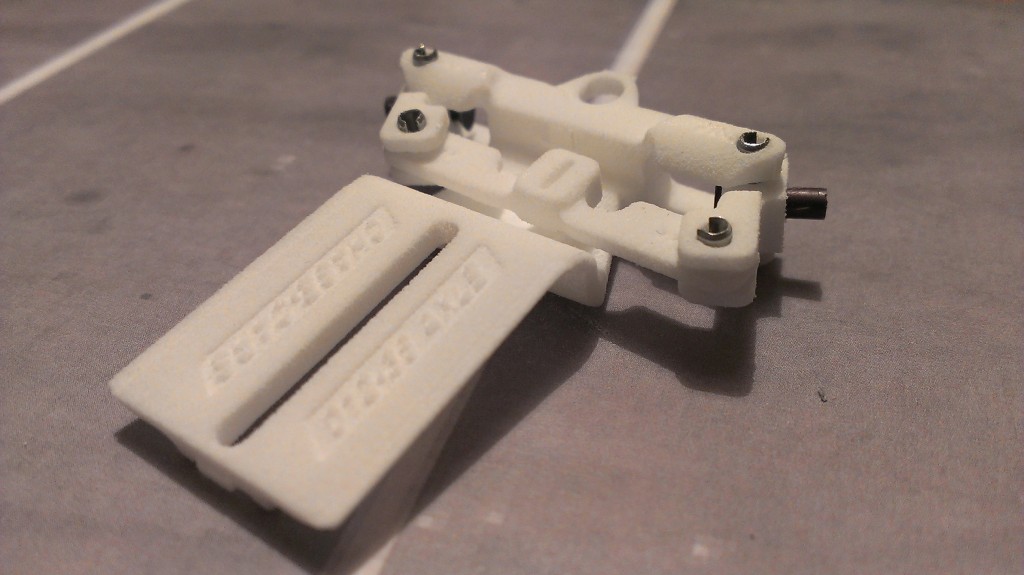
Below is what you get in the kit; plastic parts on a sprue, 4 kingpins, 2 steering pins, 2 stub axles and a 1mm pin for the guide.
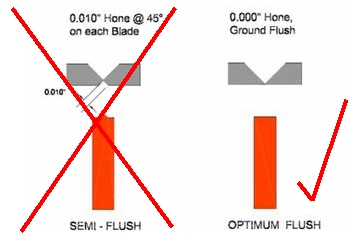
The SLS material doesn’t really take a file or sandpaper well, so your tools will need to be a sharp knife or cutters.
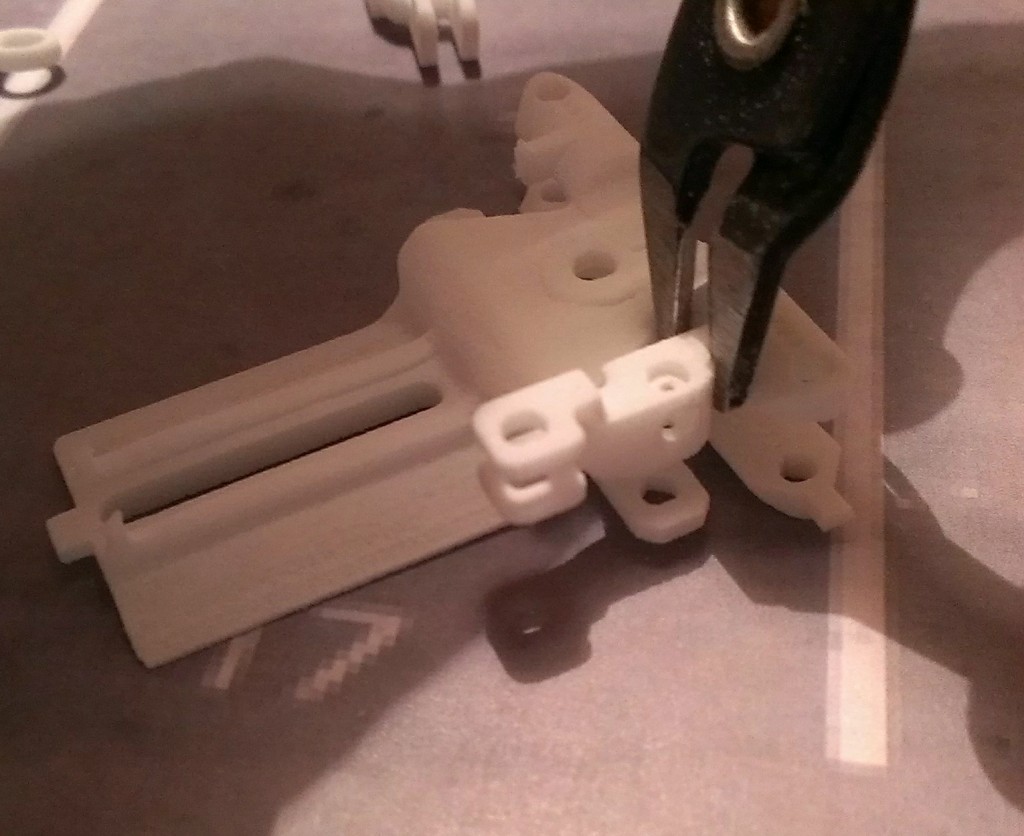
Everyone knows what side cutters look like, see below

But my life was transformed when I found flush side cutters, the jaws look like this, ground flat.
They allow you to snip very close to what you’re cutting and saves a lot of work with a scalpel and files later on.
Cut off the spacers for the guide.
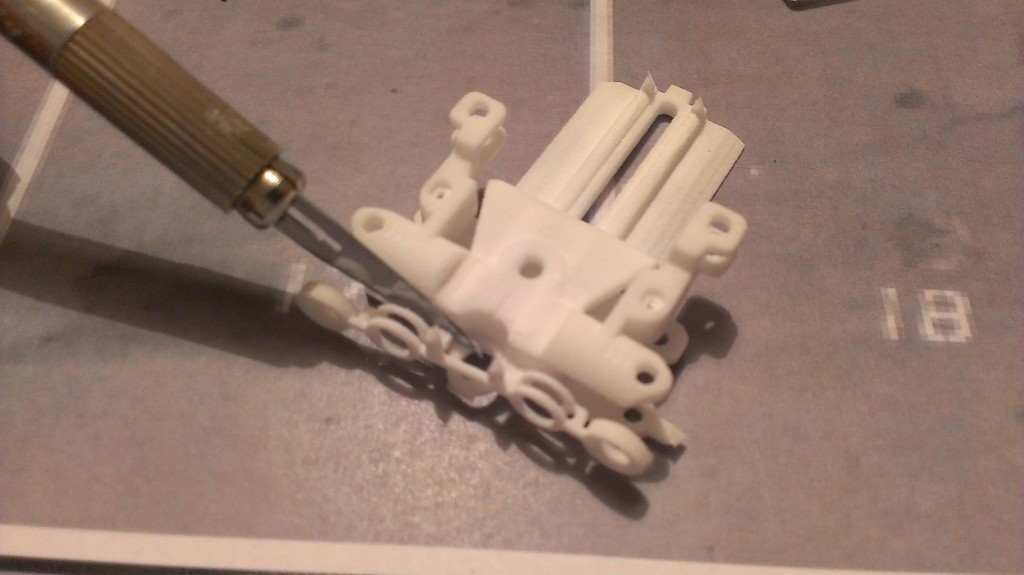
Then cut off the hubs
And finally the steering link underneath
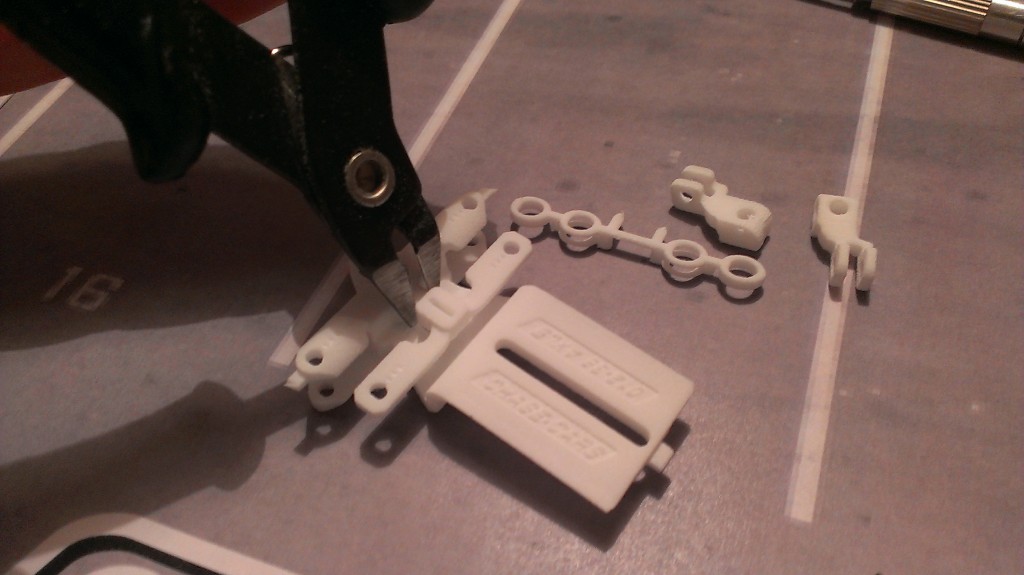
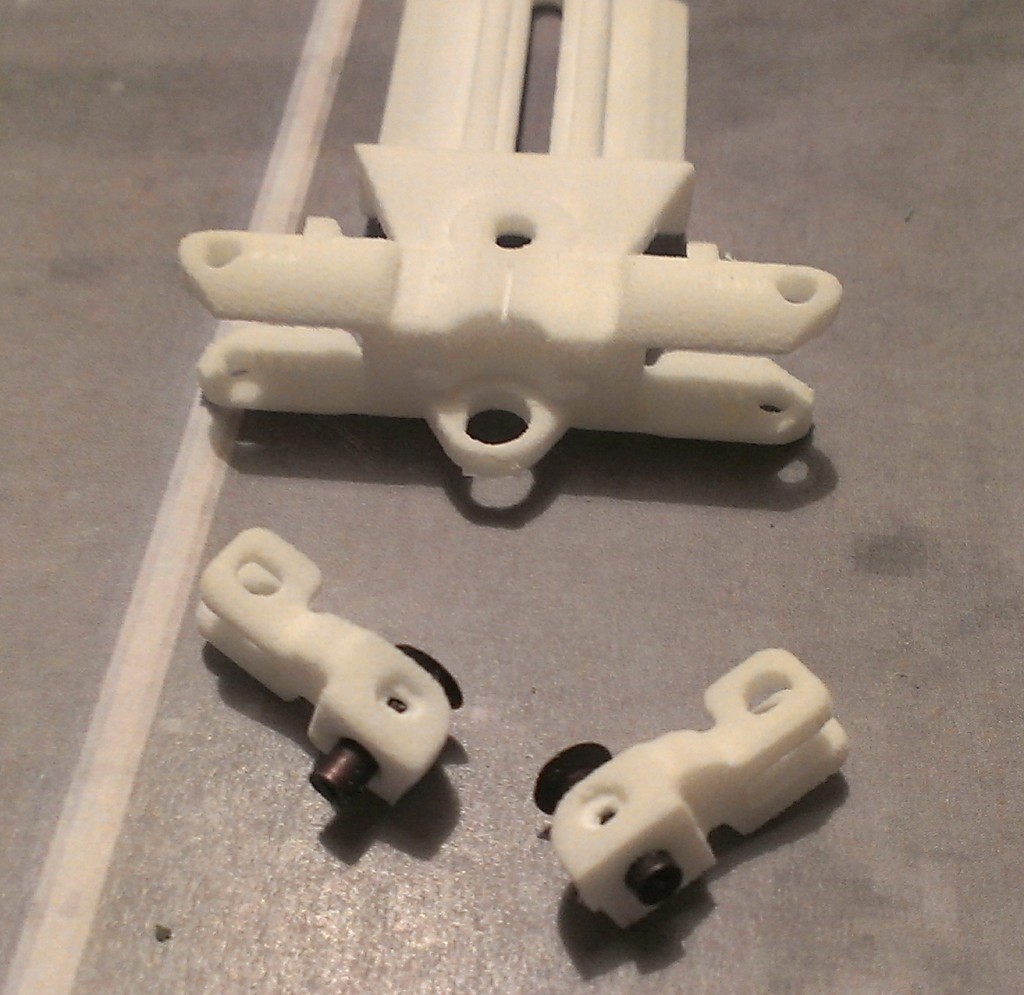
These are the parts off the sprue
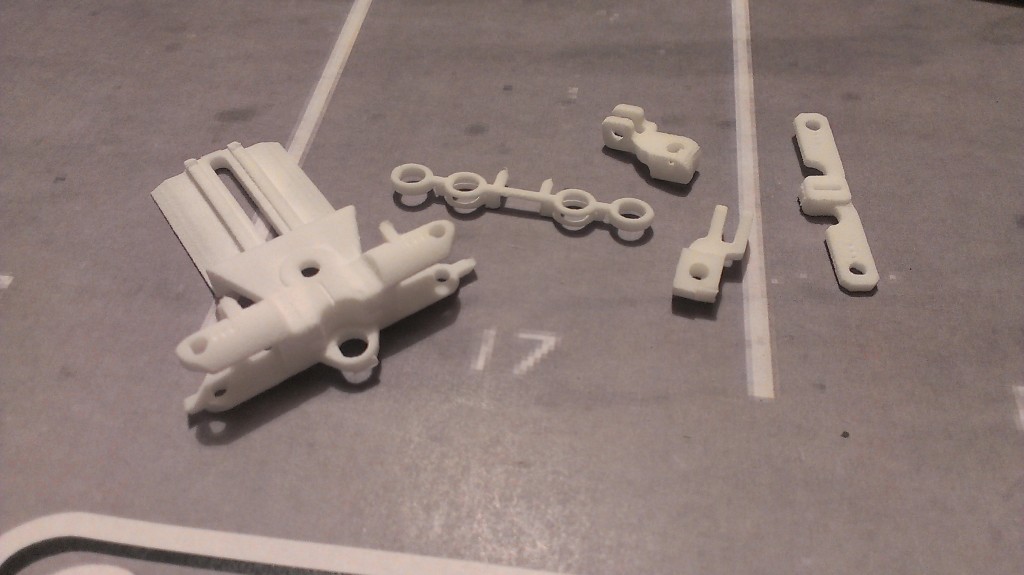
Clean up the sprue from the parts, this is underneath the main axle part where the steering link connected. Read ahead and look at the pictures to make sure you don’t cut anything vital off!
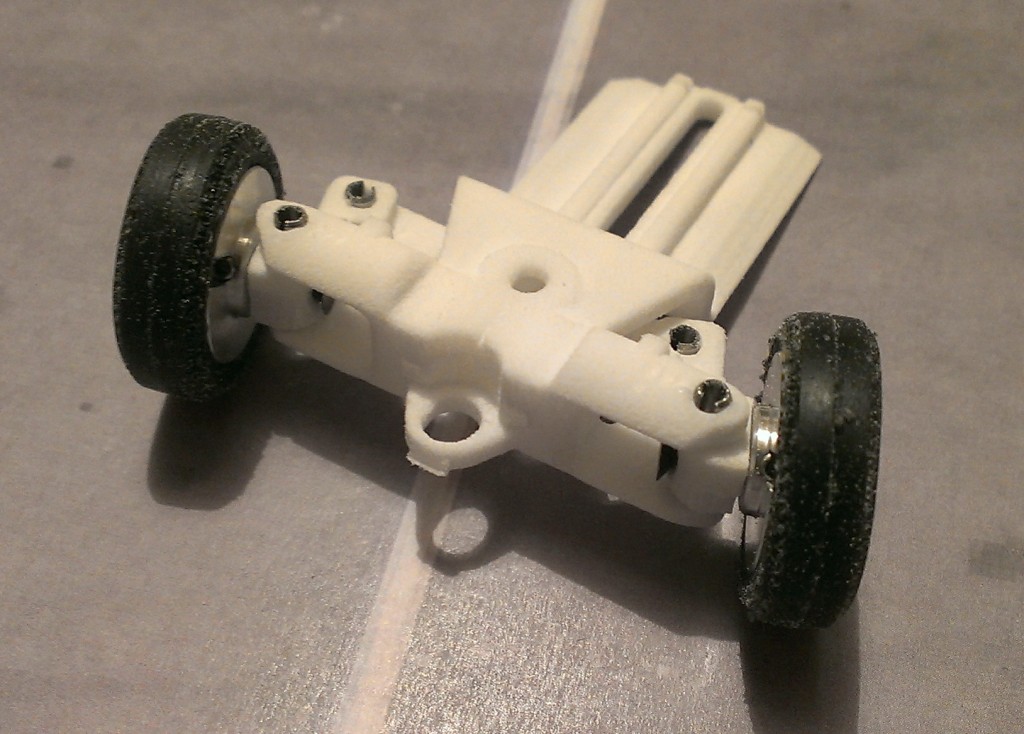
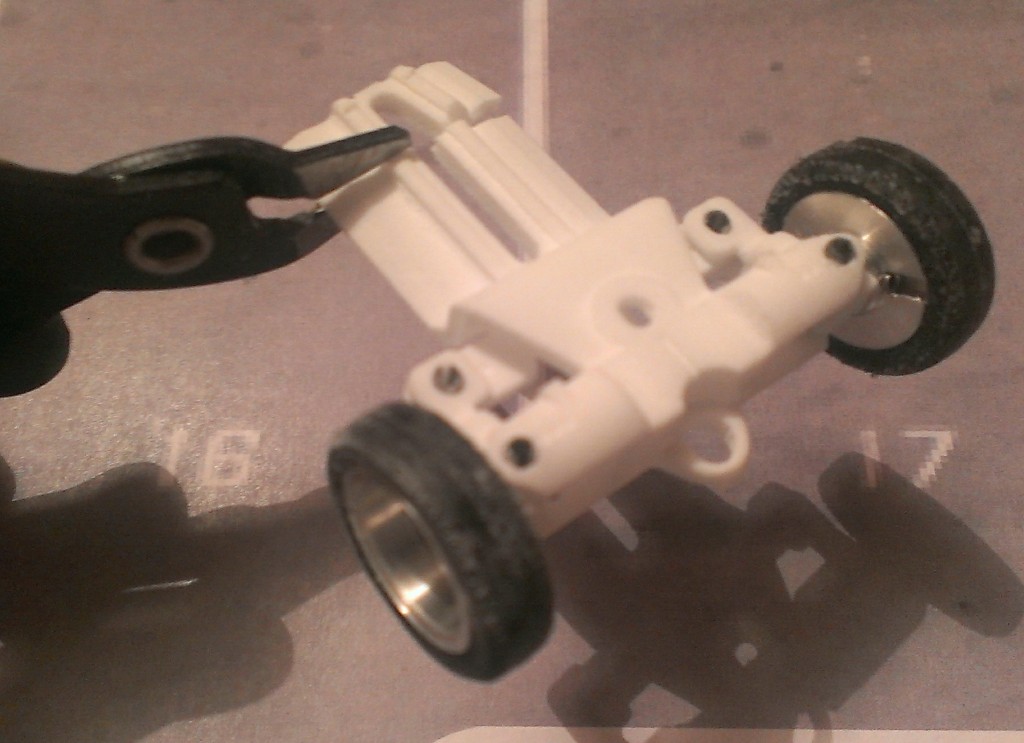
Push the stub axles into the hubs as shown. The wheels go onto the flat face of the hub, the back of the stub axle goes onto the slightly curved face.
Then using some pliers, push in the 4 short kingpins through the axle beam so they just poke through a little
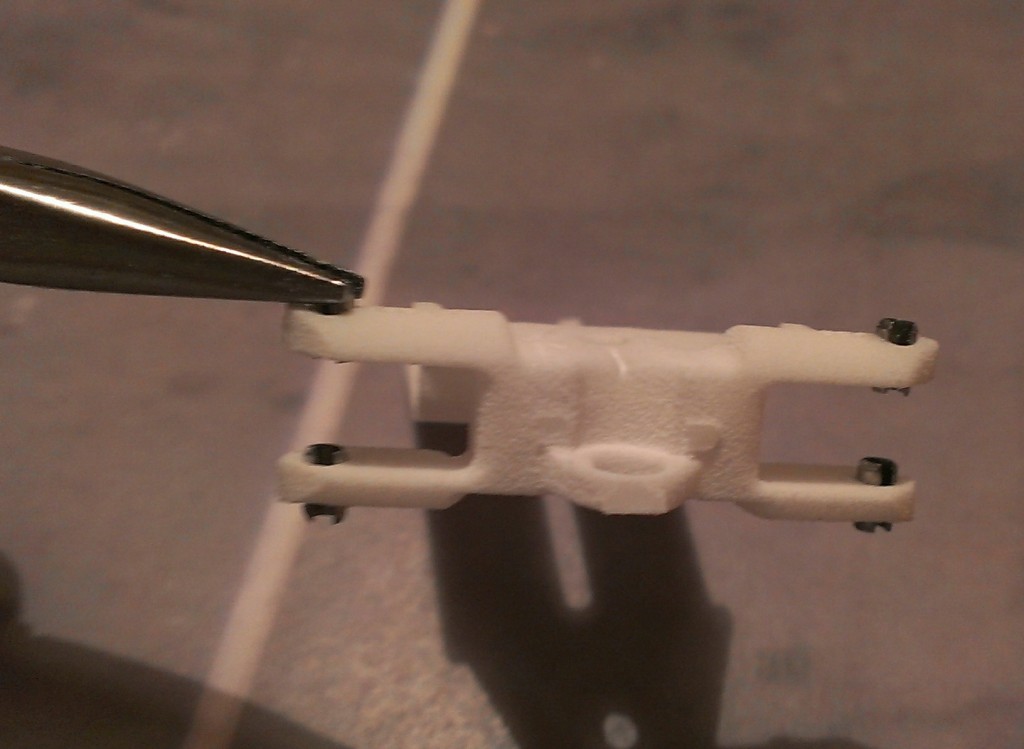
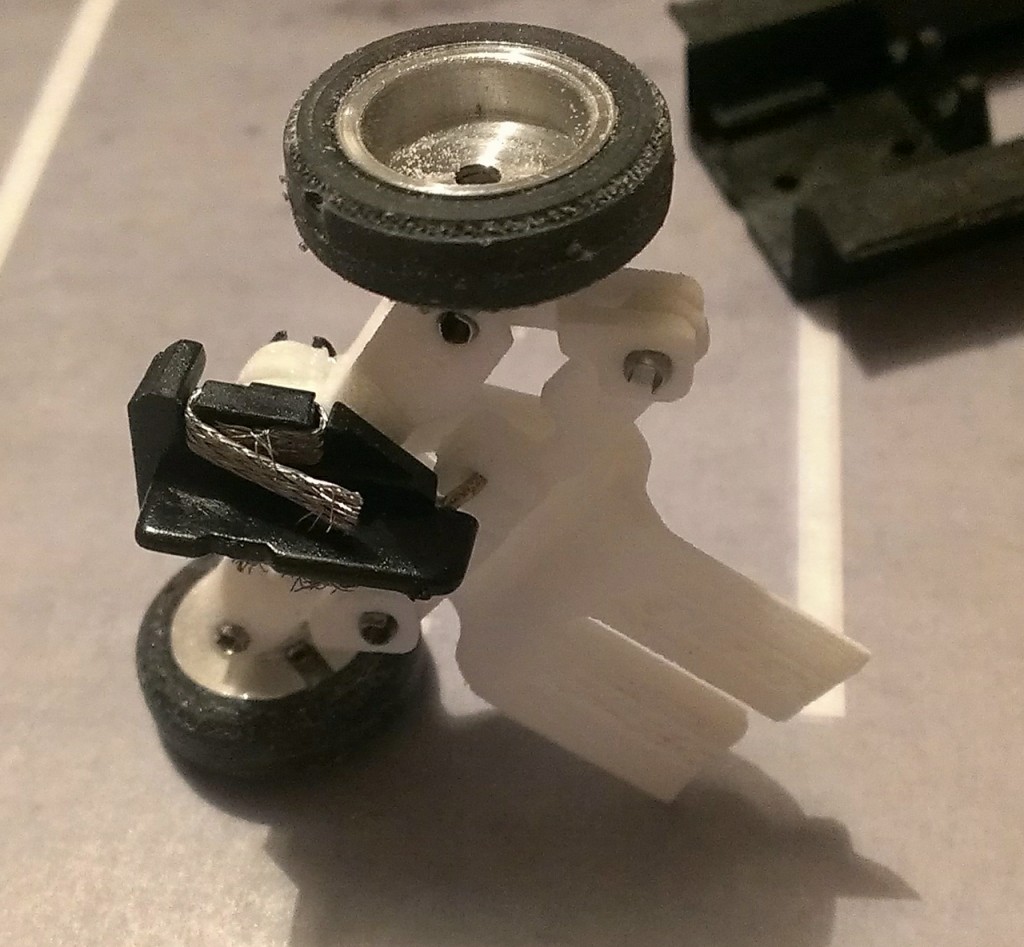
Now insert the hubs (check orientation, the tail of the hubs goes downwards), and squeeze down on the kingpins
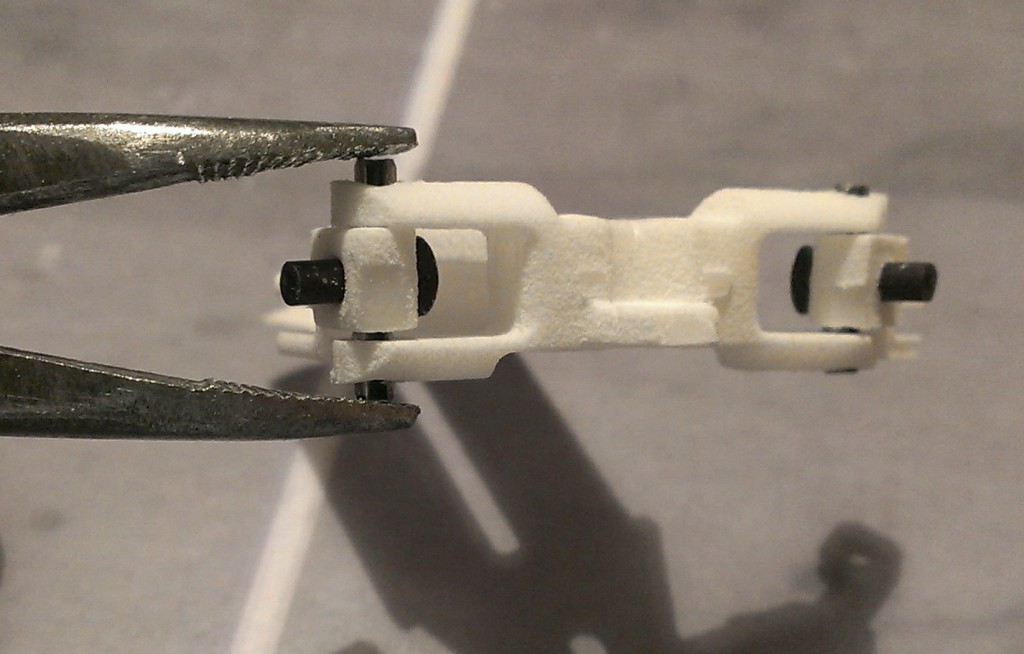
I’ve turned the frame upside down for this photo. Take the 2 longer pins and insert into the back of the hubs. These will connect the steering linkage.

As before, push them into the linkage. Make sure you get it in the right way, the round cut-outs must face the front of the chassis.
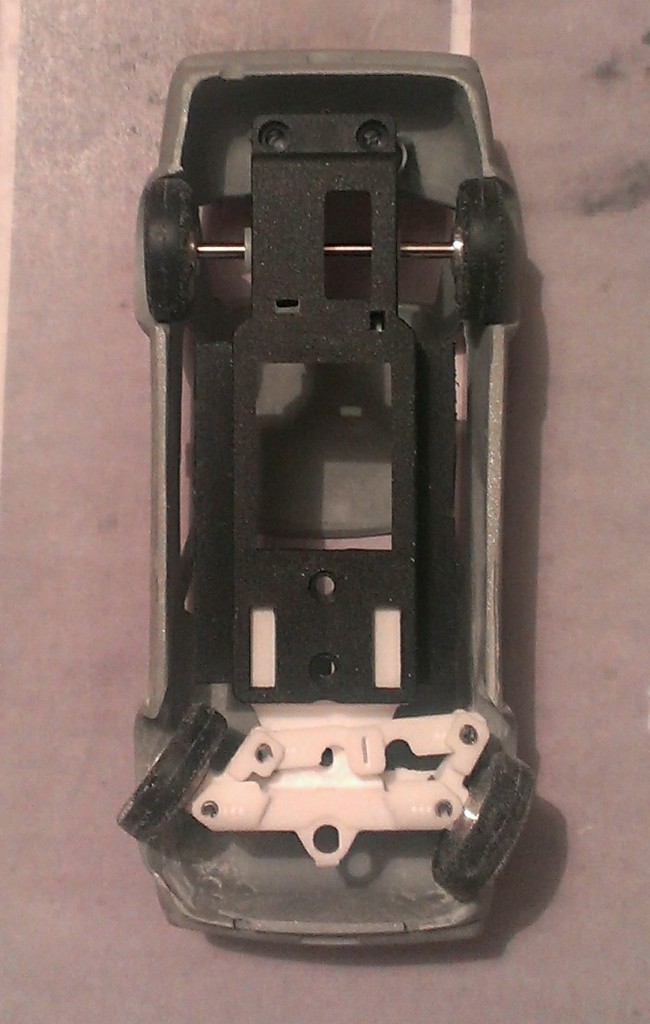
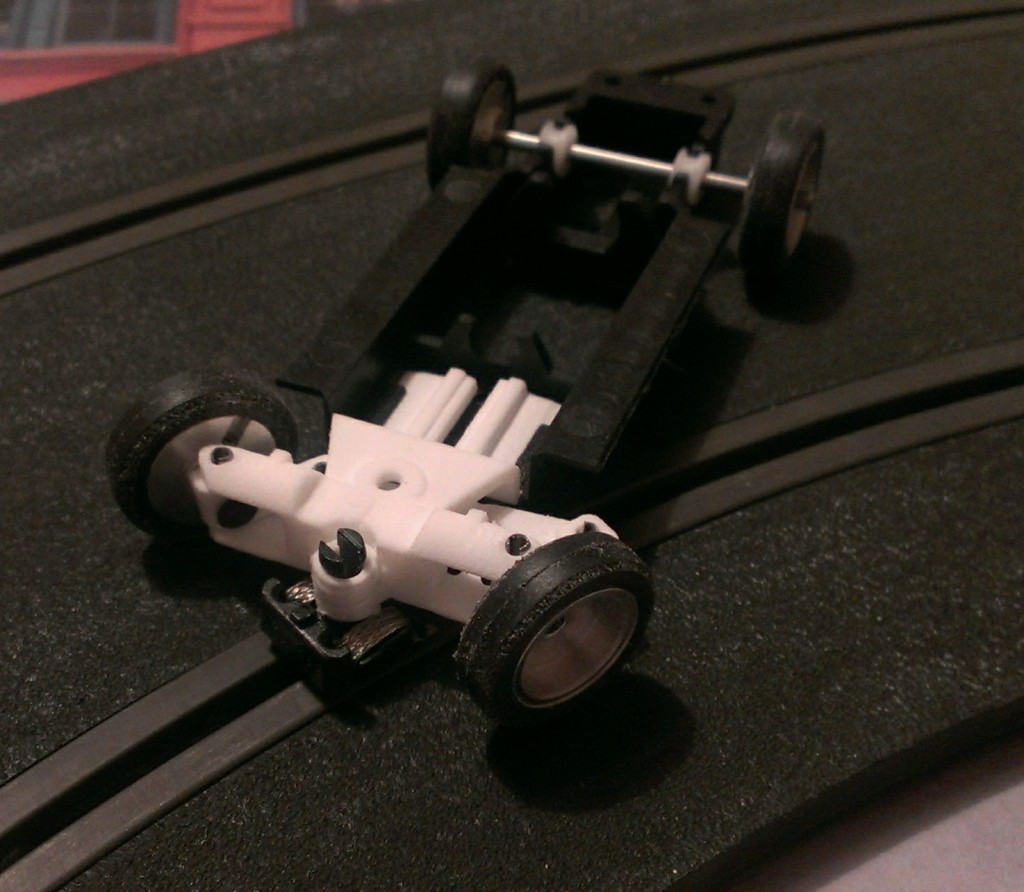
Put the wheels on and check everything moves smoothly
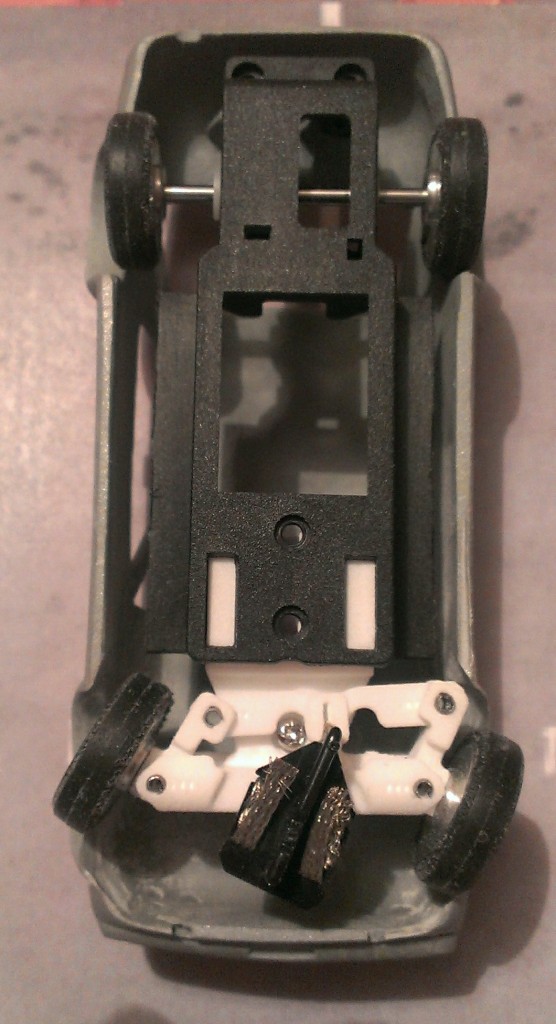
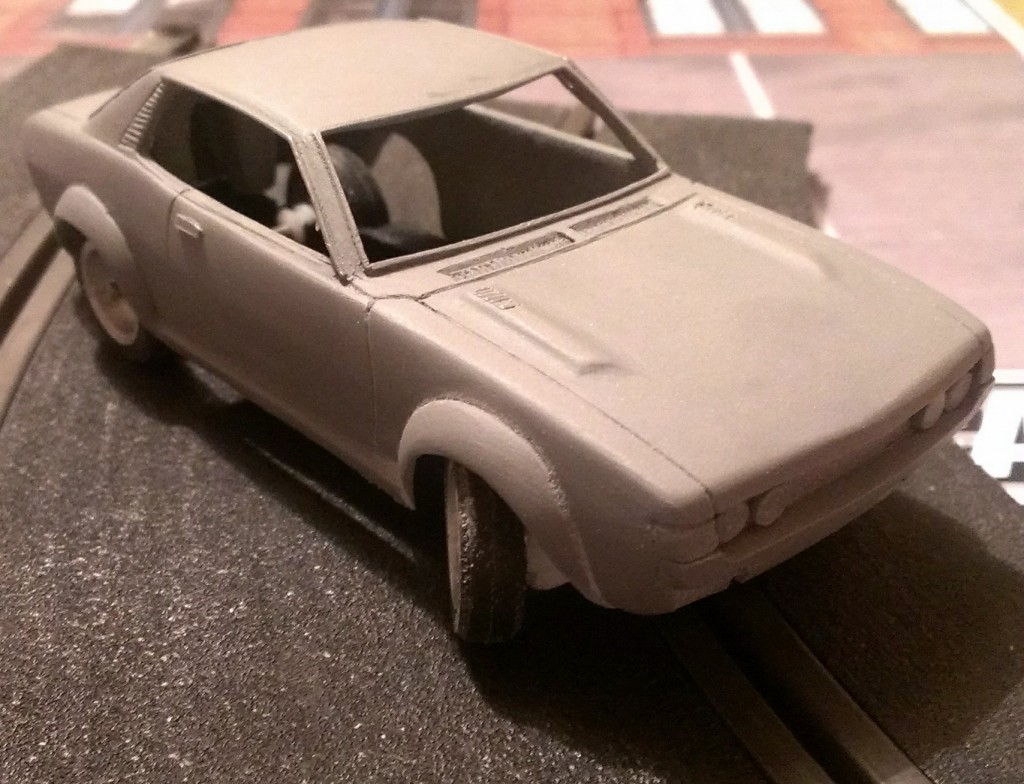
Lay into the bodyshell and check for clearance. This Toyota needed a tickle with the Dremel inside the wheelarches
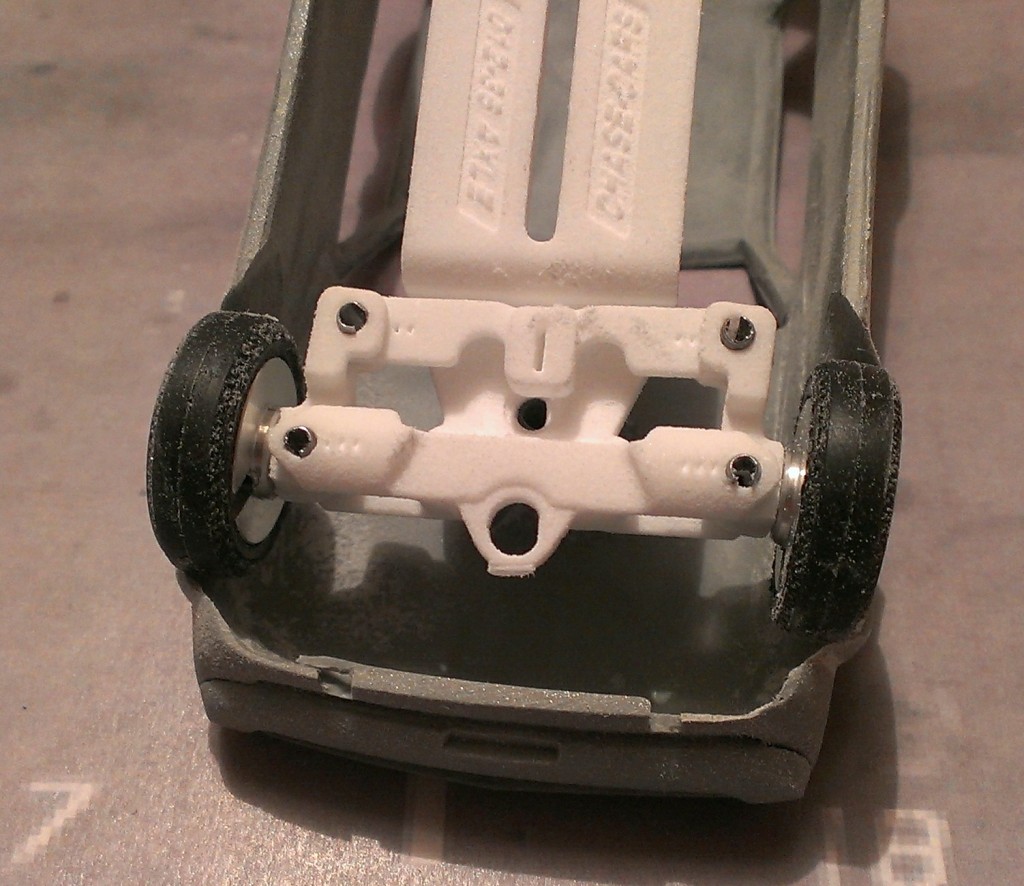
Looks good from the top, are you pleased with the result so far?
Let’s get the chassis together, so we might as well adjust it for length. This one needs to be cut.
As ever with this material, cutters are your friend. Much safer than a scalpel if you’re accident prone.
Length looks good, still plenty of clearance for steering
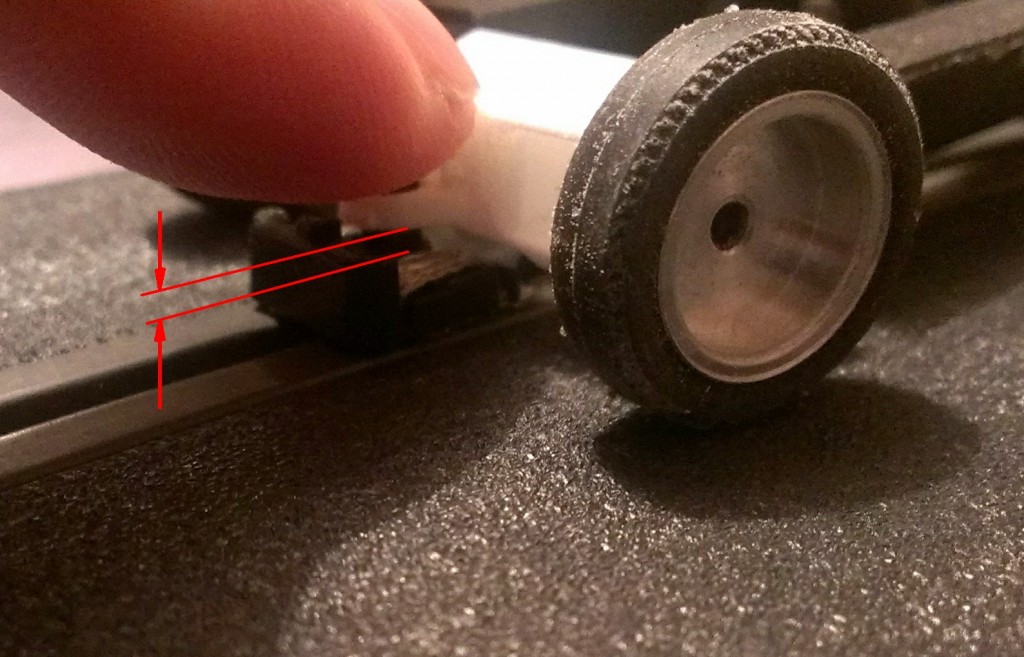
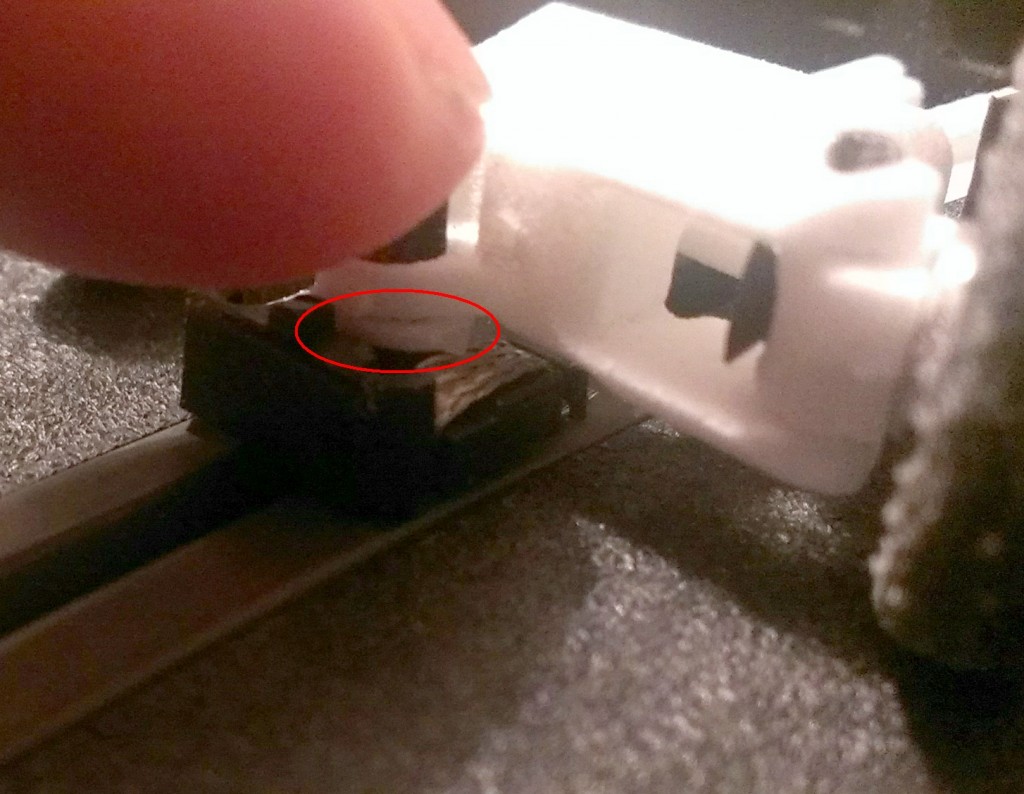
Now we’ll put the guide in, and find the clearance. Because this depends on the diameter of the wheels there should be space to adjust. Look for the gap between the guide and it’s holder. Keep some pressure on so the guide pin is vertical
Find the spacers from the sprue and see which one (or two) fits below. Try it for size first, before gluing it in
Once you’ve got the correct spacer, take it off again and put some superglue on the flat surface (underside of the chassis!), then fit the spacer again.

Once you’ve done that, fit the other spacers on top to locate the guide nicely. Long stem, short stem, screw stem…. you can fit any of them here. Once you’ve selected the spacers you need, glue them in place as before, make sure the guide pin stays vertical.
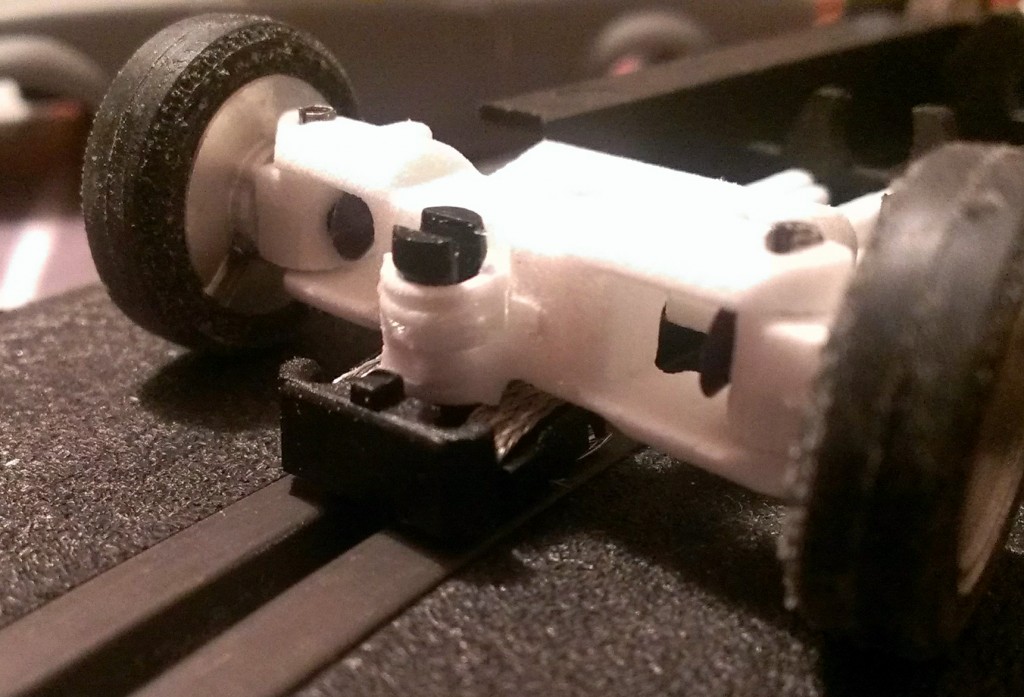
Look at where the back of the guide lines up with the steering link. Drill a 1mm hole in the guide as shown. Do it by hand rather than in a power drill.
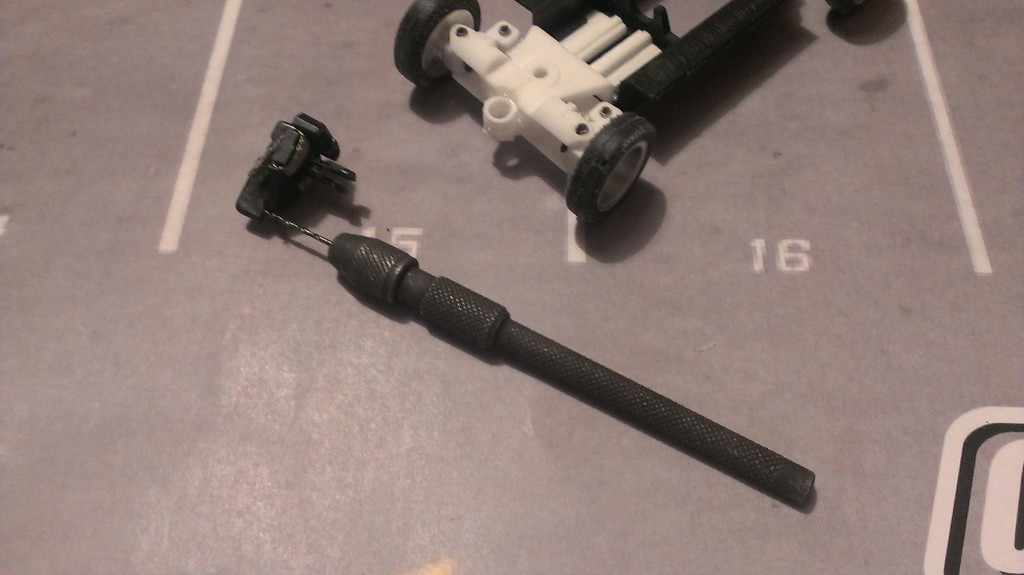
Put a blob of superglue over the hole

And push in the supplied brass pin
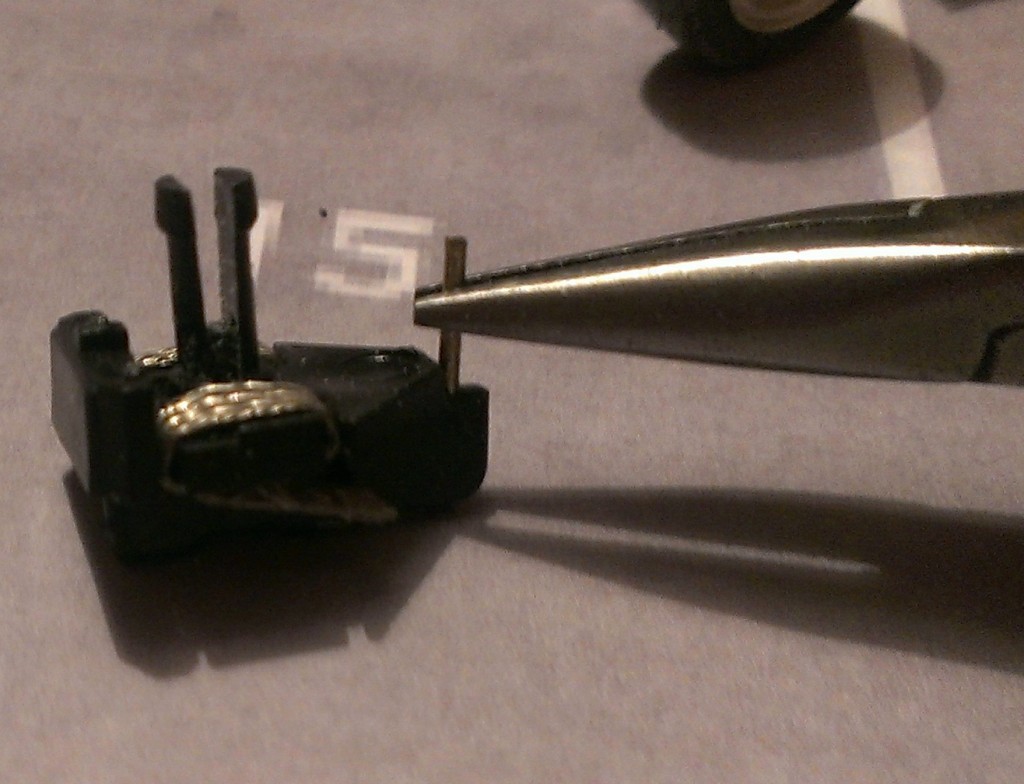
If necessary, bend the pin to suit and cut it to length so it doesn’t foul the chassis
That’s it, chassis ready to roll!
When you fit the screw to the body post, there’s clearance for the screw and screwdriver if you turn the wheels a little.

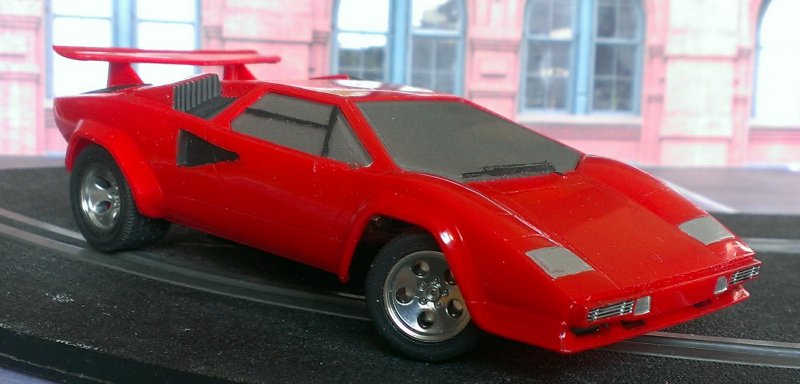
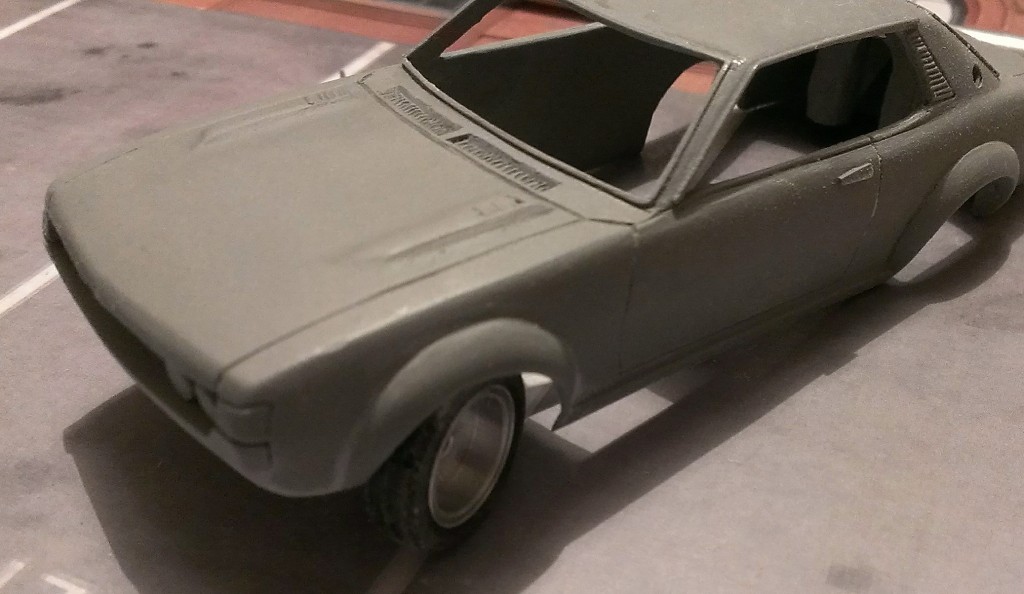
You can also use the chassis to easily convert a model kit to slot car, this Lamborghini looks ready to race!