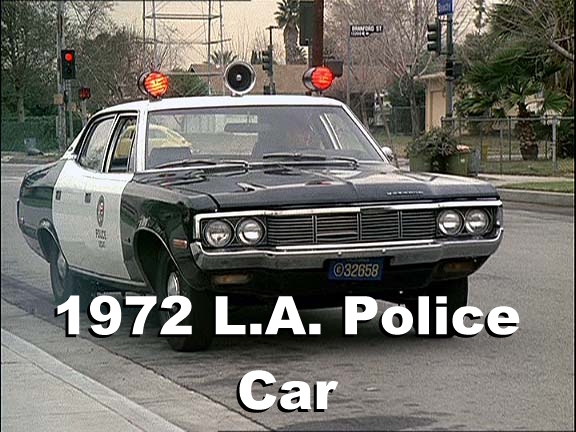
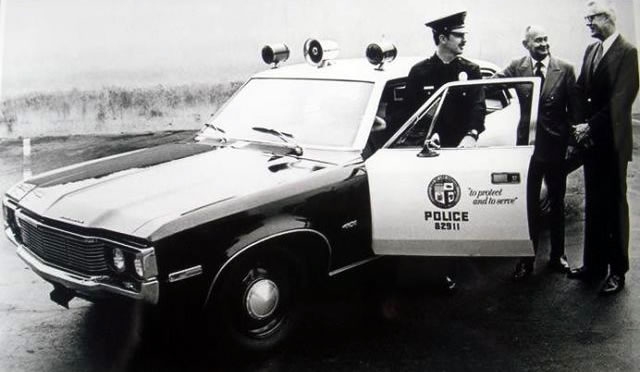
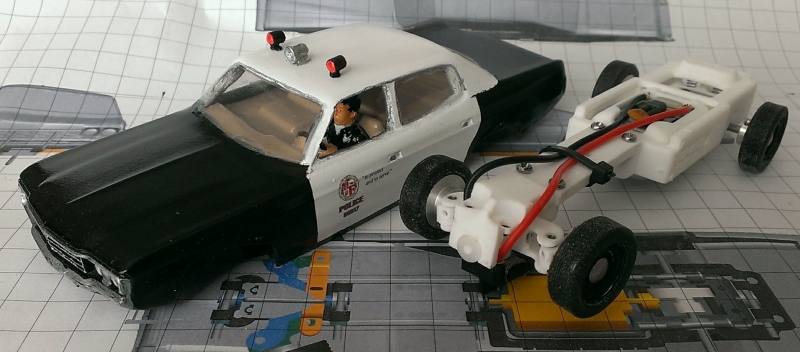
The AMC Matador was probably the most common police car on TV during the 1970s, until the Dodge Monaco came along towards the end of the decade. As with the Monaco, studios purchased cars direct from the police after they had finished their service, LAPD had purchased 534 Matadors for its patrol fleet!
Patrol officers liked the Matador because of its performance, and it had air conditioning too. After extensive testing of the special police models offered by Chevy, Ford, and Chrysler, the LAPD chose the AMC Matador because they “out handled and out performed all the other cars.” Genuine LAPD cars were supplied in black, so if you see one on TV where metalwork inside the trunk or doors is black, it was probably an ex-police car.
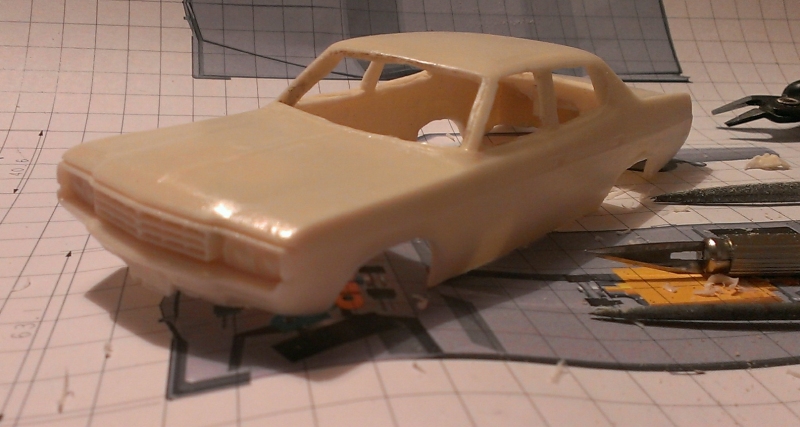
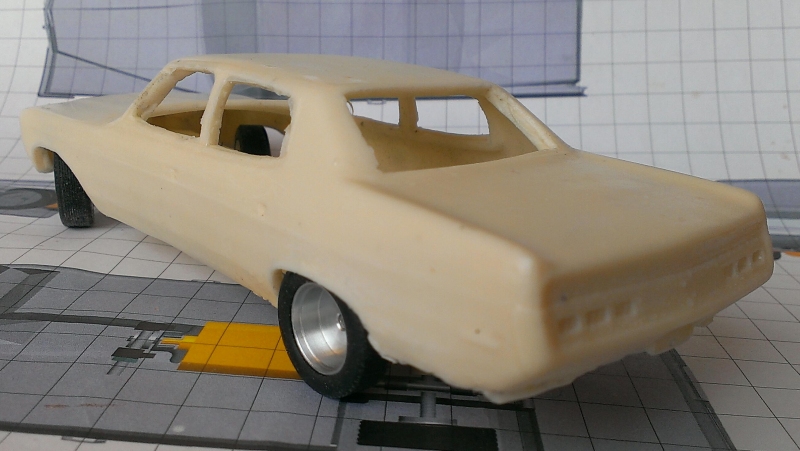
The 1:32 resin bodyshell is cast from a 2 part mould with body mounts already fitted, and the windows are much thinner and easier to cut out than with my older bodyshells.
In the kit you get
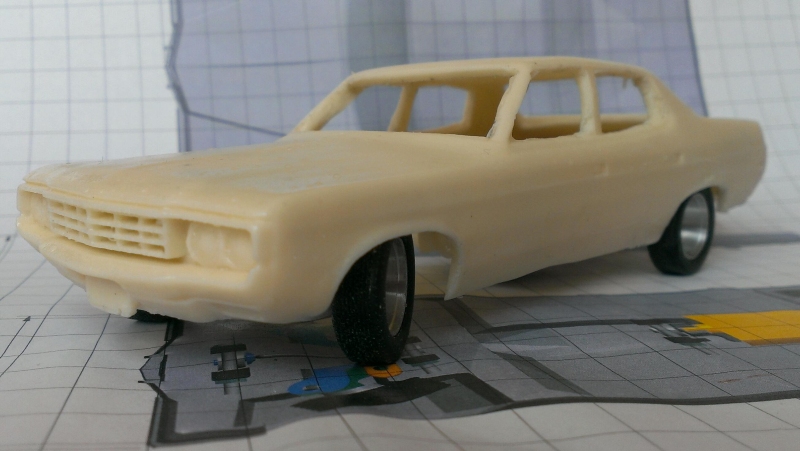
- Resin bodyshell
- Vacform windows
- Vacform interior
- Resin driver’s head
- Resin wheel centres
- Waterslide graphics set
Bodyshell preparation is here, detail follows below.
Now is a good time to check for clearance on your chassis too. Make sure the wheels are free to turn.
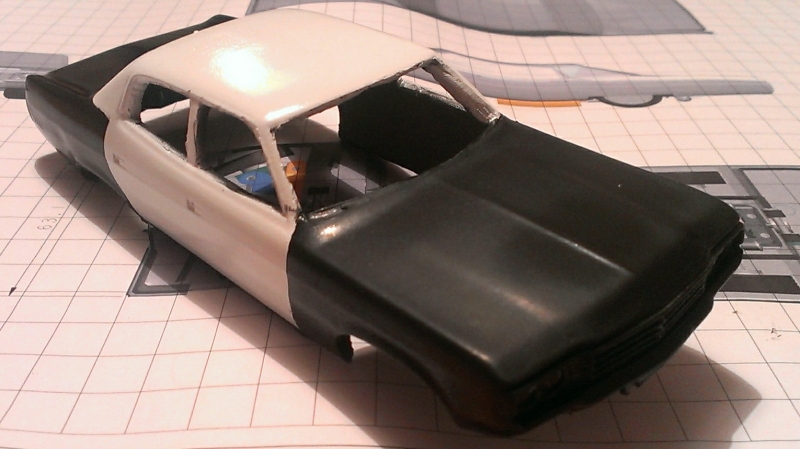
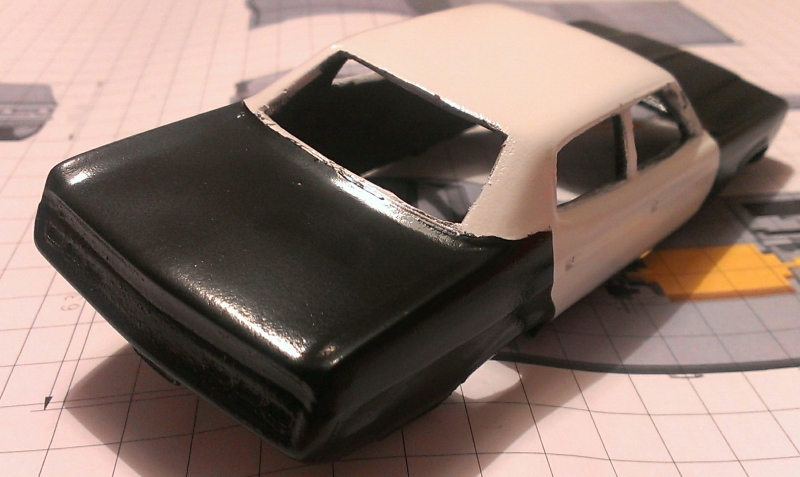
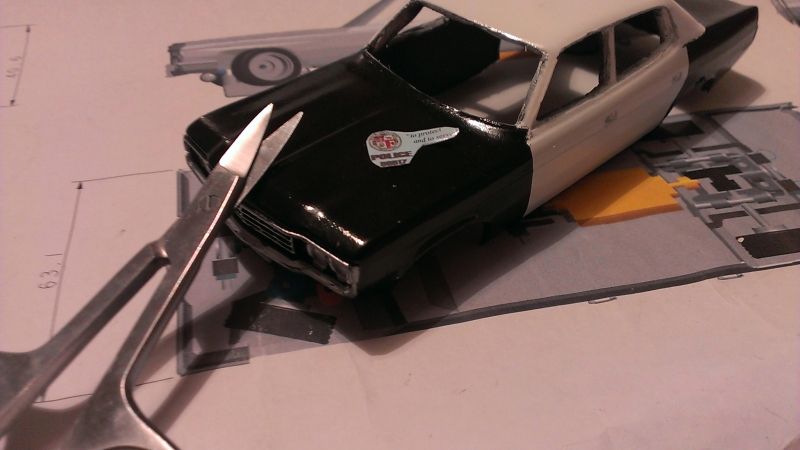
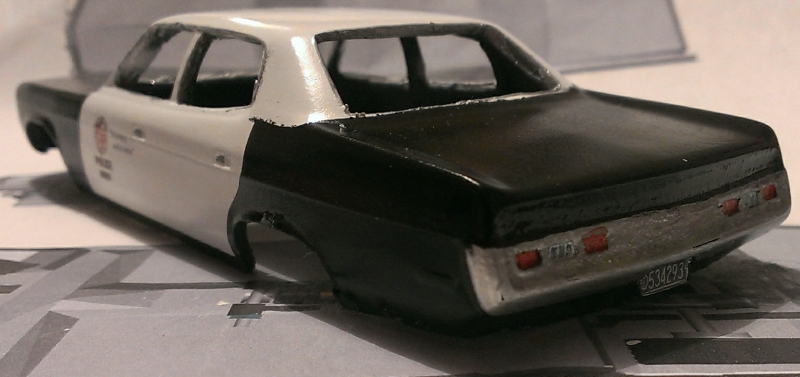
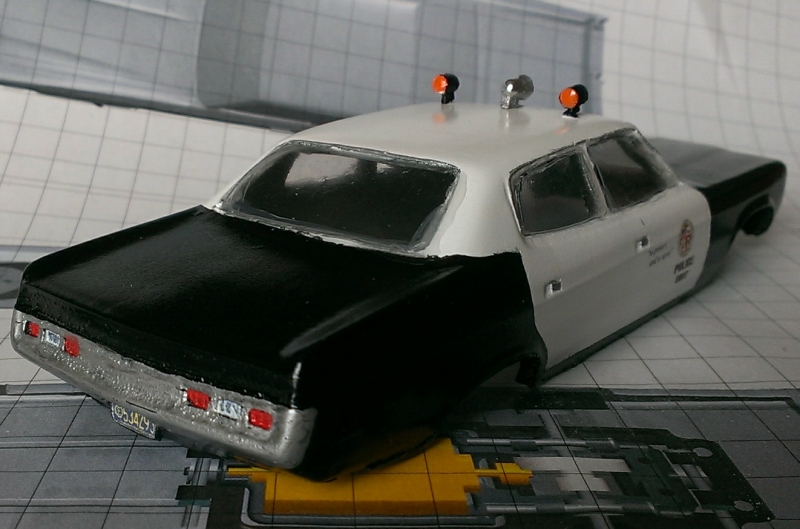
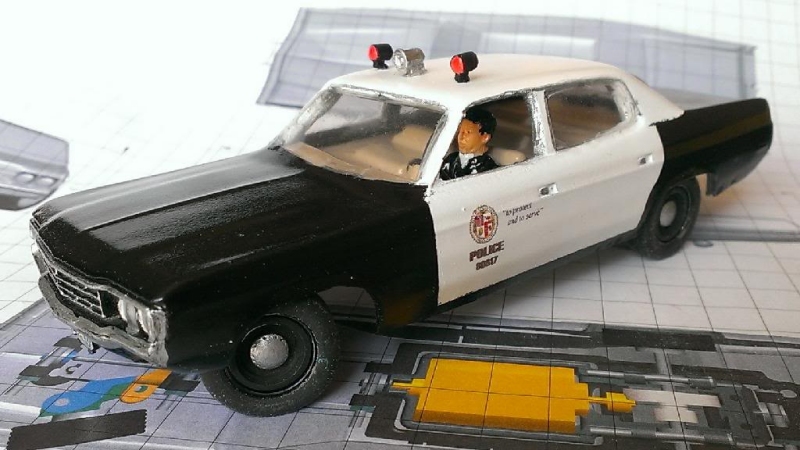
This car is white over black, so first I used white primer, then white gloss paint. I then masked off the top and used grey primer with black gloss paint.
I use 600 grit wet & dry paper after the primer coats, then start with the top coats making sure each coat is fully dry before sanding again. 600 grit between top coats, and usually 3 coats is enough.
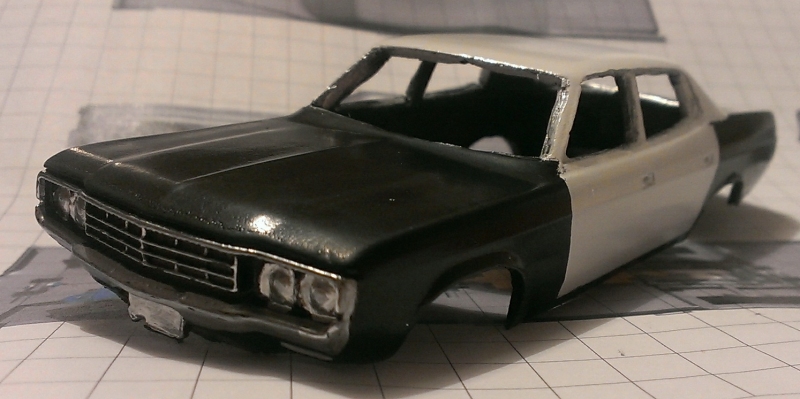
To get the chrome effect, you can use silver paint, I use a silver paint pen (Edding 751 or Edding 780). It looks better already!

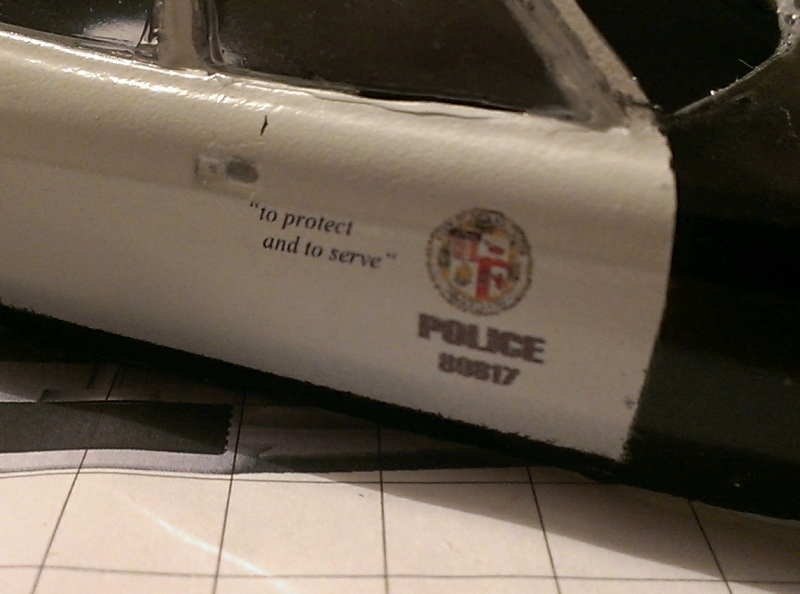
Next, apply the decals. The decals have already been coated with one thin coat of a water based acrylic to help protect them whilst they are applied, however they are very thin and can tear easily. The clear film is continuous and so each decal must be cut carefully from the sheet. Cut with a sharp scissors, craft knife or scalpel but leave a small clear margin around each decal. This will help to prevent any potential solvent ingress when the decals are coated with clear lacquer and will reduce the chance of any ink flaking off.
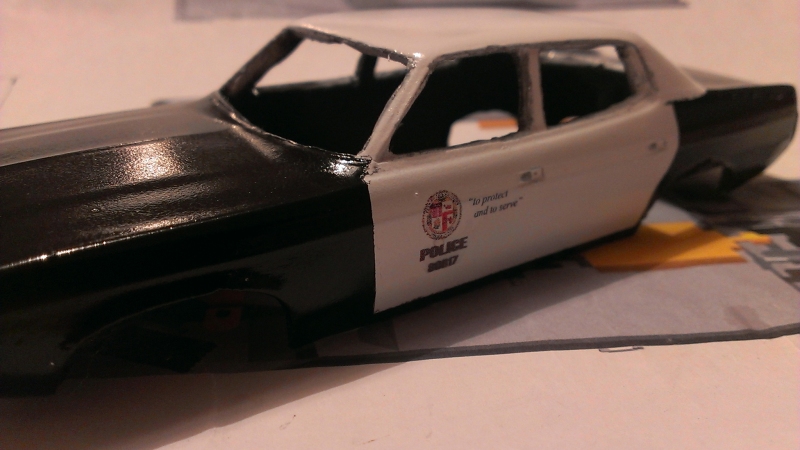
Once the decals are on, you can spray the whole car with clear lacquer to protect the graphics and the silver paint. Next, fit the windows.
Use an adhesive which will not make clear plastic bloom, like Canopy Glue.
Use tape or Blutak to hold the windows while the glue dries.
Next, the roof lights. To make them strong I use some 1mm brass bar to locate the lights & siren, and drill a hole in the roof. If you don’t crash much you can just glue them in place.
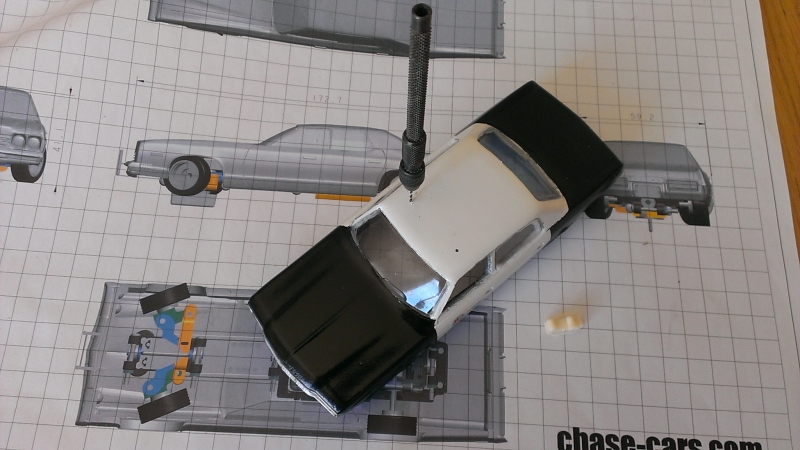
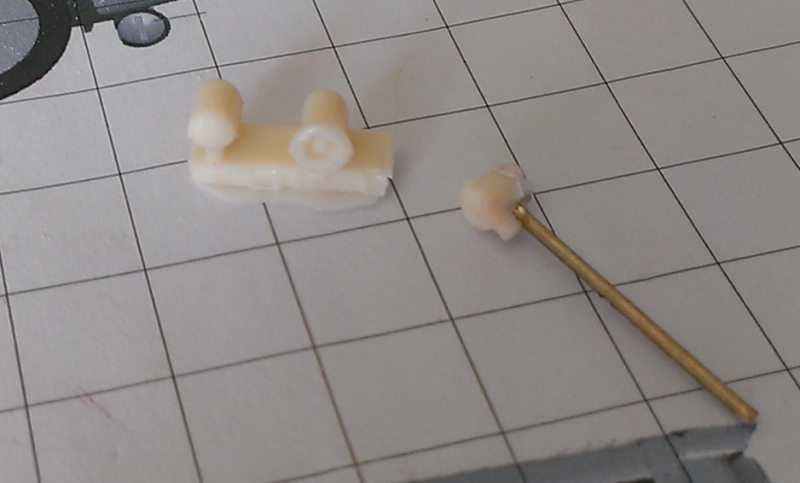
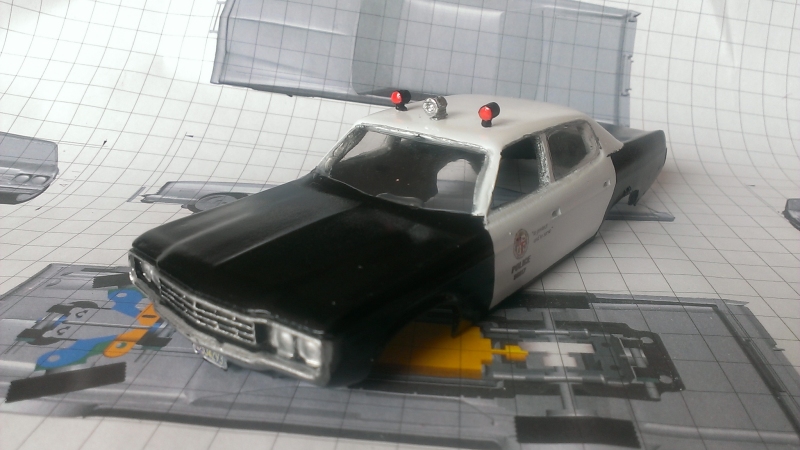
Paint them up, black for the lights, silver for the siren. I did the roof lights red at the front and orange at the rear.
Now for the interior. Cut the vacform part to fit and paint it your chosen colour.

Glue the interior with the same Canopy Glue so the windows don’t mist up, and fit everything together.
Now get after those bad guys!

Video, don’t forget to turn up the sound.