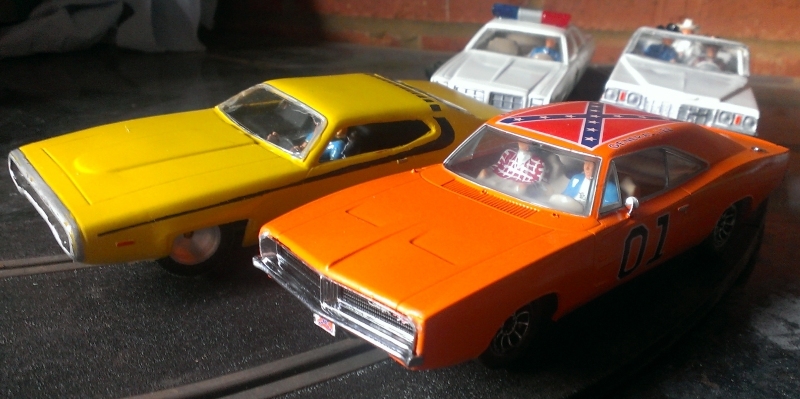
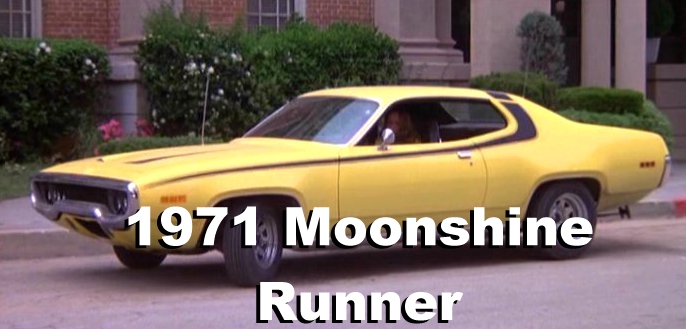
Maybe you need a car that can be painted blue and go NASCAR racing? How about if you need a yellow one to drive around the dirt roads of Georgia, being chased by the local sheriff?
Step this way, I think we can do a deal on your next car!
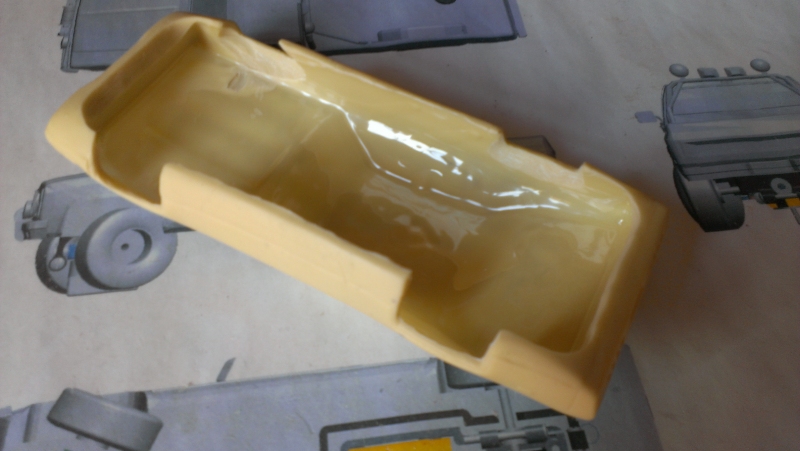
This is a slush-cast resin bodyshell so there’s a little more prep to do than with the 2-part moulds.
Tools required:
- Dremel
- Files
- Scalpel
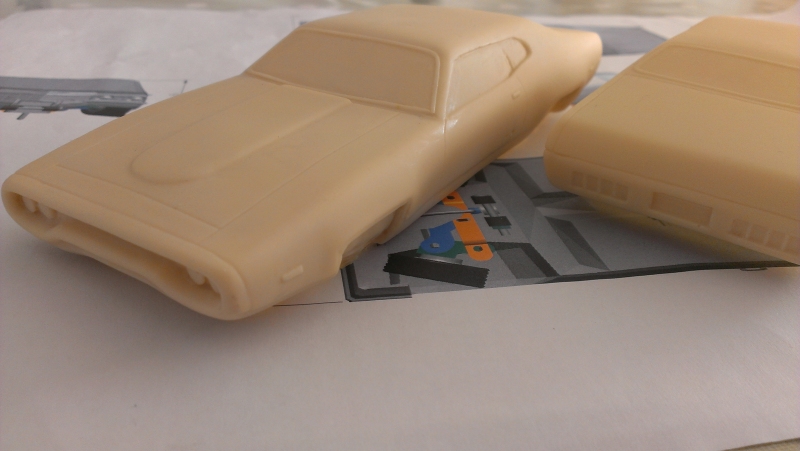
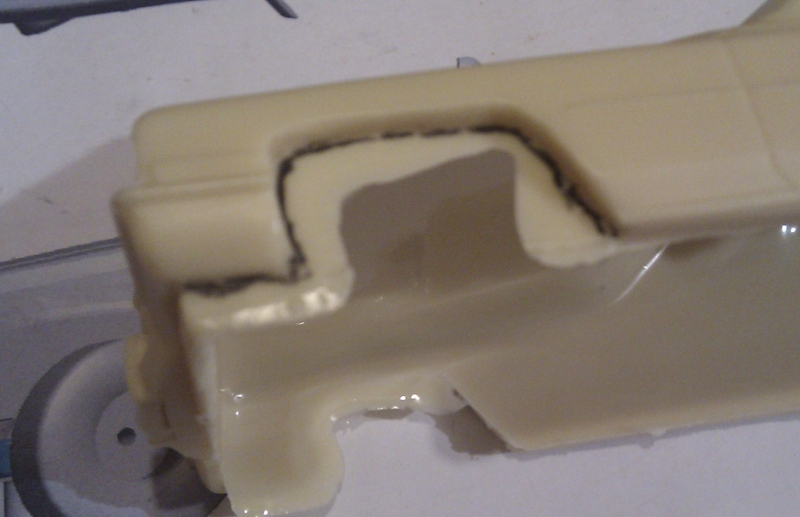
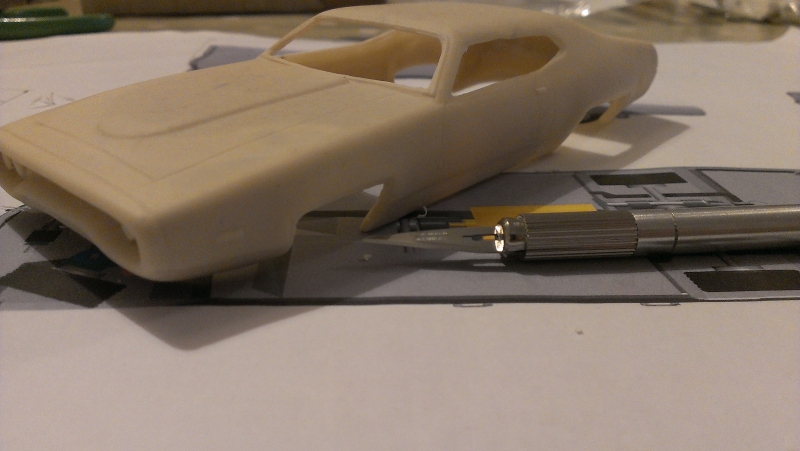
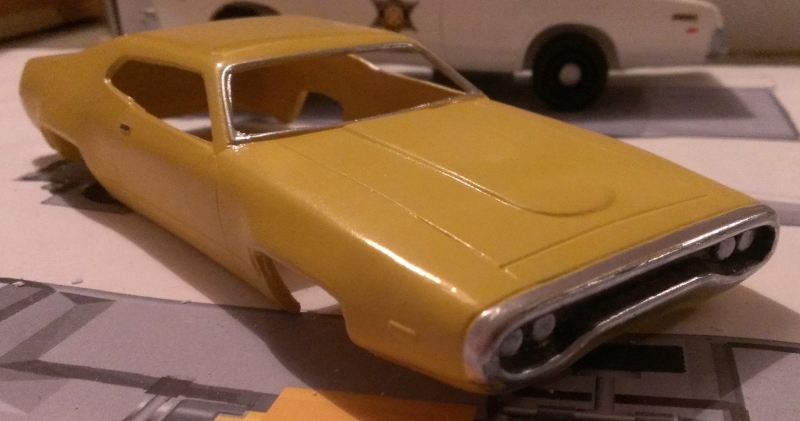
Your first step is to clear out the wheelarches so the outside shape of the body is correct. Resin dust is harmful to breathe in, so do this in a well ventilated area and wear a breathing mask. As an example I’ve marked the area to cut with a black line here
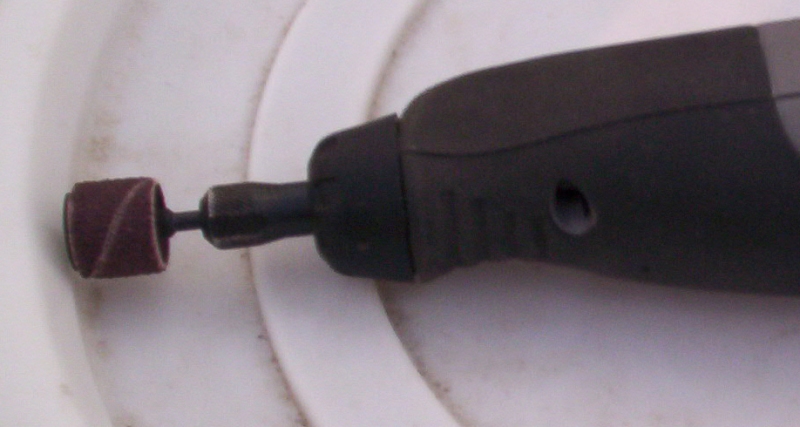
Your soon-to-be best friend.
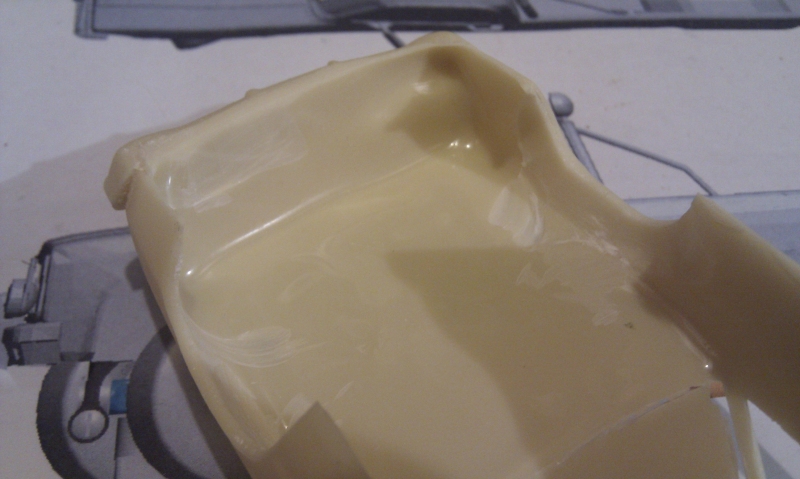
Once this part is done, you need to make the bodyshell thin inside the wheelarches. This is so there’s enough room for the wheels to steer and for the suspension to move. Do the same on all 4 wheelarches but the fronts will probably need more checking as the wheels steer, the plastic should be about as thin as on a regular model kit. As a guide I’ve marked it with a black line below.

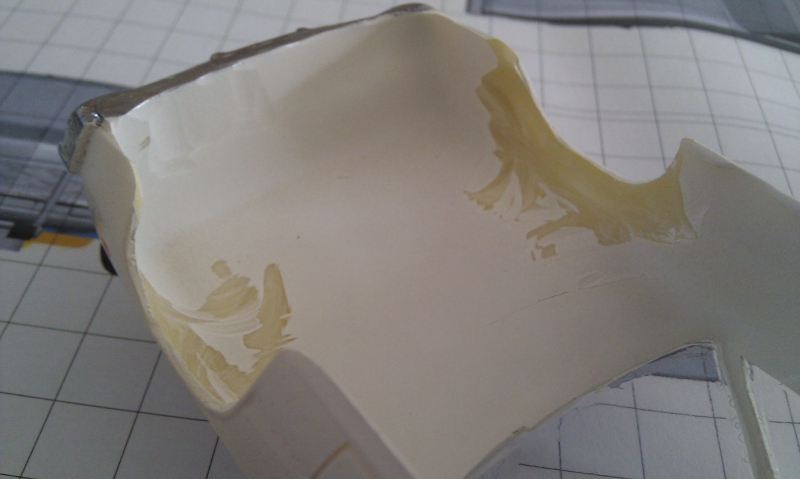
When it’s done, it should look like the photo below. Don’t forget the rear wheelarches too, the wheels need room to move just like on a real car.
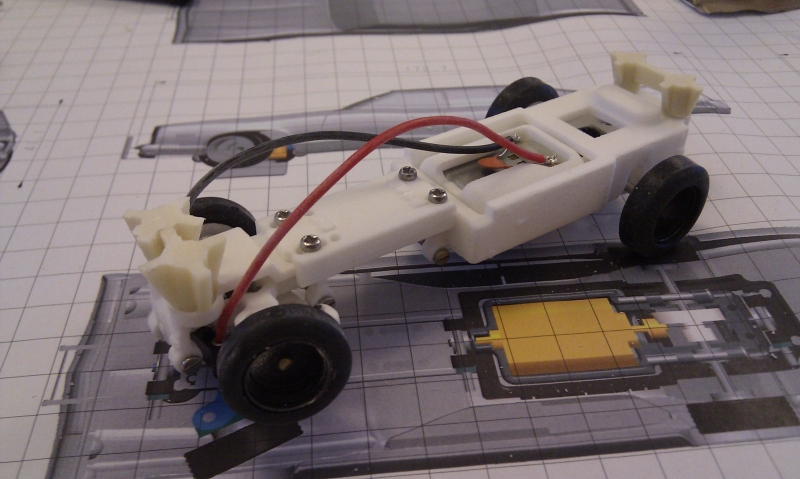
You may need to do even more clearances once the chassis is fitted and you can see accurately if there’s any interference. In this picture you can see where I’ve got the Dremel in after painting.
Now take a small drill and cut holes in the corners of the window apertures. This photo is the Limo where the B Post is removed totally, but for the Moonshine Runner’s car you’d drill holes in the corner of each window.
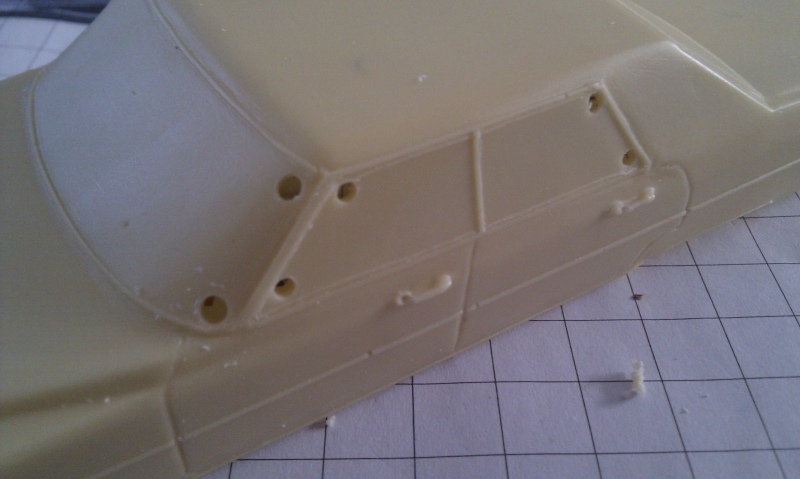
Now using a sharp knife or the cutting disc on the Dremel, cut between the holes. If the resin is too thick for a knife and the Dremel cutting disc is too big, you can drill holes as shown and cut between them with a knife.
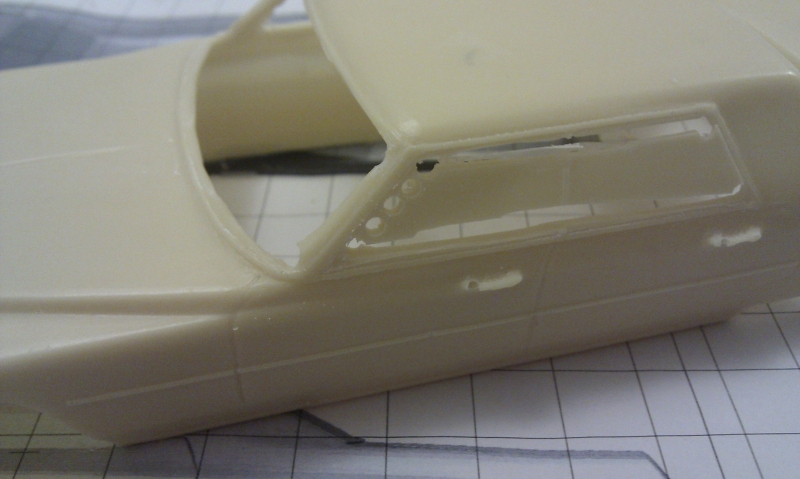
A cutting disc with the Dremel can also be a good way to remove the windows. Trial fit the vacform windows to check for size. Don’t get the front pillars too narrow, and remember it’s easier to remove material than add it!

As always with resin parts, wash them in soapy water to get rid of any mould release agents, then leave them them to dry. Choose your favourite primer and get to it!
For a yellow car, use white primer. I use 3 coats of white primer, sanding lightly with 600 grit between each coat. Before applying the yellow, inside the front panel should be matt black, so I did this first.
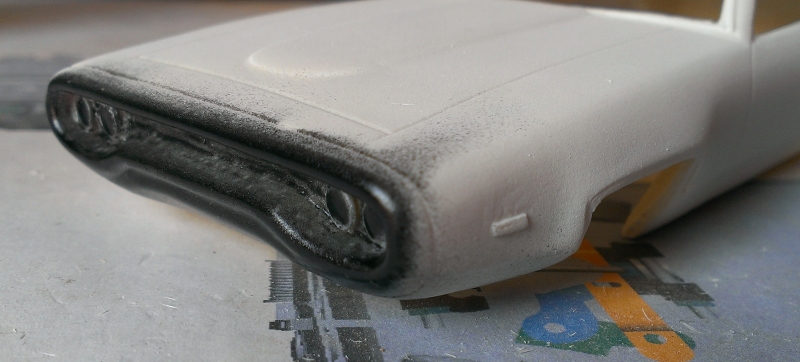
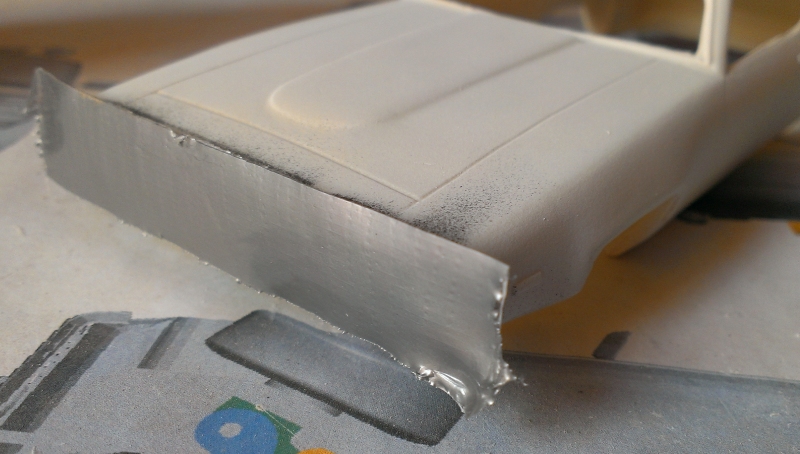
Then I masked off the black. It doesn’t need to be too neat as the grille surround will be chrome anyway.
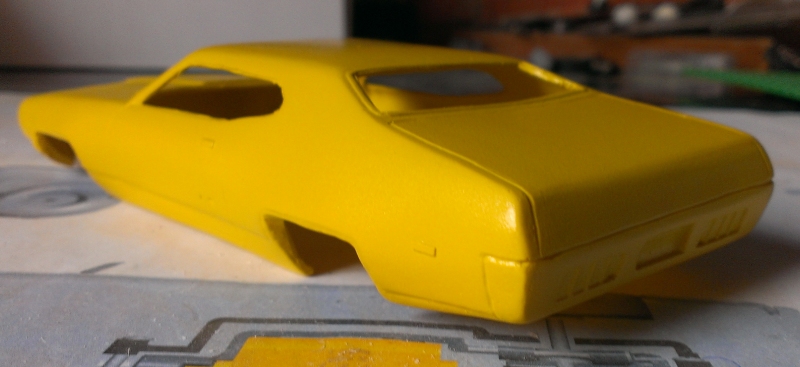
Now 3 coats of yellow gloss paint on top. Keep the paint thin and turn the bodyshell around so you get paint cover everywhere.
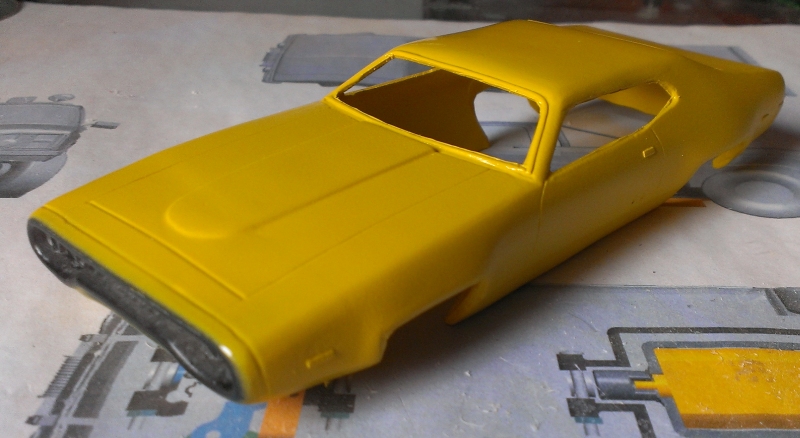
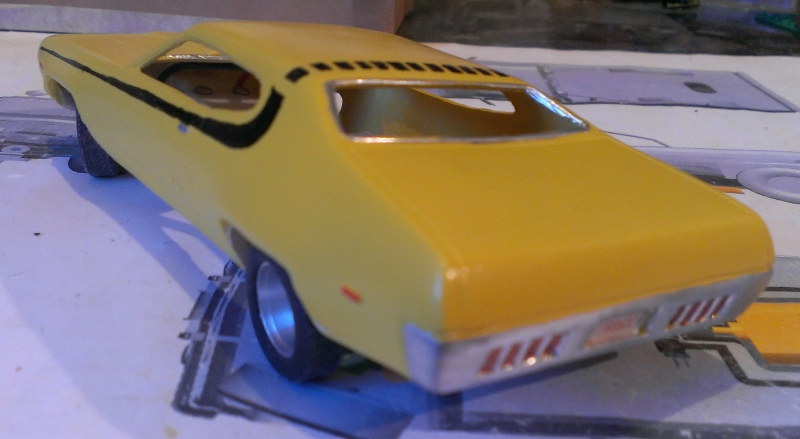
I use an Edding 751 silver paint marker to do the chrome bumpers, door handles and window surrounds. And a white pen to do the headlights.
Paint the tail lights red and the side markers orange. I used a black pen to add the stripes down the side and over the roof
Once all the paint is dry it’s worth putting a clear lacquer over everything to protect it.
Next fit the windows.
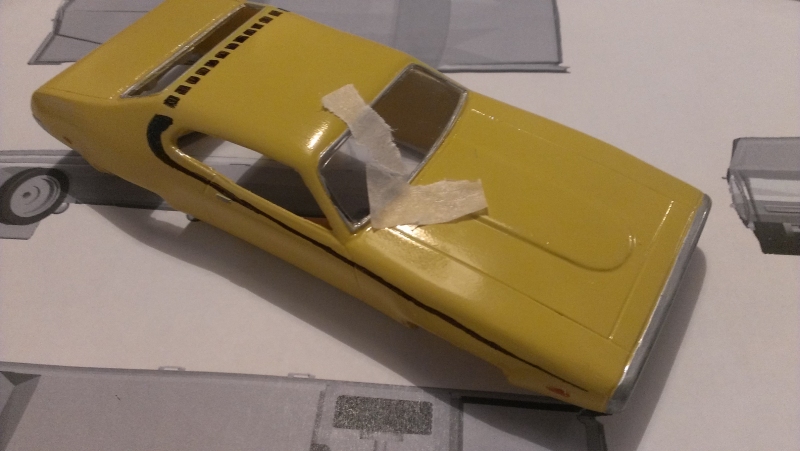
Cut out the vacform windows and carefully glue them in place one at a time using glue that doesn’t bloom when dry. Something like canopy glue, or anything that’s specially made for glueing windows in model kit. If you use normal glue it’ll mist up!
Use some tape to hold the windows in place while the glue dries.
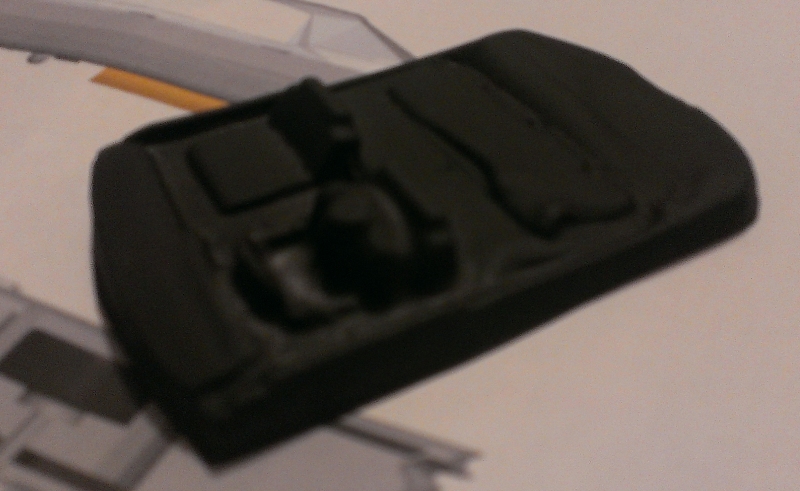
Then cut the interior out, paint and attach the driver’s heads. I used black for the interior, correct for the TV show
Fit the body posts to line up with the chassis, I screw them to the chassis, get the height correct and then glue the posts in place so I can tell everything is aligned properly.