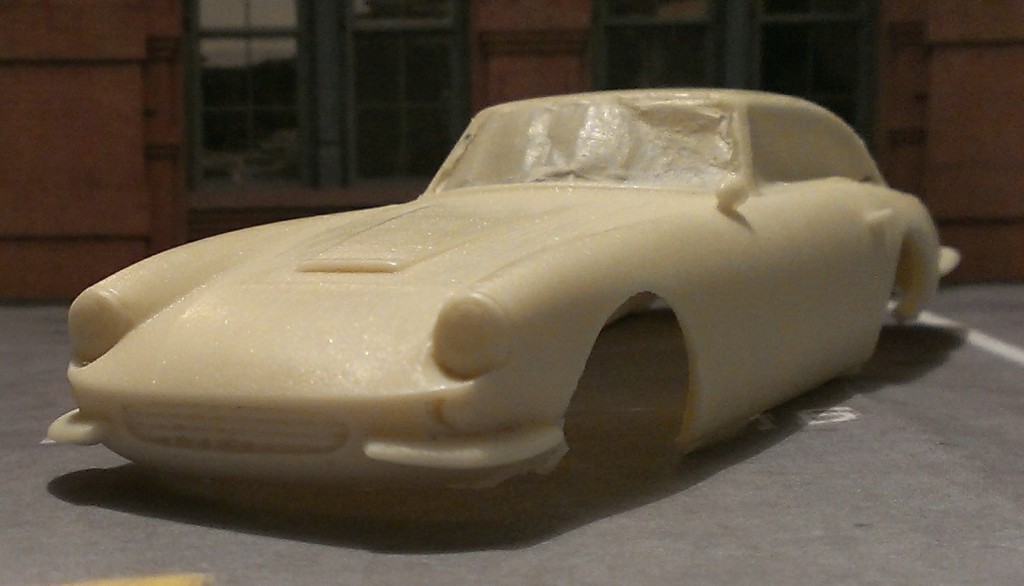
So, what is this exactly?
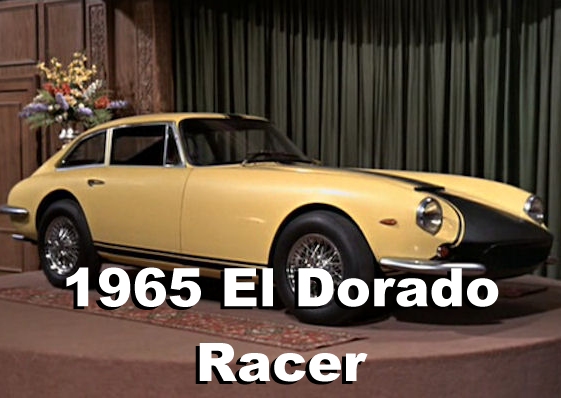
Ferrari 275? Jaguar E Type? Cox Cheetah? Kellison J6??
No, it’s an Intermeccanica Apollo, the bodyshells were styled and built in Italy then shipped to California to be fitted with the Buick V8 engine, the one that was to become the Rover V8 a few years later. The company founders reasoned that while the looks of a Ferrari were very desirable, the fact that a set of carburettors cost more than an entire American V8 engine was uncomfortable for some owners. Wouldn’t it be great, they said, if you could get European GT looks and still get it serviced at your local garage for Buick prices? And there was the question of reliability too; European sports cars of the time weren’t at their best in the traffic of the West Coast, American cars were made for this kind of punishment. Milt Brown, Ron Plescia, and Ned Davis must have been giddy with excitement at this idea, it couldn’t possibly go wrong!
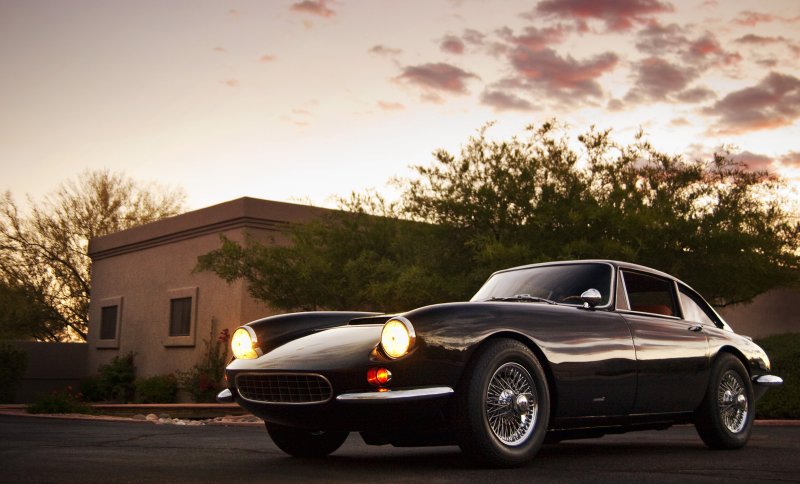
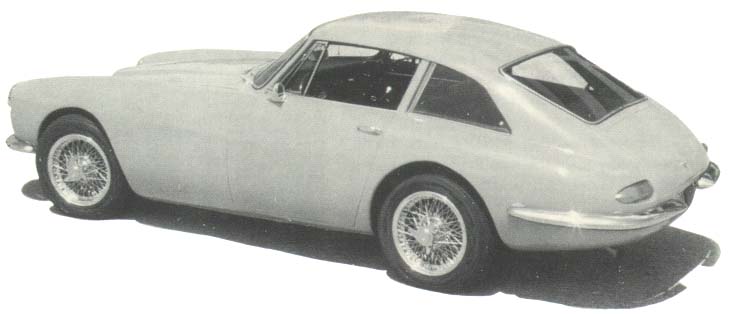
They approached Carrozzeria Intermeccanica in Italy with some sketches of a car that looked like a Ferrari but with E Type proportions, underneath they planned to use the 1961 Buick Special with its sophisticated four link trailing arm suspension which used coil springs instead of the more common leaf springs. Reports of the time compared it favourably with the Corvette and even the much more expensive Aston Martin DB4 and Ferrari.
Sales were steady at 2 cars a month, but the demon of small companies everywhere – cash flow and lack of investors – was soon causing trouble. Production lurched to a new owner in Texas which soon failed and went back to California to a different owner. Sadly the whole operation folded after just 88 cars were made.
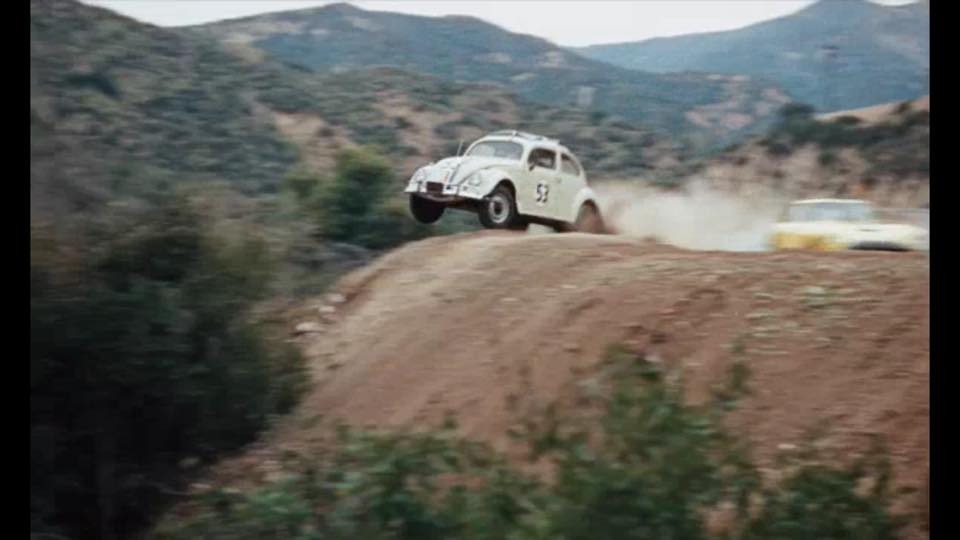
In 1967 Disney Studios had contracted Max Balchowsky about preparing two Apollo GTs for their forthcoming film “The Love Bug”, he worked with Carey Loftin (as they worked on the Mustang and Charger for Bullitt) to get the cars ready for filming. Balchowsky made several modifications to strengthen the car for its high speed work. You know the final stunt in Bullitt where the Charger crashes and explodes? That was done with Carey Loftin’s “tow and release” system where he drove the Mustang towing the Charger then released the cable letting the driverless Charger crash. Exactly the same system was used with the Apollo releasing the VW here
The resin bodyshell is cast from a 2 part mould with body mounts already fitted, and the windows are much thinner and easier to cut out than with my older bodyshells.
In the kit you get
- Resin bodyshell
- Vacform windows
- Vacform interior
- Resin driver’s head
- Waterslide graphics set
Bodyshell preparation is here, detail follows below.
The paint I used was yellow, so I chose a yellow primer. I use 600 grit wet & dry paper after the primer coats, then start with the white top coats making sure each coat is fully dry before sanding again. 600 grit between top coats, and usually 3 coats is enough.
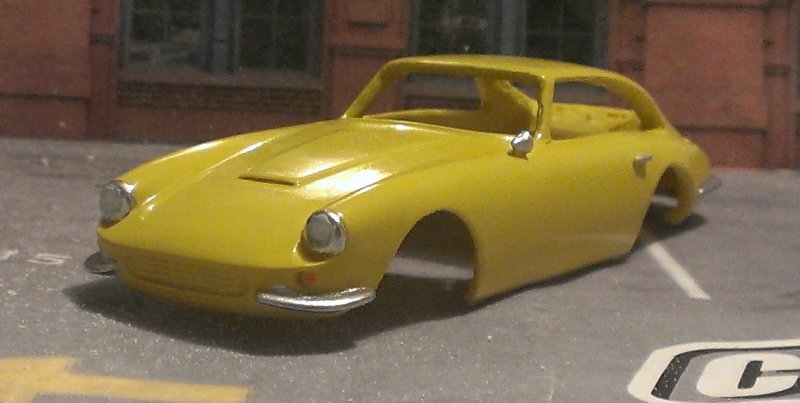
Use silver to pick out the chrome and orange for the front turn signals
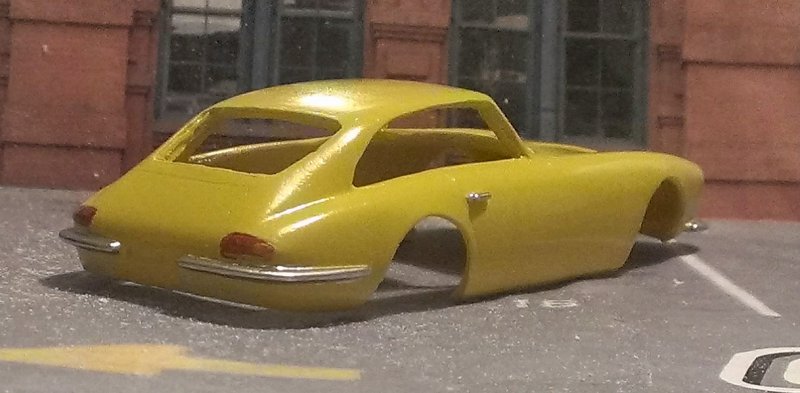
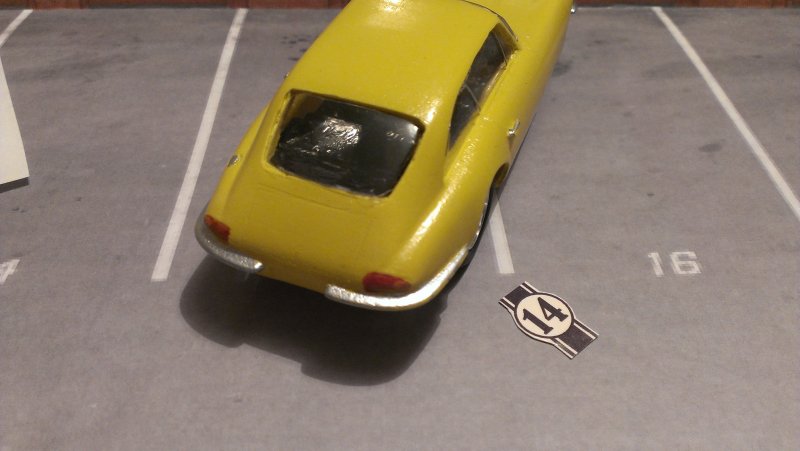
Orange and red for the rear lights.
Using a sharp scissors, cut out the windows and hold them in place with masking tape. Use a Canopy Adhesive to glue them in place, this won’t make the windows go cloudy like most glues do.
Apply the adhesive inside the bodyshell to make the windows look better from the outside.

Carefully cut out the waterslide graphics. The decals have already been coated with one thin coat of a water based acrylic to help protect them whilst they are applied, however they are very thin and can tear easily. The clear film is continuous and so each decal must be cut carefully from the sheet. Cut with a sharp scissors, craft knife or scalpel but leave a small clear margin around each decal. This will help to prevent any potential solvent ingress when the decals are coated with clear lacquer and will reduce the chance of any ink flaking off.
The decals should be dipped into warm water for 20-30 seconds and should not be allowed to float off the backing paper in the water. Shake off any loose water, then within 30 seconds, slide into position on the model.
Next put the graphics on the roof and the hood, line up the thin black stripes so they aim for the turn signals.
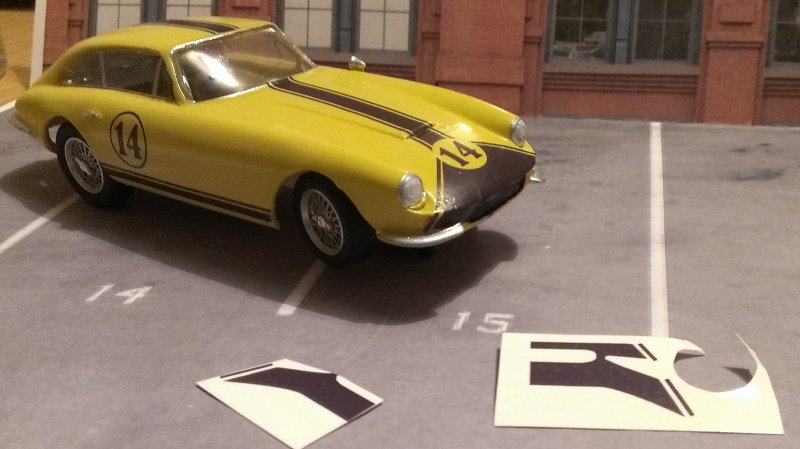
Then apply the graphics around the radiator (which should be painted black). Cut across the thin point as shown above, this goes above the bumper.
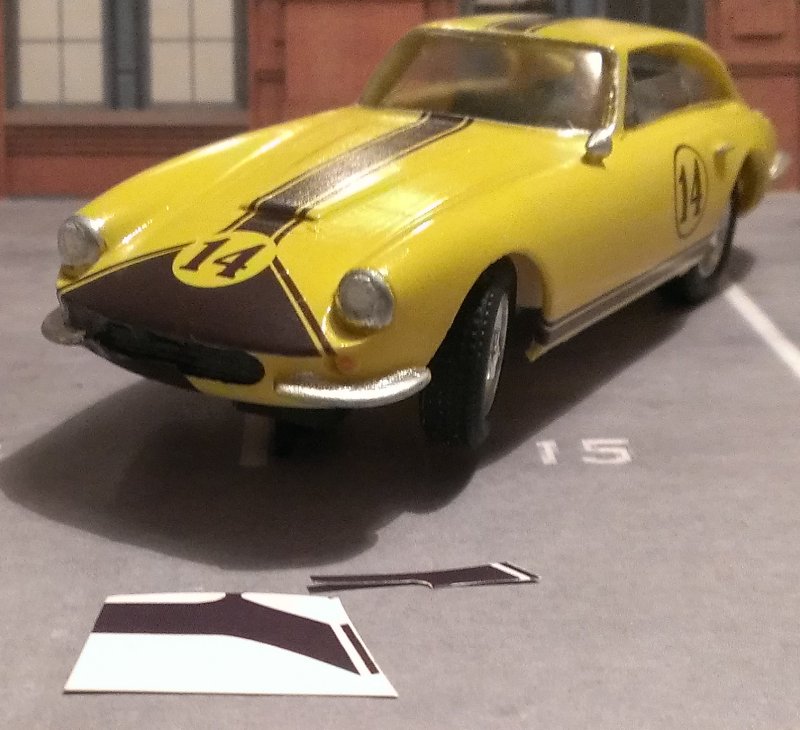
Then do the same for the other side. Once these are done, use a clear lacquer to seal the graphics so they can withstand the rigours of racing.
Now onto the interior, cut the vacform to shape, glue on the resin head and check for fit. You might need to trim a little off the top, the roofline is very low!

Using the same Canopy Adhesive to stop the windows from fogging, glue the interior into place.
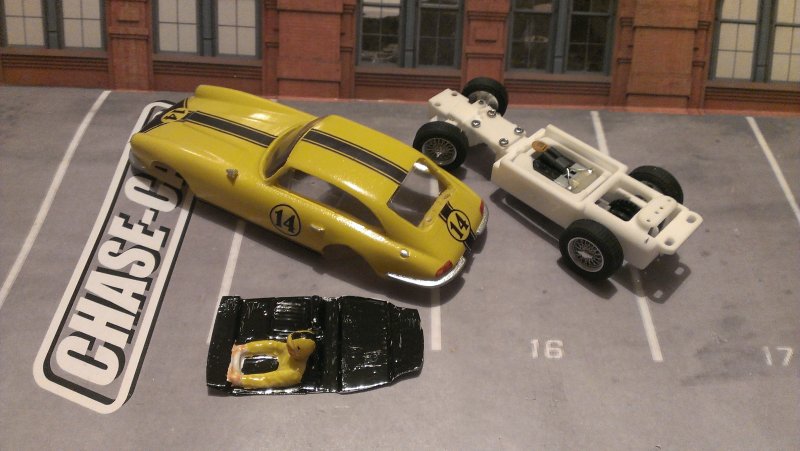
When drilling the chassis mounting holes use a 1mm pilot hole but make sure you don’t go all the way through the bodyshell! Then use a 2mm drill, but again be careful with how deep you go. When fitting the chassis be very careful with the front screws, use the shorter two and the long ones for the rear.
The chassis needs to be the 012-604 narrow chassis, for the wheels I used Mitoos wire wheels.
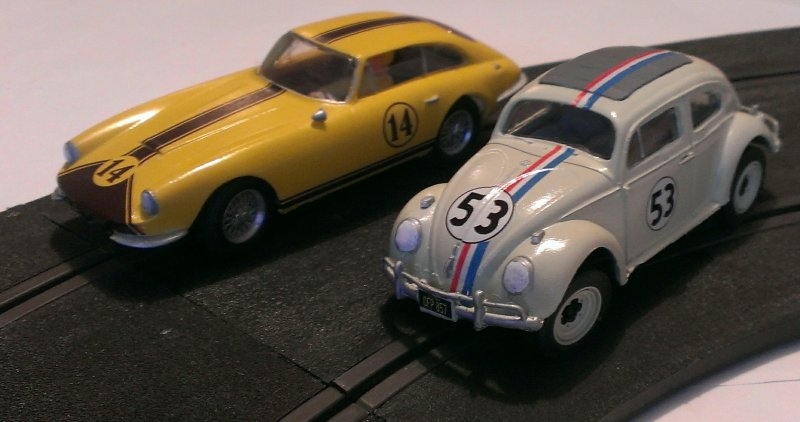
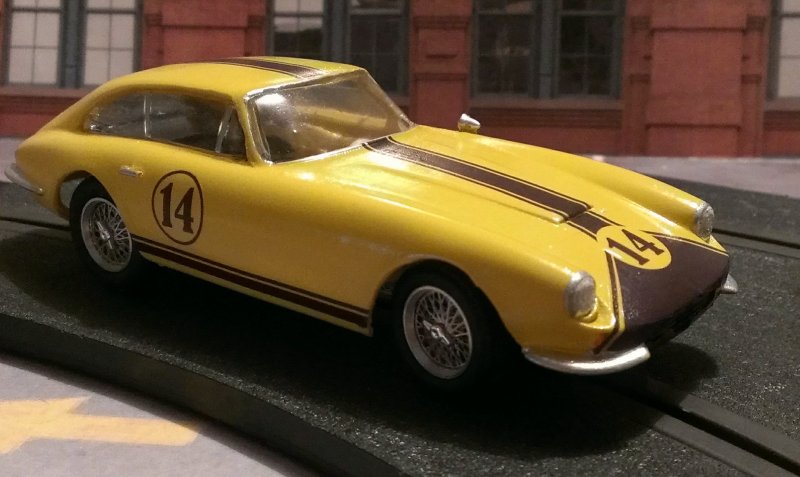
Here’s how it looks on the track!