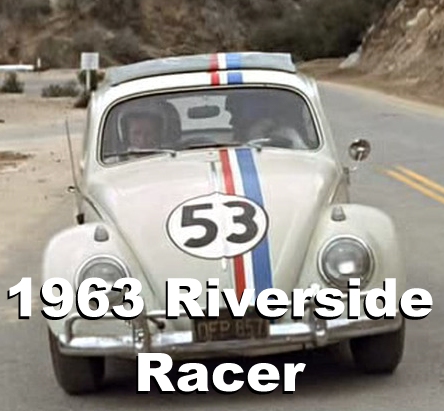
You’re a struggling race car driver, but you don’t have a car. What you need is something small but with an extra turn of speed, then you can take on anyone at Riverside, Laguna Seca, Willow Springs, through the Yosemite Valley and in years to come even Monte Carlo!
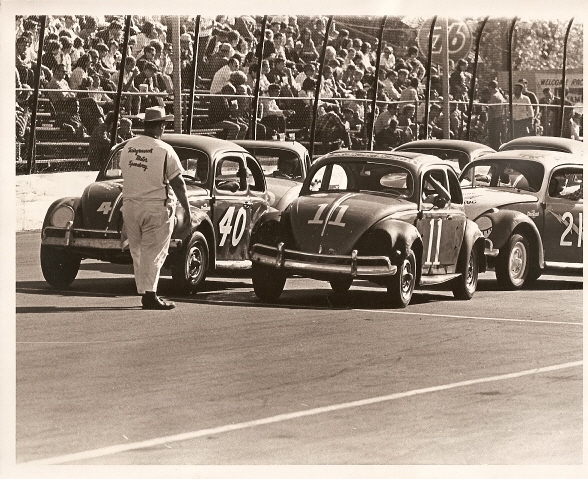
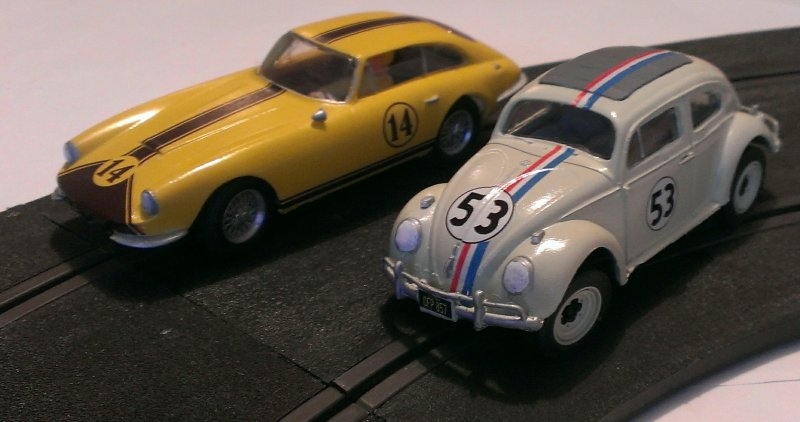
There have been several Herbie slot cars over the years, I hope this one is the best. You can also use this bodyshell to make a great ’60s racer.
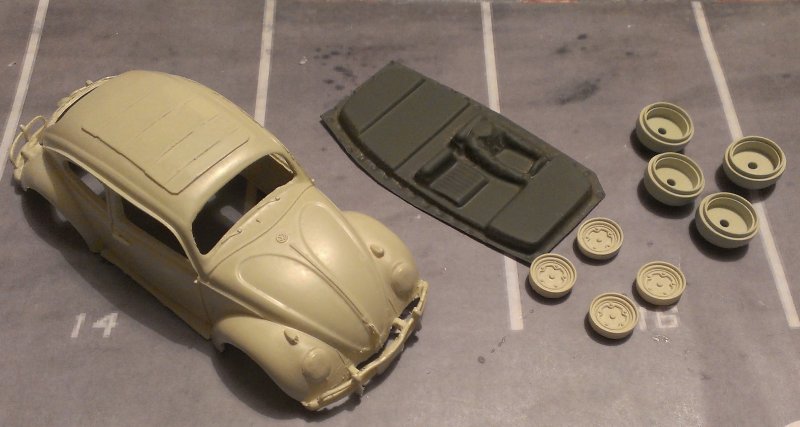
The 1:32 resin bodyshell is cast from a 2 part mould with body mounts already fitted, and the windows are much thinner and easier to cut out than with my older bodyshells.
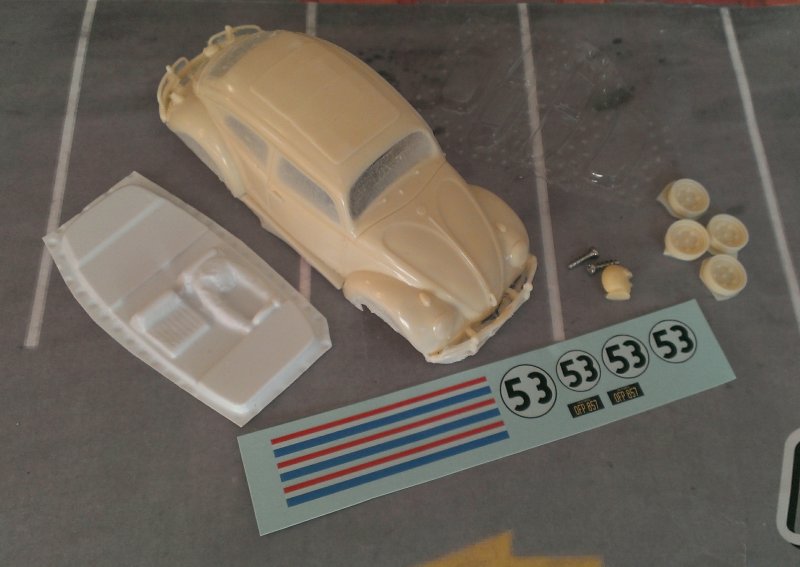
In the kit you get
- Resin bodyshell
- Vacform windows
- Vacform interior
- Resin driver’s head
- Resin wheel centres
- Waterslide graphics set
Bodyshell preparation is here, detail follows below.
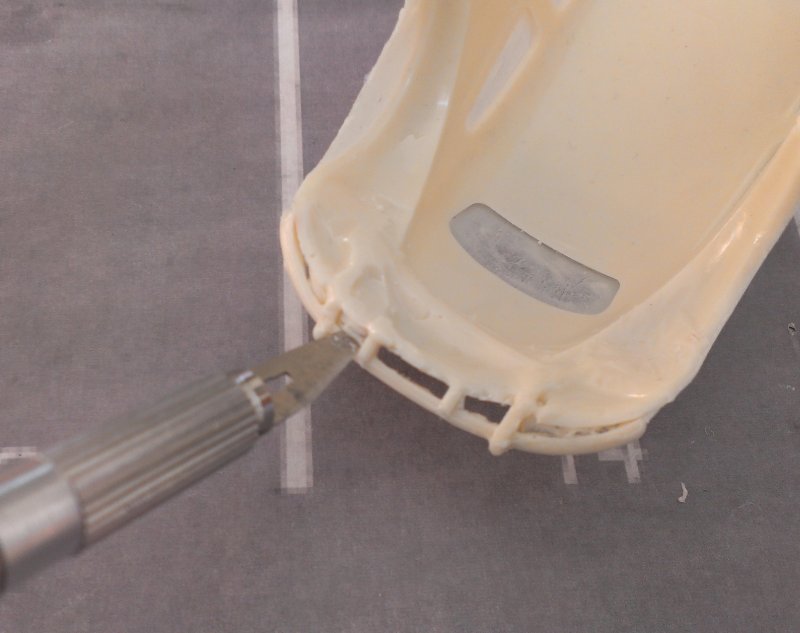
Using a scalpel, remove the casting flash around the bumpers as shown. Do these steps for the front and rear.
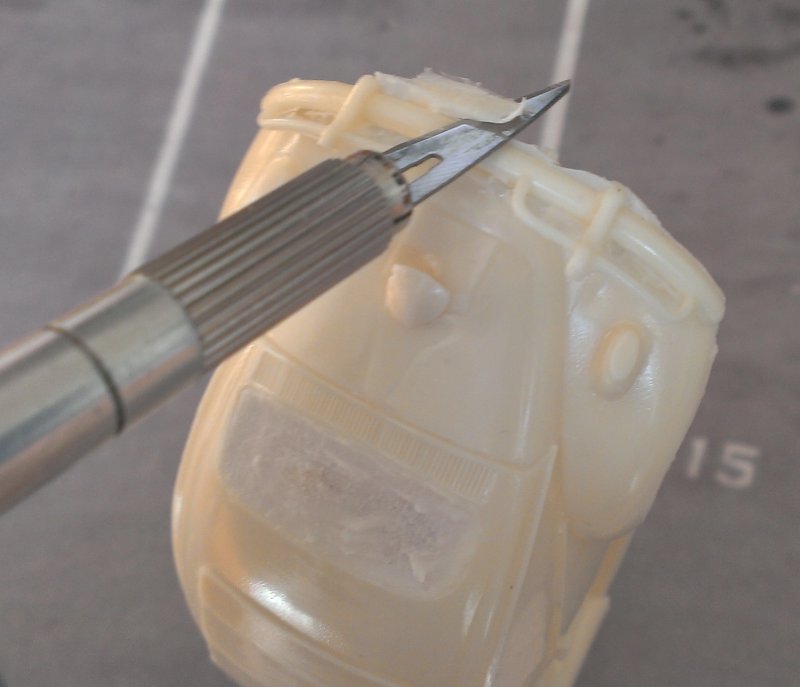
Then remove the resin from between the bumper “towel rails”. It’s very thin, but will show up with paint so must be removed.
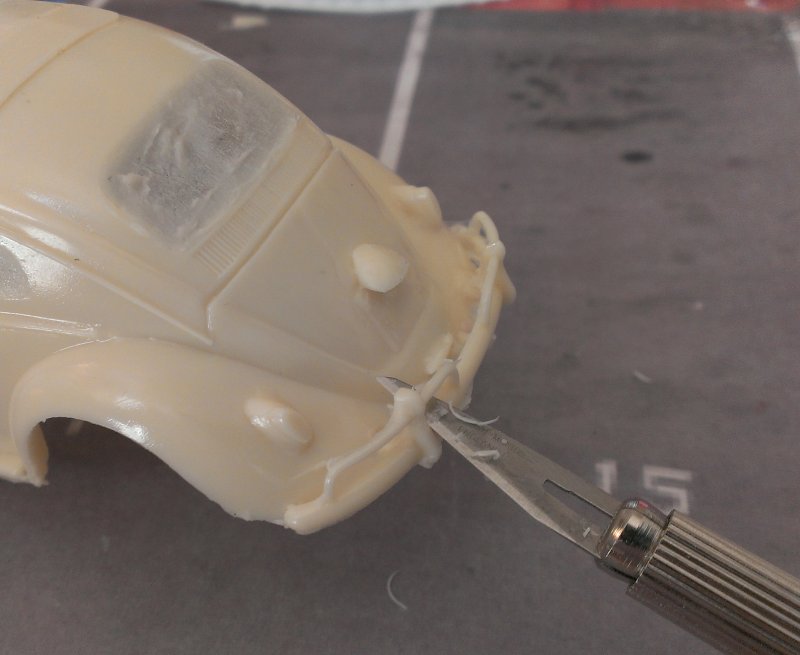
Now turn the bodyshell over and remove the resin between body and bumper
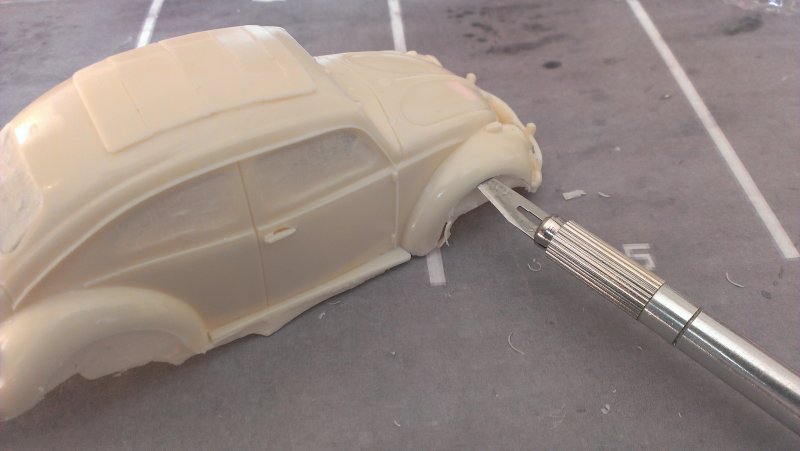
Next do the wheelarches.
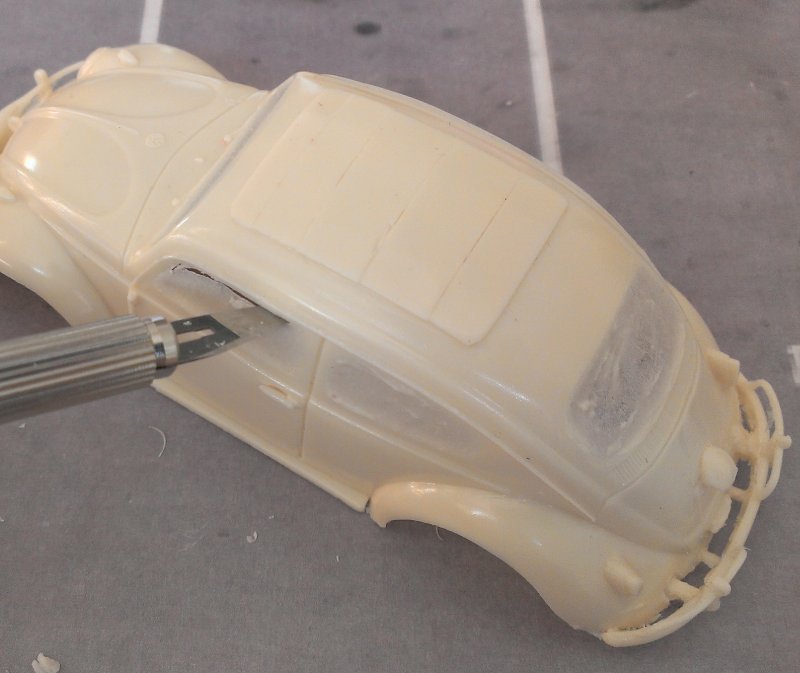
And then the windows. You can get the surface smooth with a needle file afterwards so don’t cut too close with the scalpel if you’re unsure.
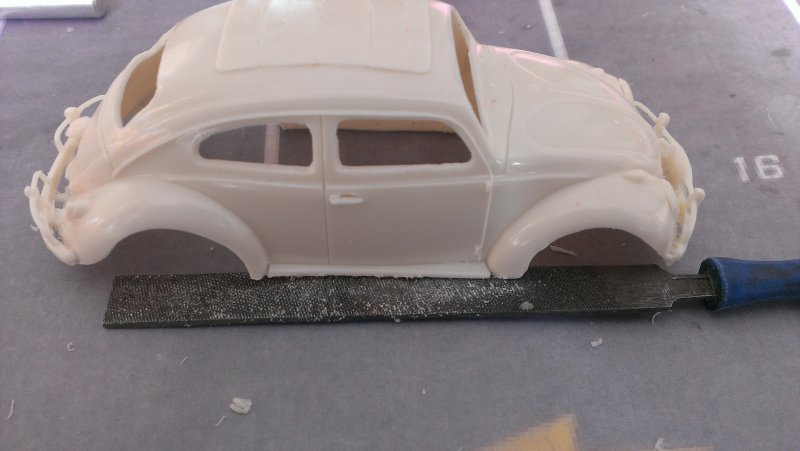
The area under the running boards needs to be flat, a file is best for this.
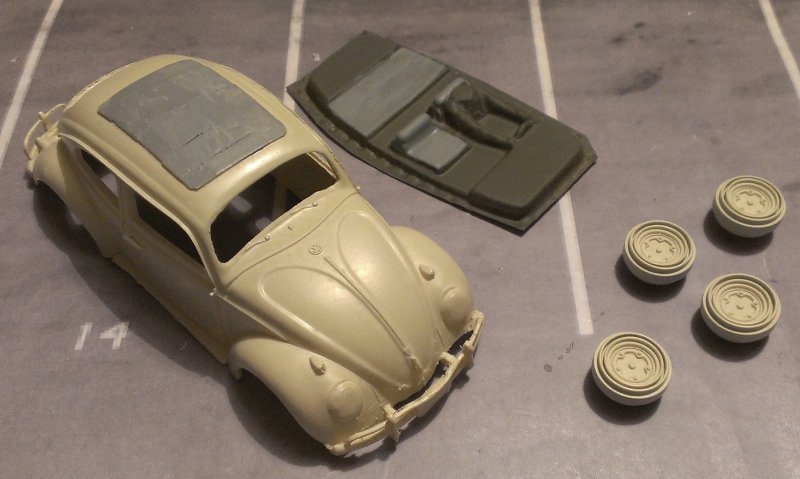
As always with resin parts, wash them in soapy water to get rid of any mould release agents, then leave them them to dry. Choose your favourite primer and get to it. The paint I used was L87 Volkswagen Pearl White, so I chose a white primer.
While waiting for the primer to dry I painted the resin wheel inserts and the alloy wheels Pearl White and the interior grey. The film cars had a grey interior to cut down on glare from the studio lights.
I use 600 grit wet & dry paper after the primer coats, then start with the white top coats making sure each coat is fully dry before sanding again. 600 grit between top coats, and usually 3 coats is enough.
I then used grey paint for the sunroof and a lighter grey for the seats, just to make it less boring to look at.
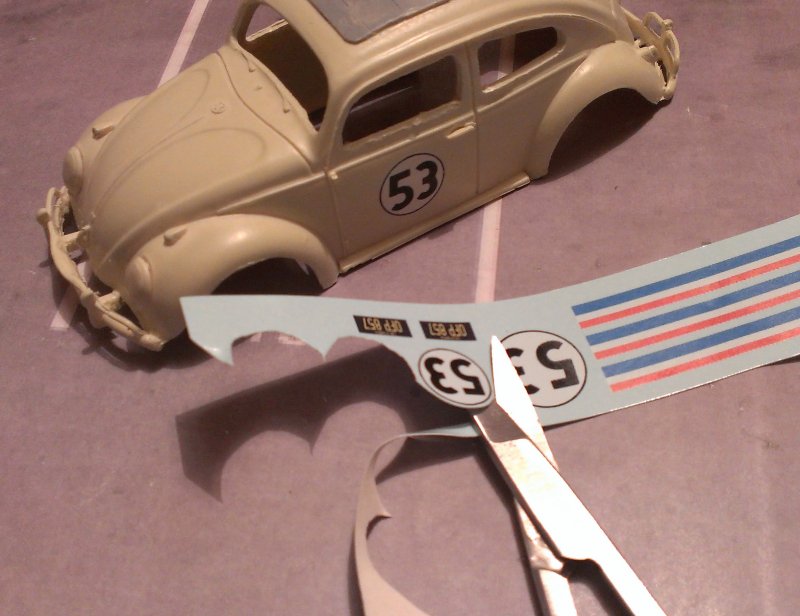
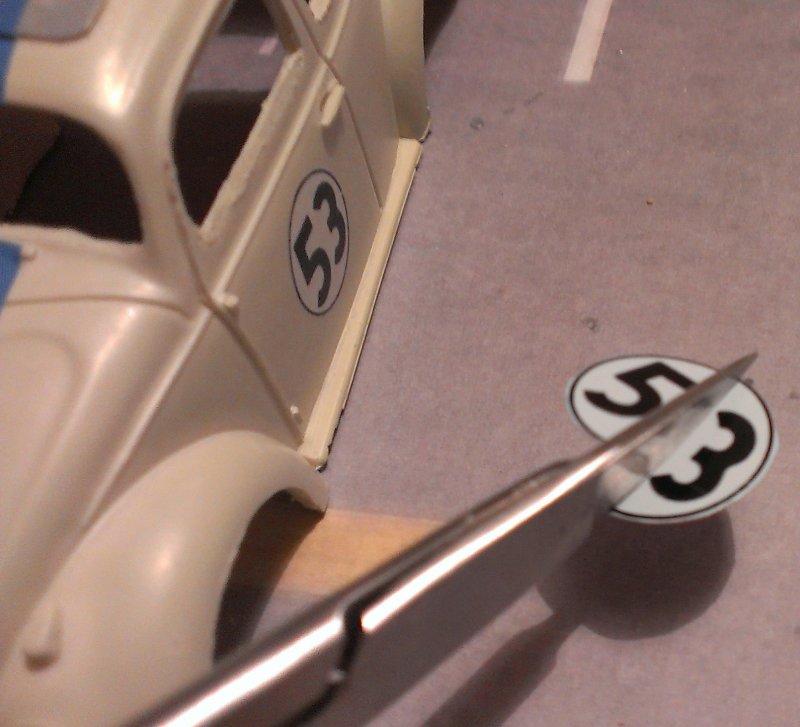
Carefully cut out the waterslide graphics. The decals have already been coated with one thin coat of a water based acrylic to help protect them whilst they are applied, however they are very thin and can tear easily. The clear film is continuous and so each decal must be cut carefully from the sheet. Cut with a sharp scissors, craft knife or scalpel but leave a small clear margin around each decal. This will help to prevent any potential solvent ingress when the decals are coated with clear lacquer and will reduce the chance of any ink flaking off.
The decals should be dipped into warm water for 20 seconds and should not be allowed to float off the backing paper in the water. Shake off any loose water, then within 30 seconds, slide into position on the model.
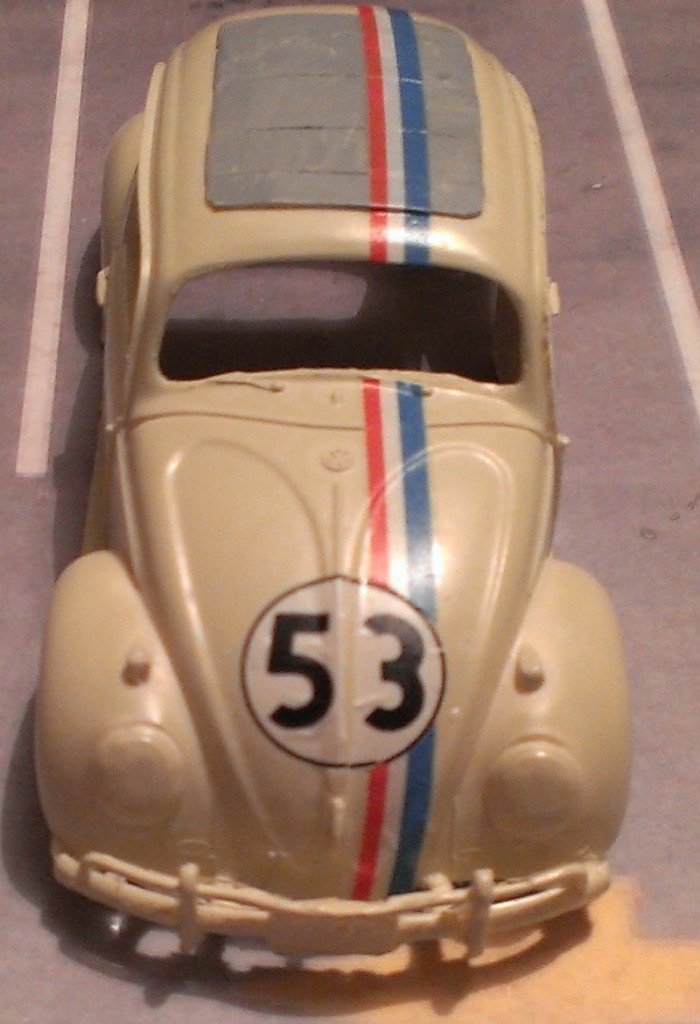
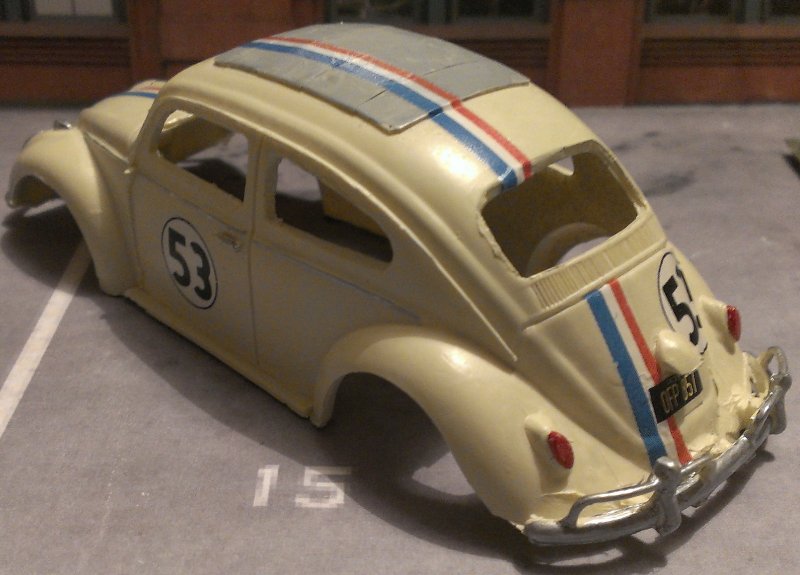
There are different sizes of 53 decals – the large one goes on the front, the small one on the rear and the other two on the doors. Have a close look at the pictures to get the placement right, not too high!
On the rear, get the top bar of the 5 about horizontal when viewed from dead behind.
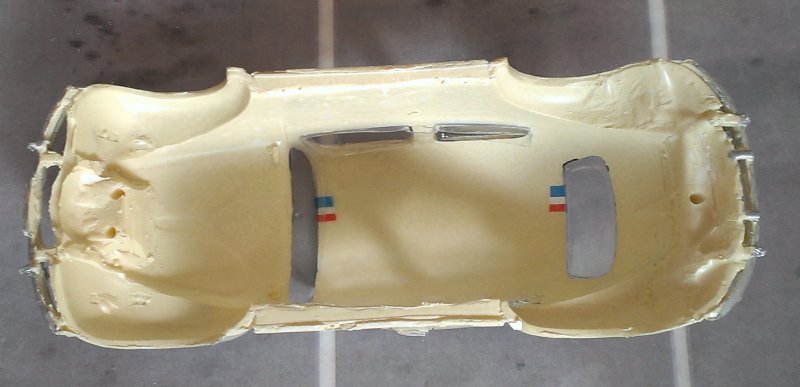
For the stripes, the blue goes to the outside. Cut it approximately to length then dip the stripe in the water. Line it up with the wind-shield wiper pivot as shown. The stripe should be red, white and blue so it will look a little different to the Pearl White paint.
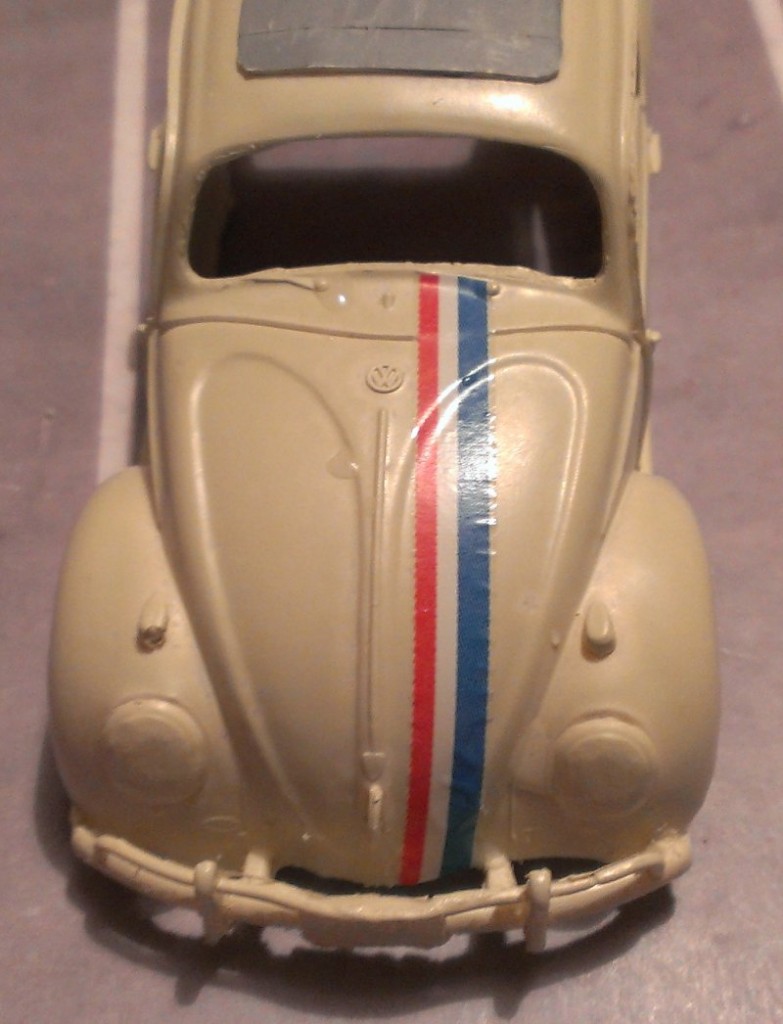
Over the roof and down the back, just missing the licence plate light.
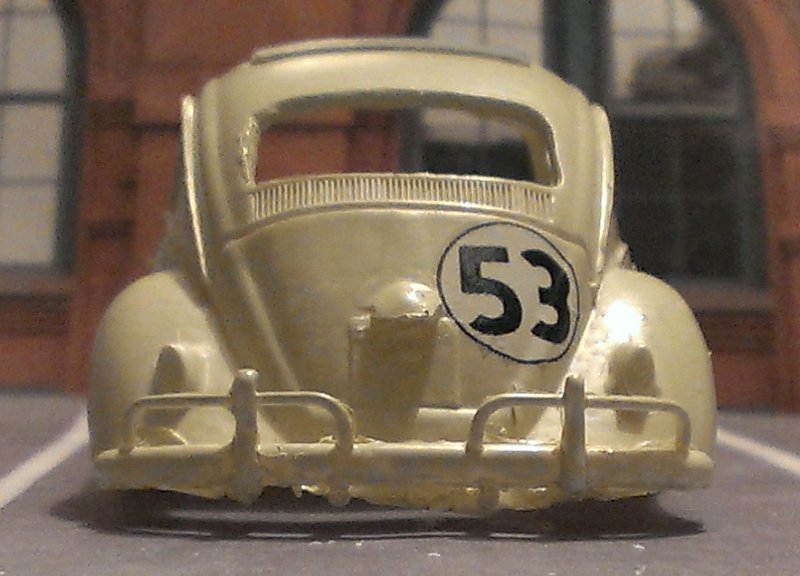
On the front, the car has a panel which curves in two directions which makes graphics wrinkle up. To avoid this, cut the 53 in half.
Lay it in position just above the Wolfsburg shield, don’t put it too high! Then with a scalpel cut through the stripes and remove what would be under the 53 decal.
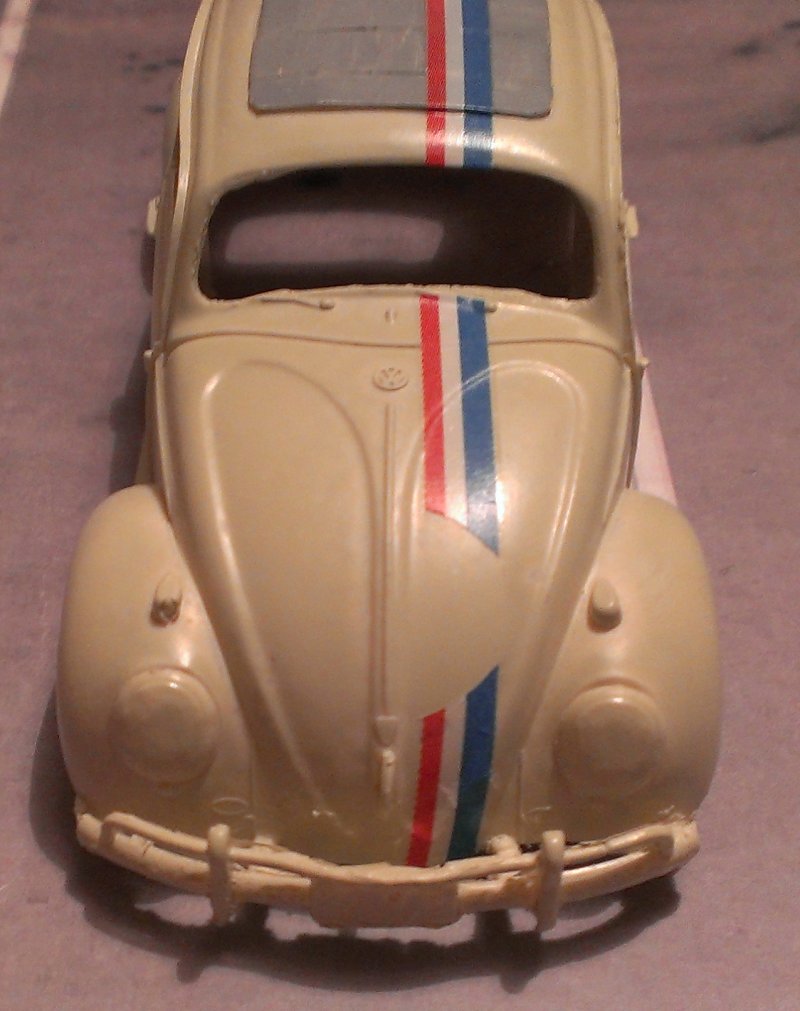
Then put the 3 part on. Get it as smooth as you can. As soon as I put the camera down I pushed the air bubbles out.
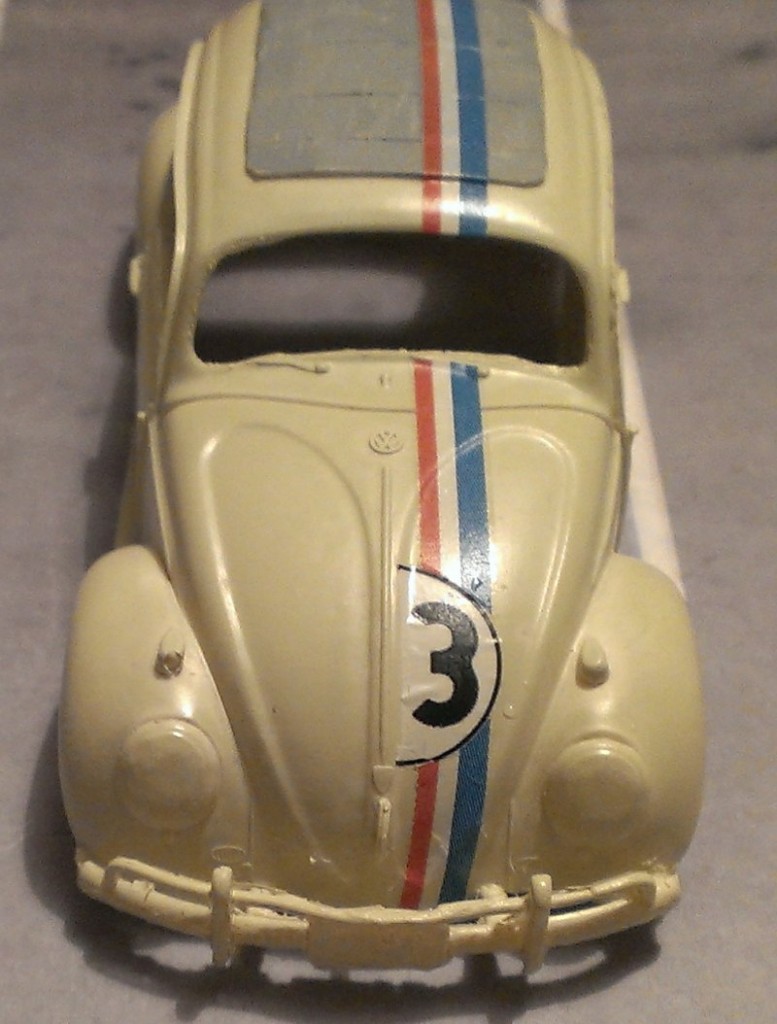
And then the 5.
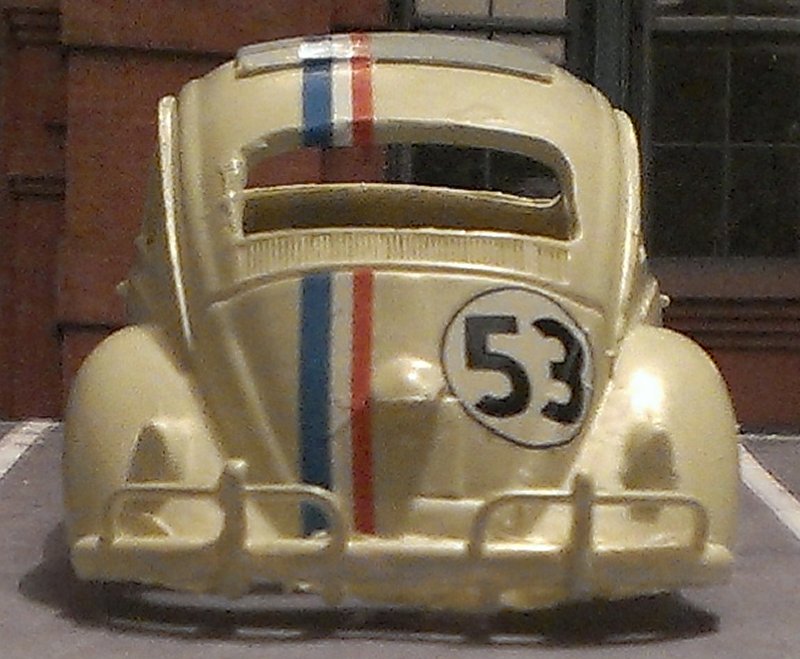
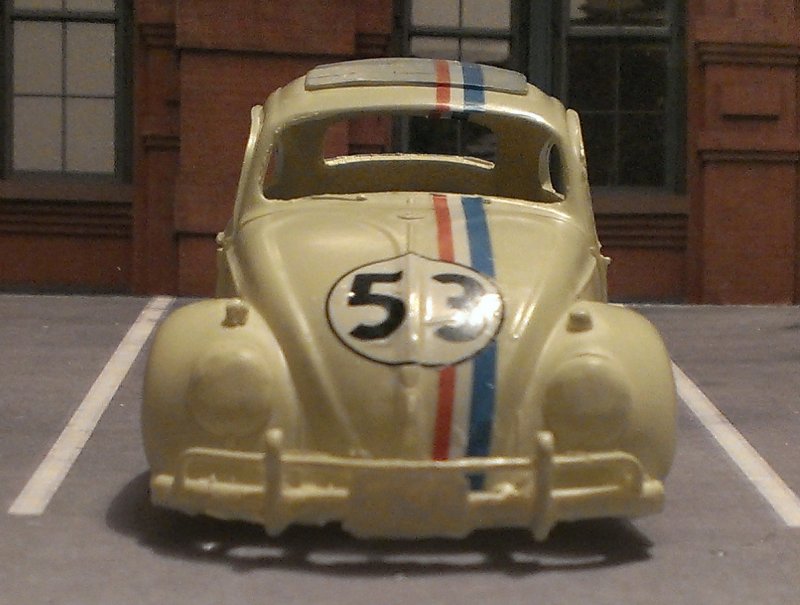
This is how it should look from the front, see how low the 53 is?
I use a silver paint pen for the chrome.
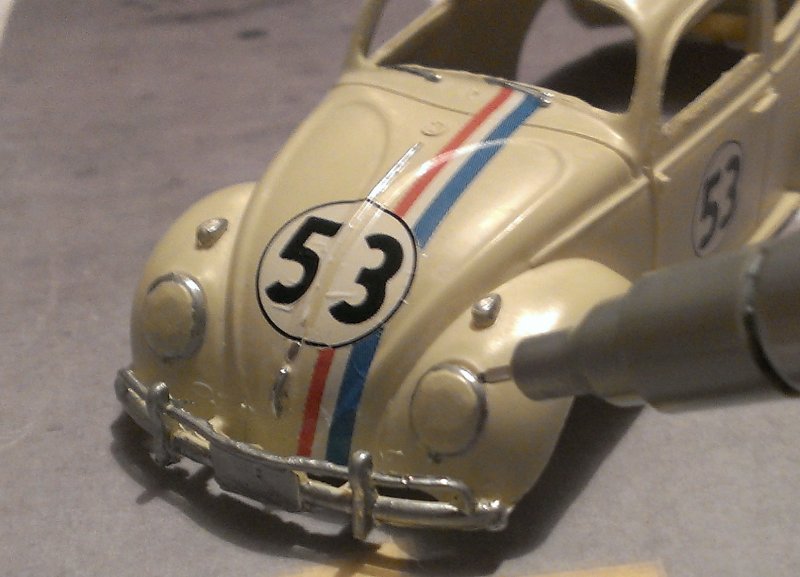
Once you’ve done the bumpers you can put the licence plates on, and do the tail lights in red. Don’t forget the side chrome strips too. For the headlights I use a very pale grey.
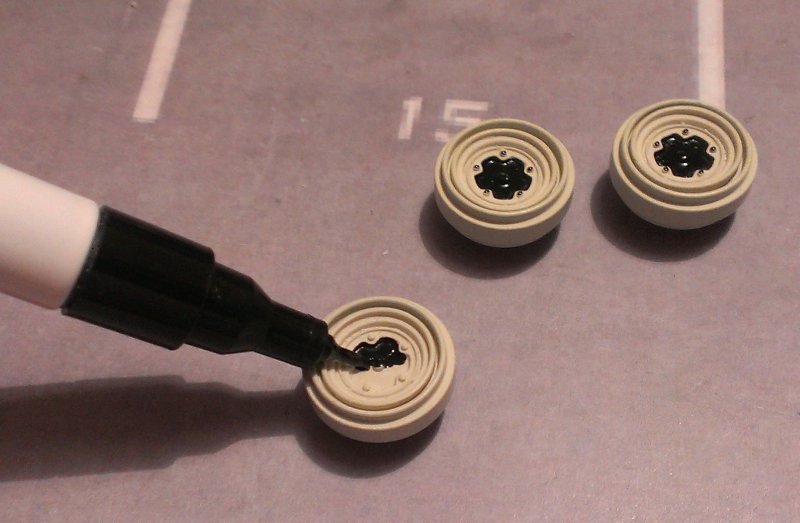
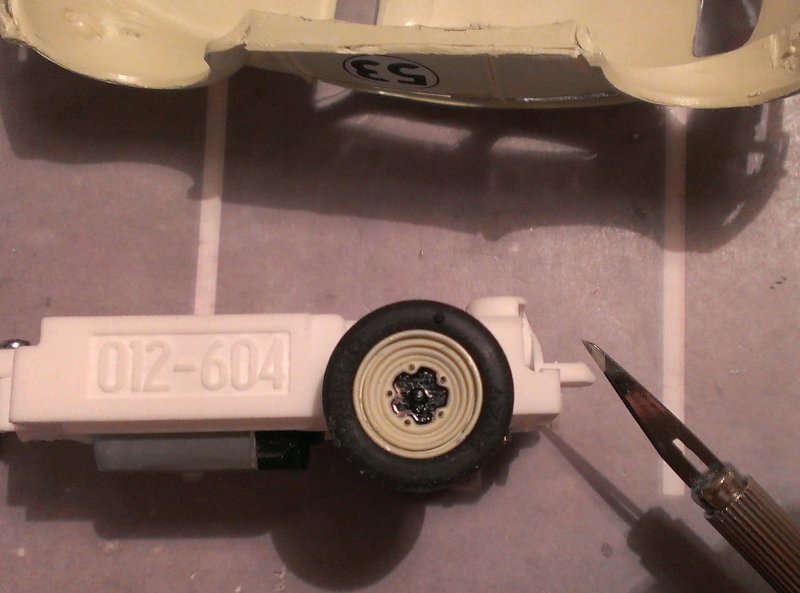
For the wheels, the brake drums should be black. Again, I find a pen is easier than a paint brush.
Then you can use a clear lacquer to paint the bodyshell, sealing the graphics against damage. Finish the interior too.

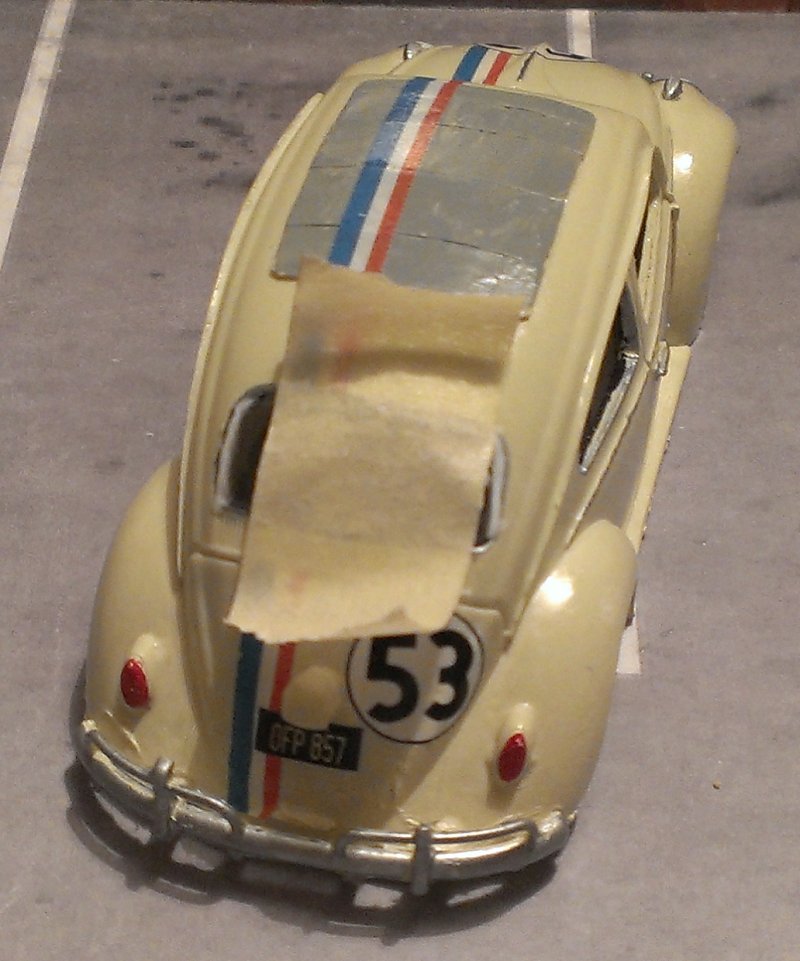
Using a sharp scissors, cut out the windows and hold them in place with masking tape. Use a Canopy Adhesive to glue them in place, this won’t make the windows go cloudy like most glues do.
Line up the chassis and mark where the holes need to be drilled. Two on the front.
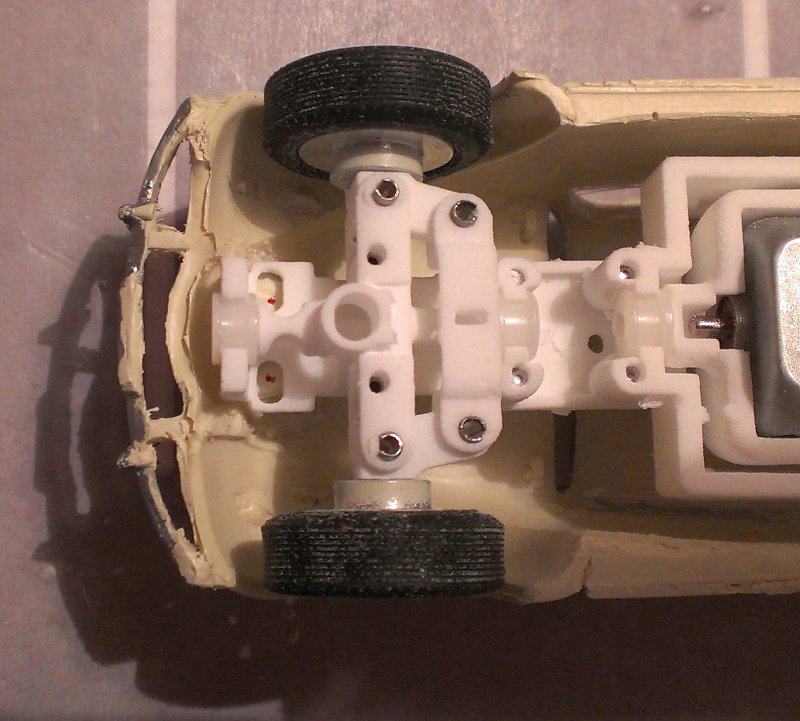
And one on the rear.
If the rear mounting hole seems a tight fit you can trim the mounting hole at an angle as shown.
Use a 1mm pilot hole but make sure you don’t go all the way through the bodyshell! Then use a 2mm drill, but again be careful with how deep you go.
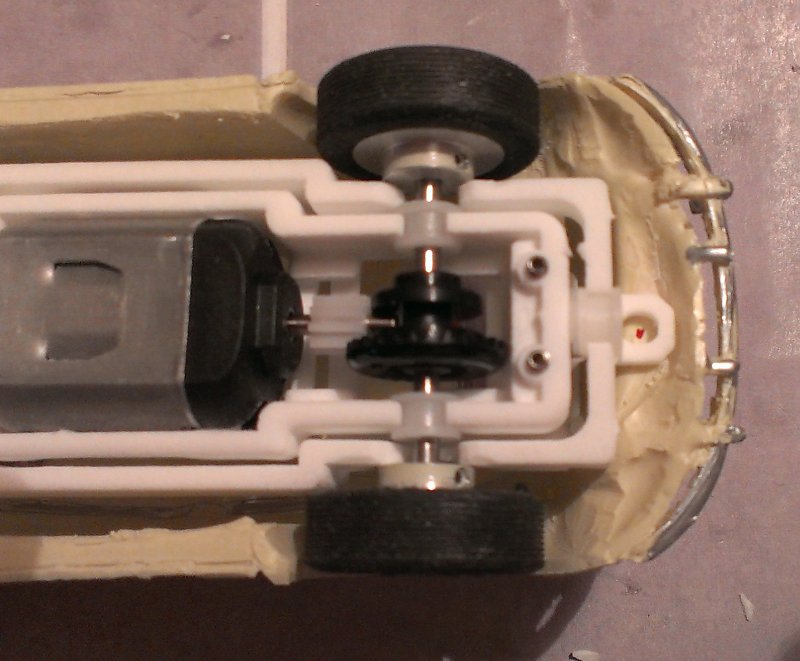
If the wheels foul the bodyshell at all, take a sharp knife and trim away anywhere that’s too close.
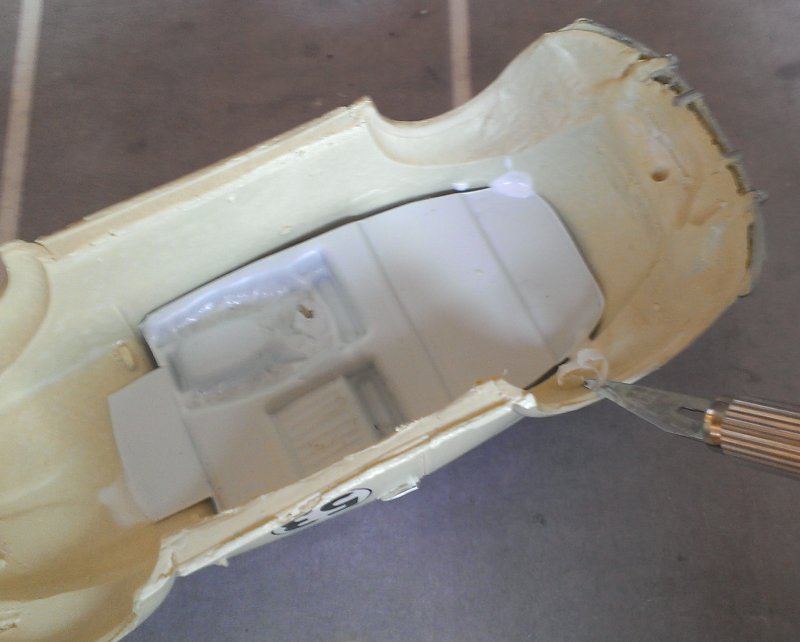
Glue in the interior with the same Canopy Glue and you’re ready to race!
This is how it drives, hold on tight!