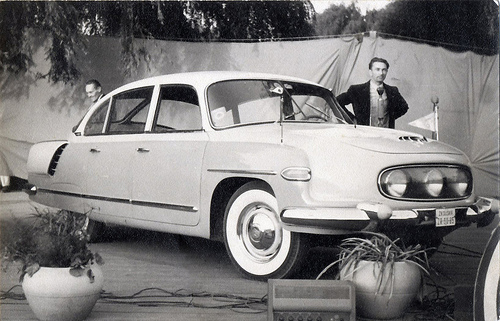
The Tatra 603 is an incredible car to Western eyes; an aircooled V8 in the rear, seating for 6 inside and styling that Derek Meddings would be proud of. Yet to those who know about Tatra’s history it’s a logical development of their large cars and follows neatly from the T77 and T87 before it.
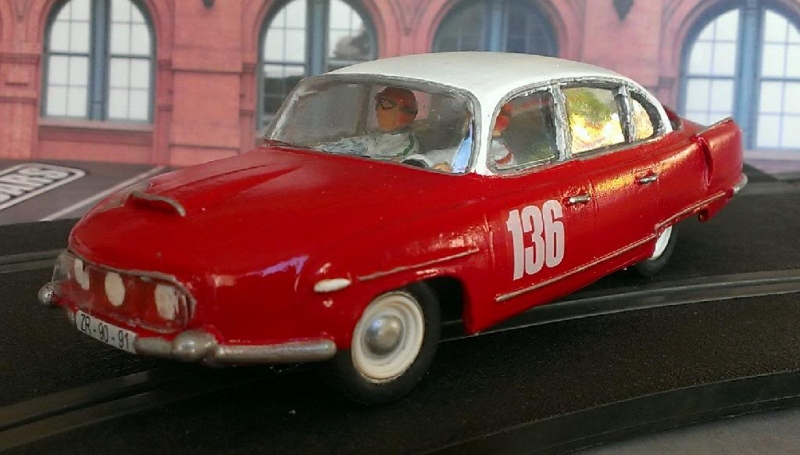
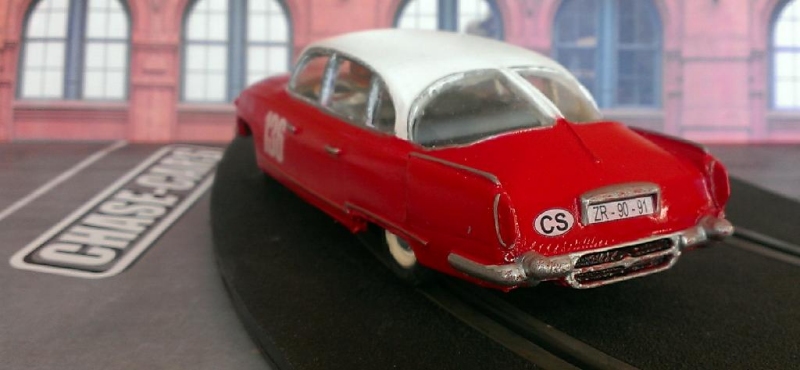
While the Tatra 603 was used as a government car behind the iron curtain, it was also entered in rallies across Europe so you can paint your chase-car as a rally car instead of plain, sinister black.
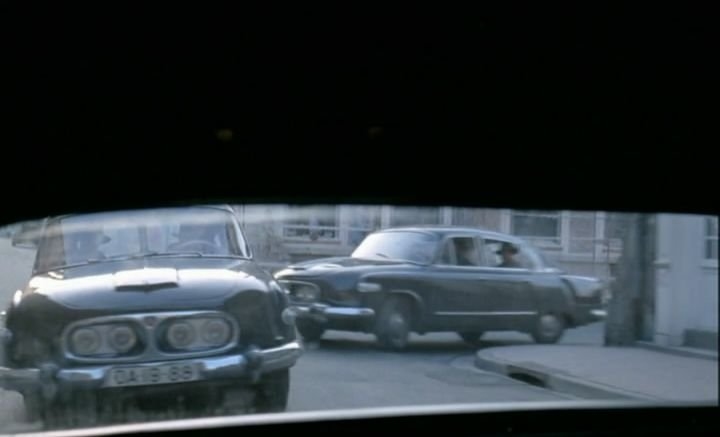
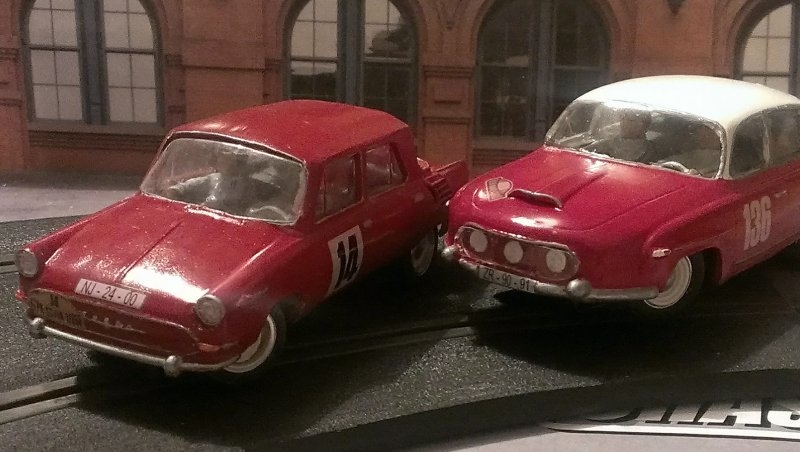
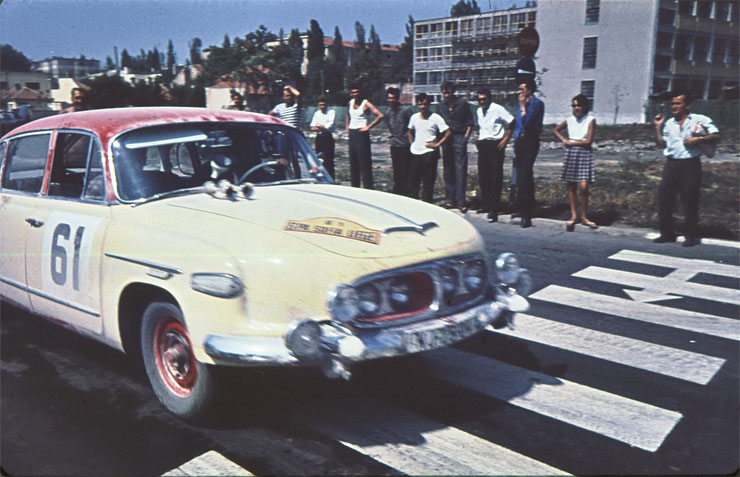
A sight which would terrify any Skoda driver of the ’60s. If they catch you, you’re in trouble.
Pale yellow with burgundy roof on this later Tatra.
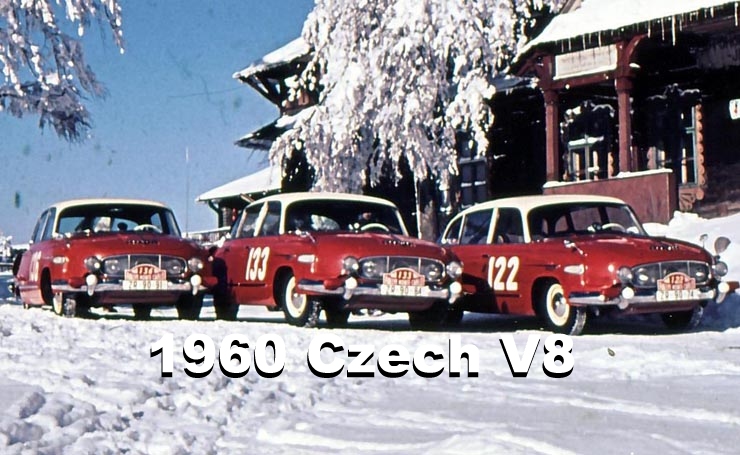
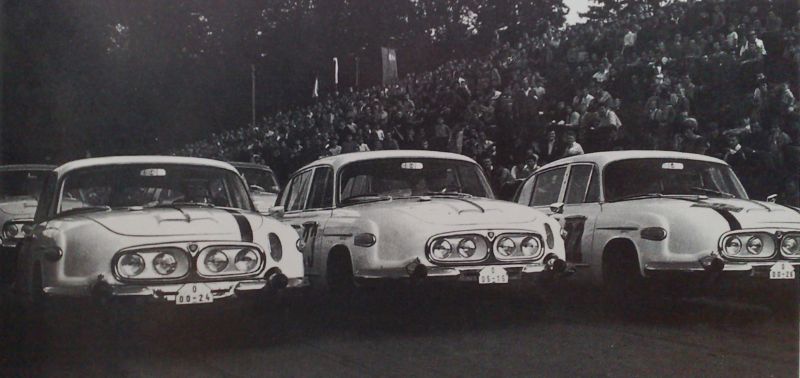
Tatra often entered in teams, the position of the black stripe on the car helped tell them apart.
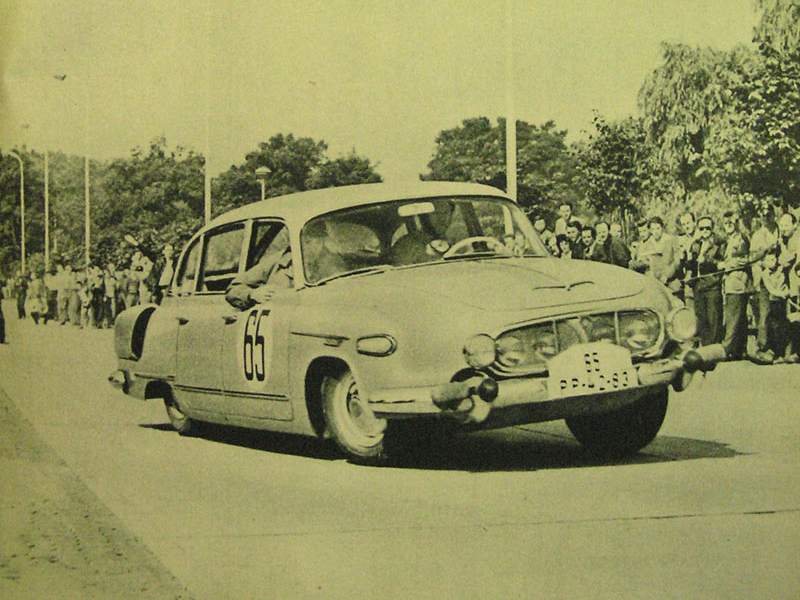
Get yourself over to youtube and watch the promotional film made in 1962. The driver is Tatra’s factory racing driver, Jaroslav Pavelka.
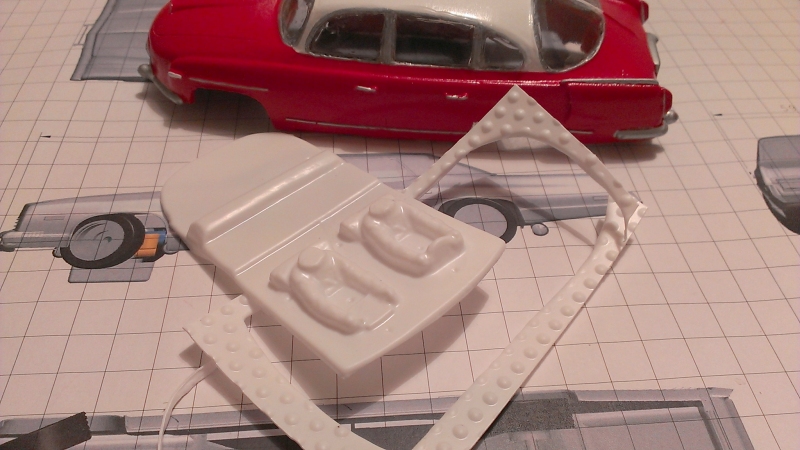
The 1:32 resin bodyshell is cast from a 2 part mould with body mounts already fitted, and the windows are much thinner and easier to cut out than with my older bodyshells.
In the kit you get
- Resin bodyshell
- Vacform windows
- Vacform interior
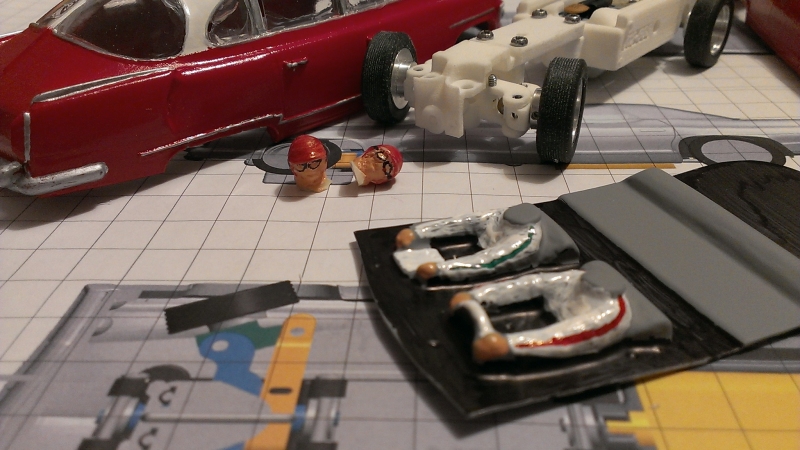
- Resin driver and passenger’s heads
- Resin wheel centres
- Waterslide graphics set
Bodyshell preparation is here, detail follows below.
To make it easier fitting the windows, I use a Dremel to thin the window pillars, you can see where it’s taken the paint off below
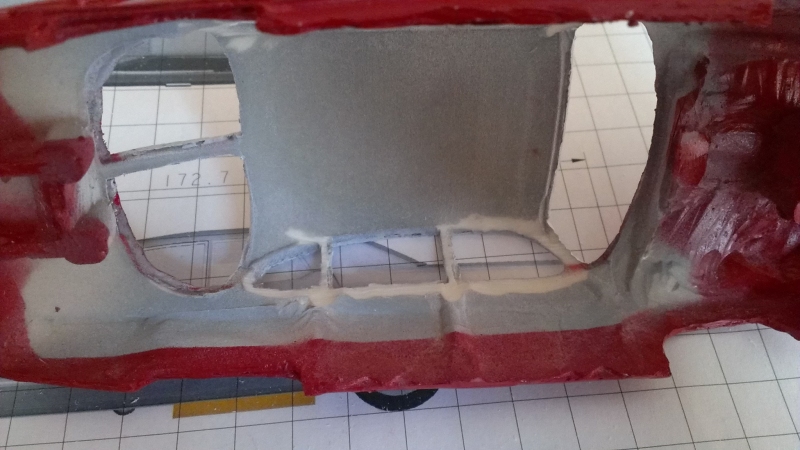
This means you can fit all 3 side windows in one block later. Next, we prepare for paint.
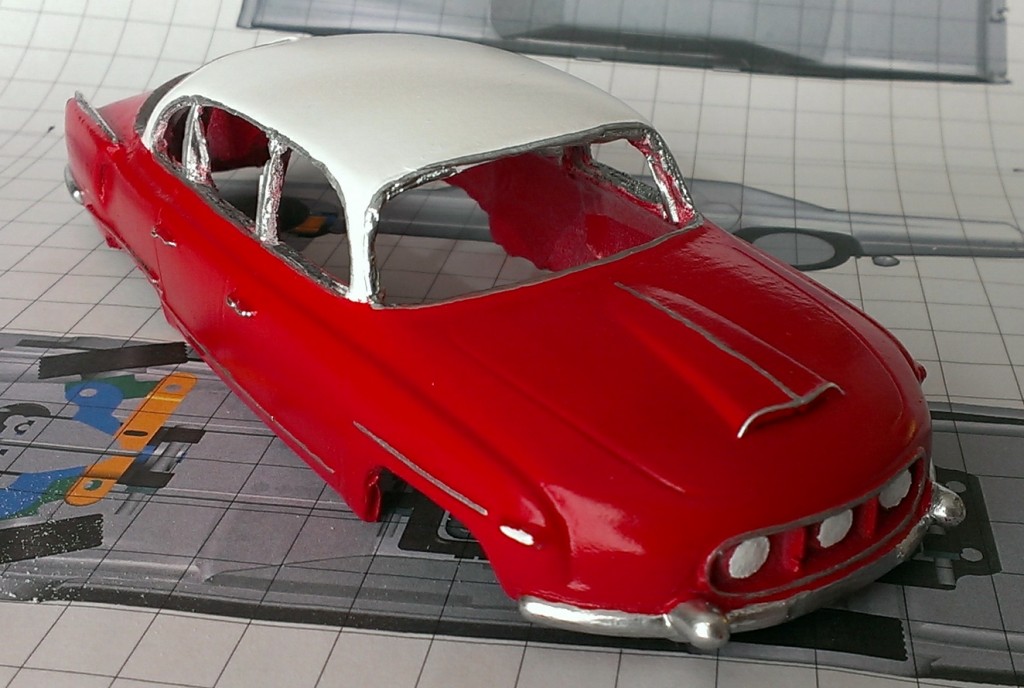
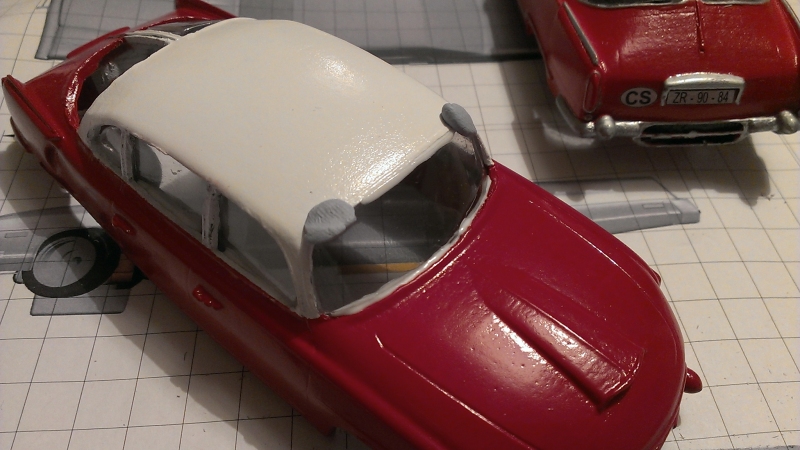
As always with resin parts, wash them in soapy water to get rid of any mould release agents, then leave them them to dry. Choose your favourite primer and get to it! This car is white over red, so first I used white primer, then white gloss paint. I then masked off the top and used red primer with red gloss paint.
I use 600 grit wet & dry paper after the primer coats, then start with the top coats making sure each coat is fully dry before sanding again. 600 grit between top coats, and usually 3 coats is enough.
Then use silver paint, or a silver paint pen (Edding 751 or Edding 780) to pick out the chrome. I chose a white paint pen for the headlights as a contrast, and white for the front indicators.
Next, apply the decals. The decals have already been coated with one thin coat of a water based acrylic to help protect them whilst they are applied, however they are very thin and can tear easily. The clear film is continuous and so each decal must be cut carefully from the sheet. Cut with a sharp scissors, craft knife or scalpel but leave a small clear margin around each decal. This will help to prevent any potential solvent ingress when the decals are coated with clear lacquer and will reduce the chance of any ink flaking off.
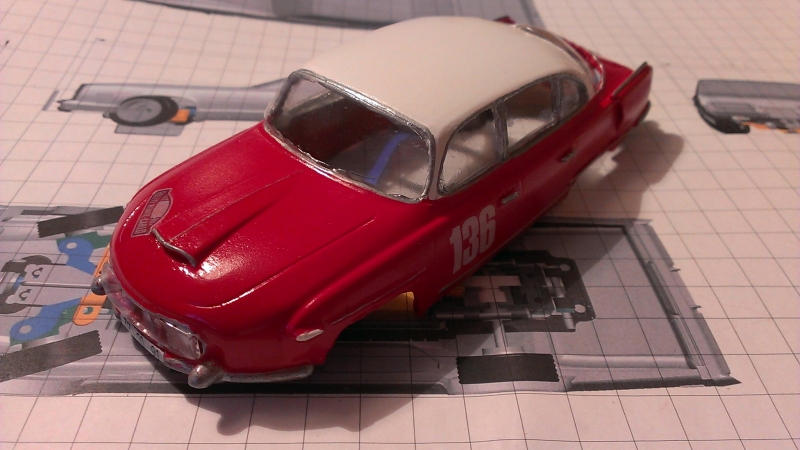
Once the decals are on, you can spray the whole car with clear lacquer to protect the graphics and the silver paint. Next, fit the windows.
As mentioned previously, once you’ve thinned the side pillars it is possible to fit all 3 side windows in one go, reducing the amount of glue you need. Use an adhesive which will not make clear plastic bloom, like Canopy Glue.
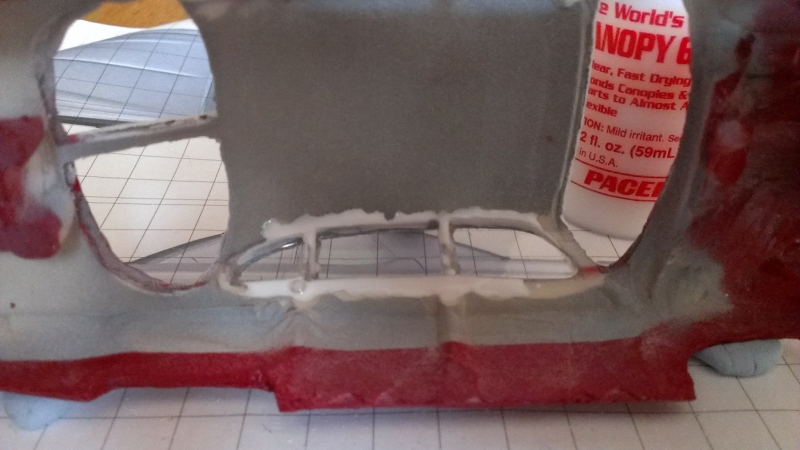
Use tape or Blutak to hold the windows while the glue dries.
Now for the interior. Cut the vacform part to fit.
Paint the interior tray in a matt colour and add details.
Glue the interior with the same Canopy Glue so the windows don’t mist up, and get on the track!