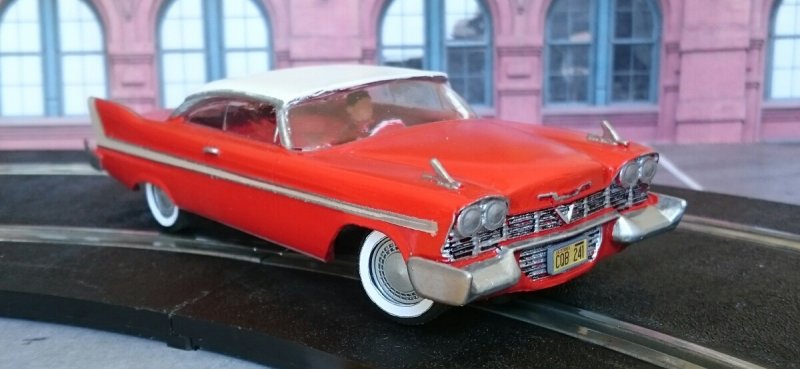
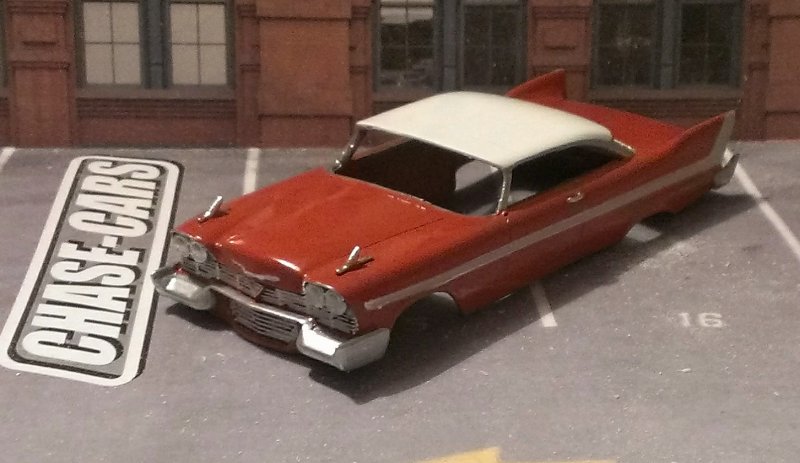
You might recognise this car from a horror film, but actually this car stands on its own for performance. Before the mid ’50s Plymouth was the brand if you wanted slow, boring cars for older folks, maybe if you lived in an agricultural community. Sophisticated it was not.
But in 1955 Plymouth suddenly got more exciting; a V8 engine, sharp styling and two tone paint all helped to make things snappier, the conservative Plymouth owners couldn’t believe it. In 1956 the V8 was changed to make 240 horsepower, that wasn’t just a lot for Plymouth, it was a lot for any car. The 303 cubic inch motor came from Canadian Chrysler which qualified it for NASCAR racing. The sides of the car got a gold anodised flash to accentuate the styling, the interior colours were jazzed up and the Fury was one of the few sedans to get a tachometer.
For 1957 their styling was improved again, a lower window line made it look more sporty, the engine was now 318 cubic inches and with dual 4-barrel carbs it made 290 horsepower.
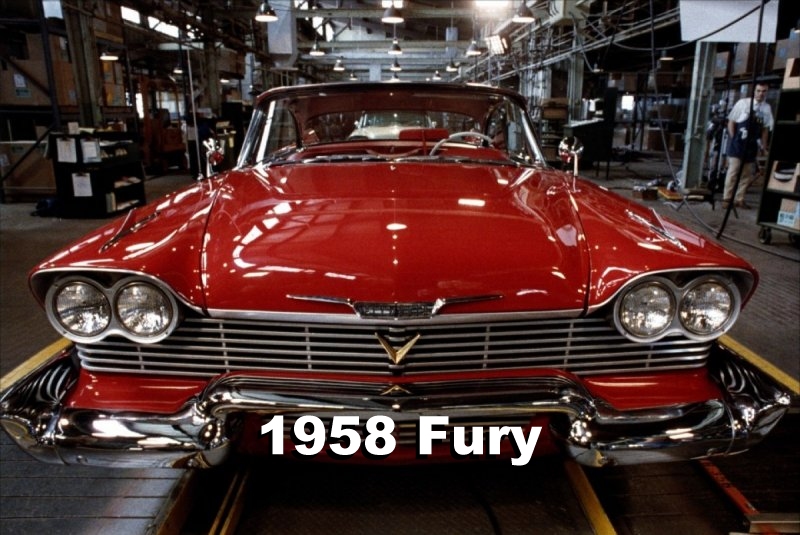
In 1958 the car was given four headlights and the 290 horsepower engine was standard, although there was an optional 350 cubic inch version that made 305 horsepower and with fuel injection it made an amazing 315 horsepower. The torsion bar front suspension gave good handling and the whole car was an amazing package. Years later, Stephen King chose the Fury as Christine, that shows how special the car was at the time.
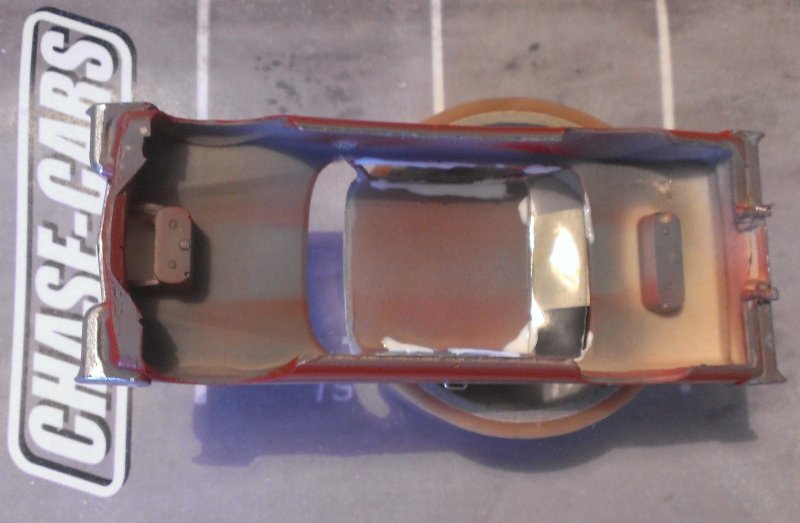
The 1:32 resin bodyshell is cast from a 2 part mould with body mounts already fitted, and the windows are much thinner and easier to cut out than with my older bodyshells.
In the kit you get
- Resin bodyshell
- Vacform windows
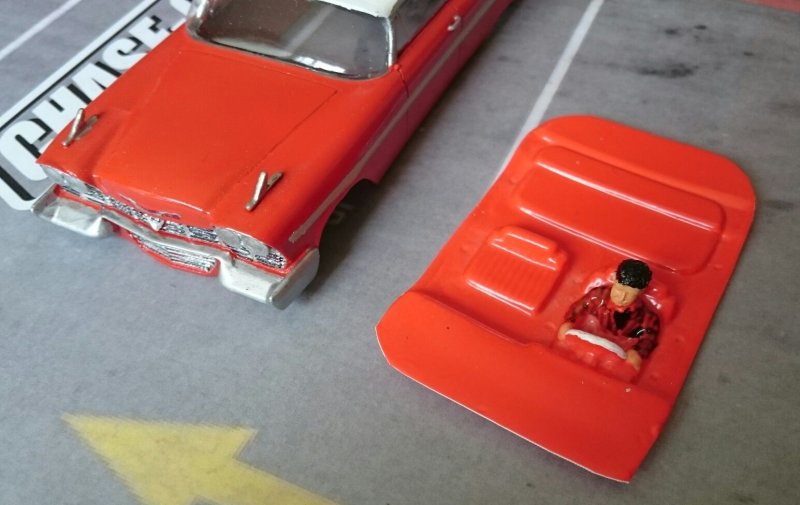
- Vacform interior
- Resin driver’s head
- Resin wheel centres
- Waterslide graphics set
Bodyshell preparation is here, detail follows below.

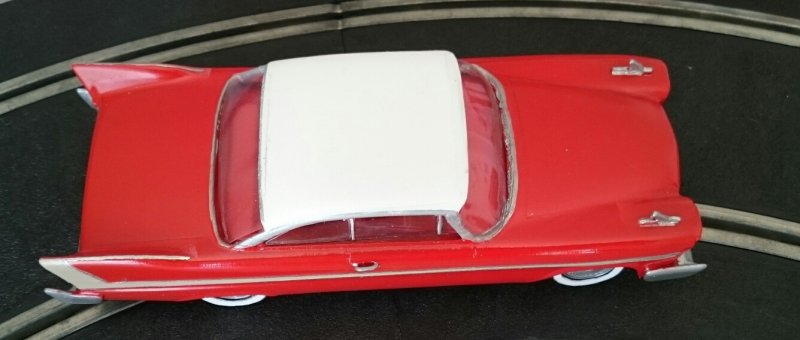
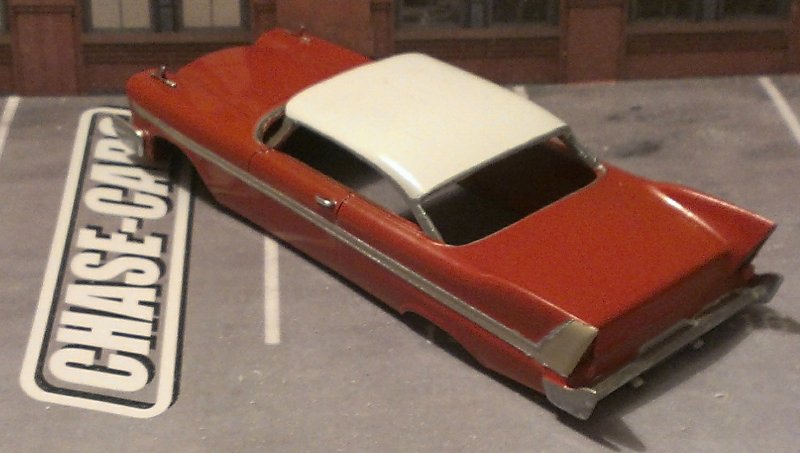
I started with the roof so masked off the rest of the bodyshell and used white primer, 600 grit wet and dry paper and then a couple of white top coats.
After waiting for 24 hours I masked off the roof and used primer grey for the rest of the car, with 3 coats of red paint.
Another 24 hours passed and I wanted beige paint for the side flash, so I masked off all the red and white and used white primer and two coats of beige on the sides.
Pick out the details with chrome paint, and use a straight edge to put a chrome surround to the beige trim.
For the windows, cut them from the vacform sheet and glue them into place with Canopy Glue, most other glues cause the windows to fog up. Hold them in place with masking tape while the glue dries.
Paint the interior to suit
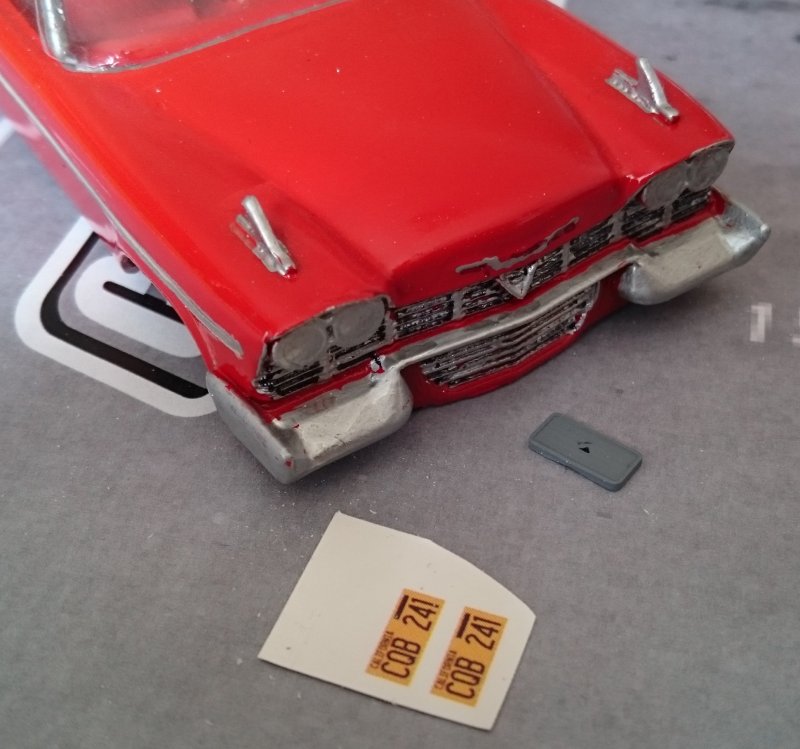
Carefully cut out the waterslide graphics. The decals have already been coated with one thin coat of a water based acrylic to help protect them whilst they are applied, however they are very thin and can tear easily. The clear film is continuous and so each decal must be cut carefully from the sheet. Cut with a sharp scissors, craft knife or scalpel but leave a small clear margin around each decal. This will help to prevent any potential solvent ingress when the decals are coated with clear lacquer and will reduce the chance of any ink flaking off.
The decals should be dipped into warm water for 20-30 seconds and should not be allowed to float off the backing paper in the water. Shake off any loose water, then within 30 seconds, slide into position on the model.
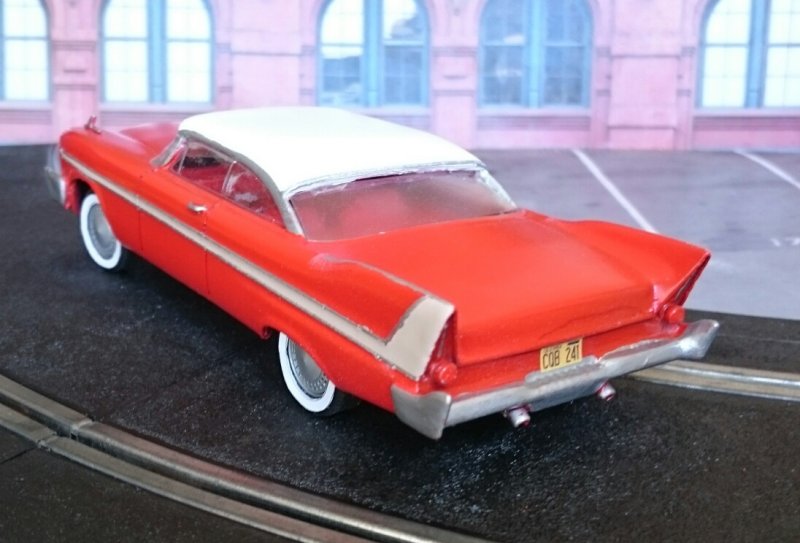
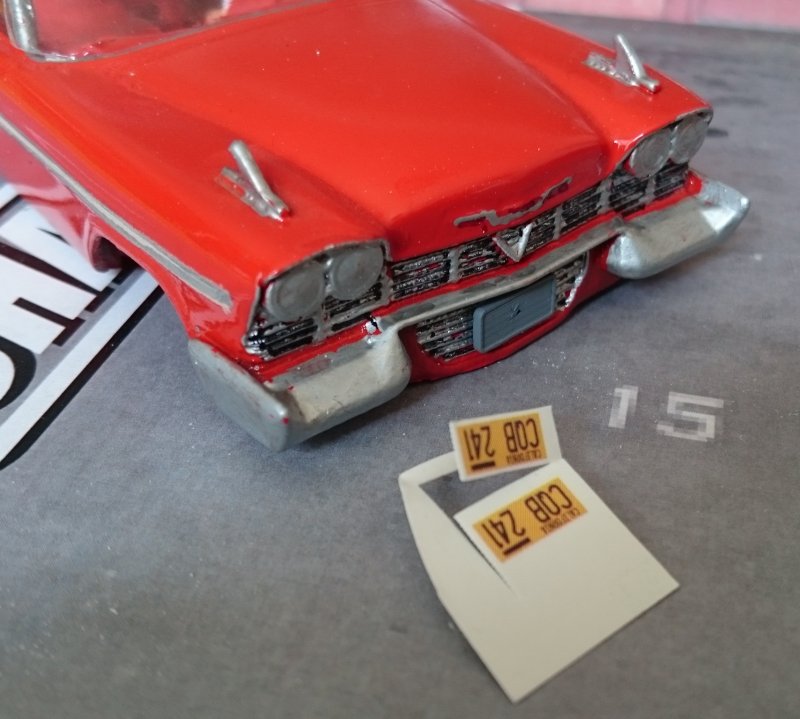
This model has the licence plate as a separate resin part so you can make it with or without.
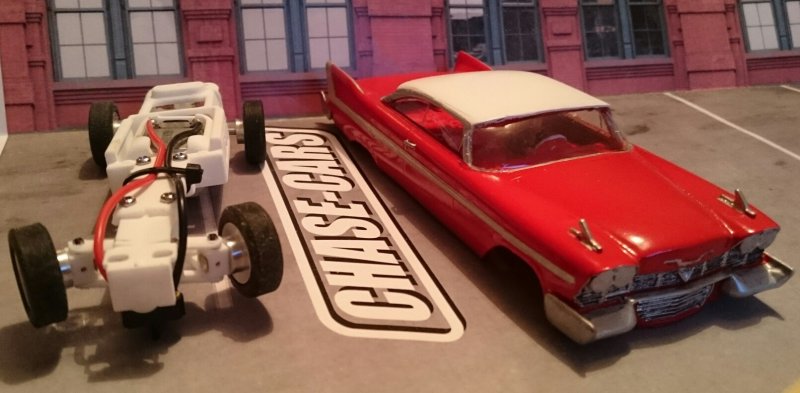
Drill the holes for the chassis and you’re good to go.
The resin wheel centres should be painted chrome, you might like to paint whitewalls onto your tyres too.