
This is where I normally write some stuff about the car but actually you can read all about it on my blog here.
In the kit you get
- Resin bodyshell
- Vacform window
- Driver figure
- 3D Printed wheels
- GoodYear tyres
- Motor pod
- Steering system
- Guide including braids, ferrules and silicone wire
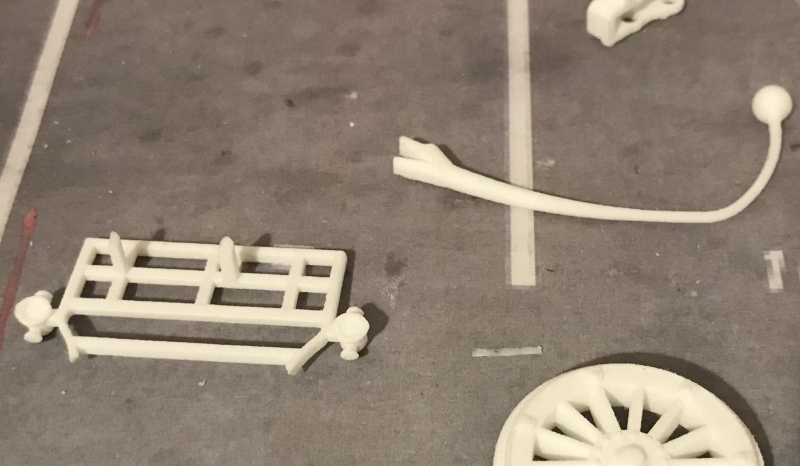
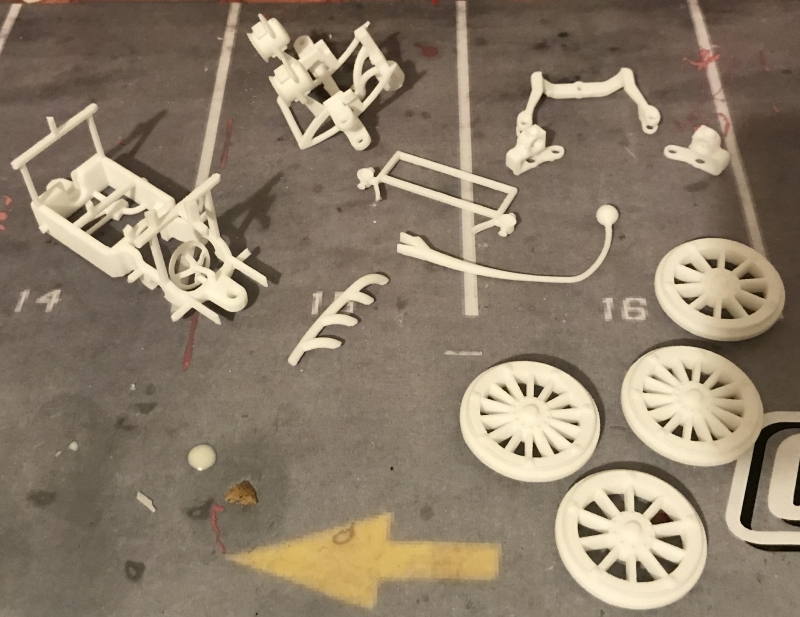
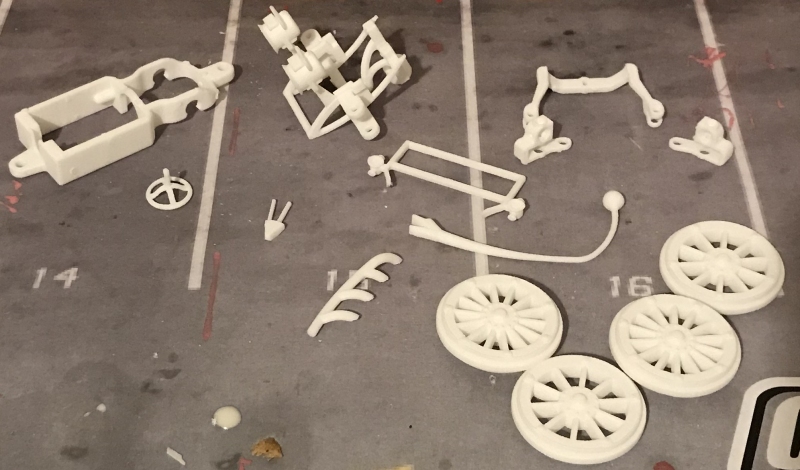
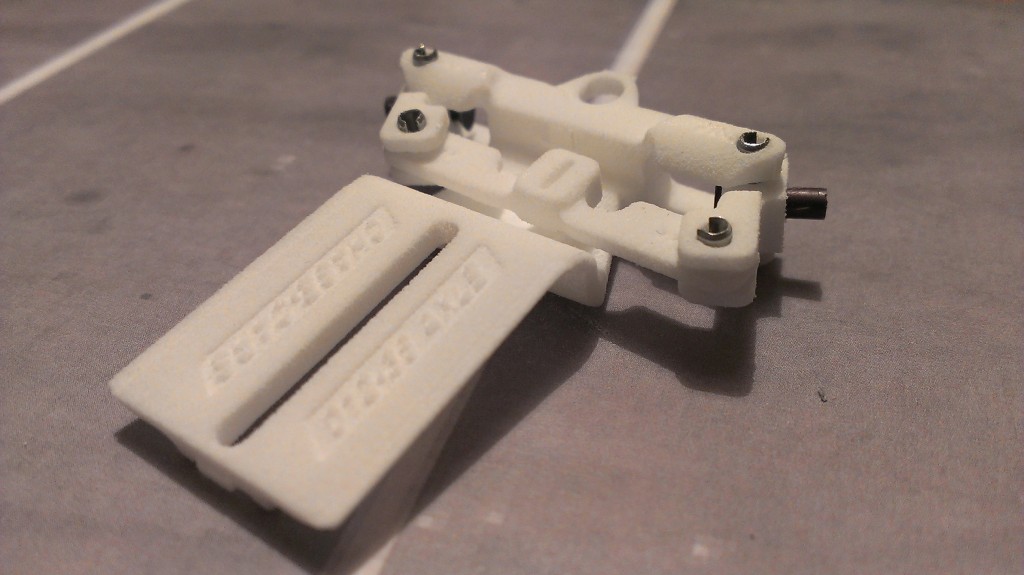
In fact everything you need except a Mabuchi motor from a 1980s – 2000s Scalextric car. Here are the parts you start with, the tyres and guide aren’t shown because they don’t need any work.
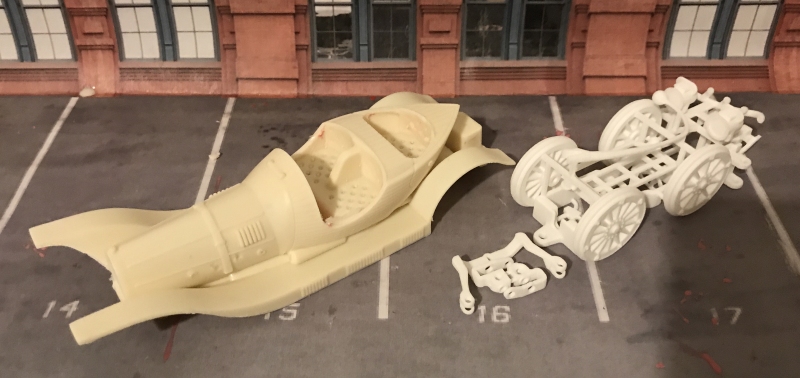
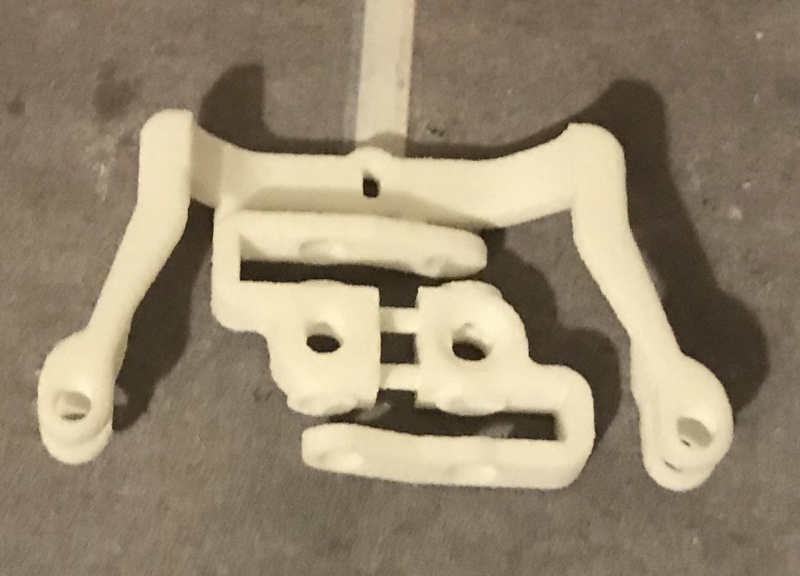
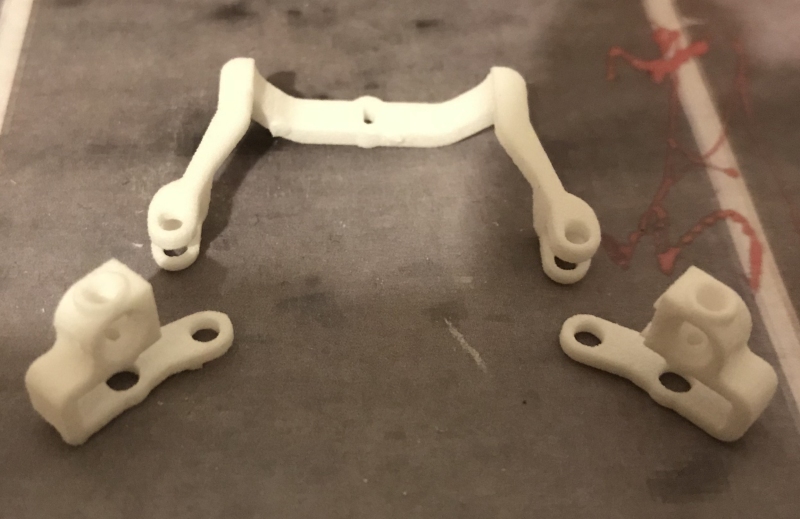
First, get the steering components and separate them using a flush-cut side cutters. The steering assembles like the other ones in my range so if you’re not sure, you can look through those pictures too. There are 3 components here, the left hub, right hub and steering linkage.
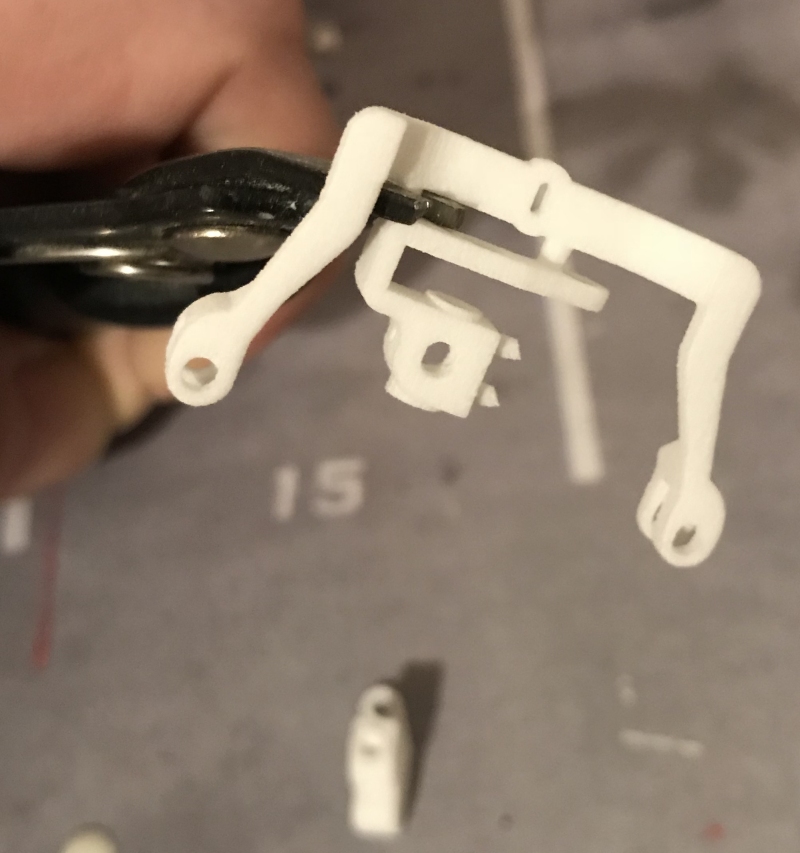
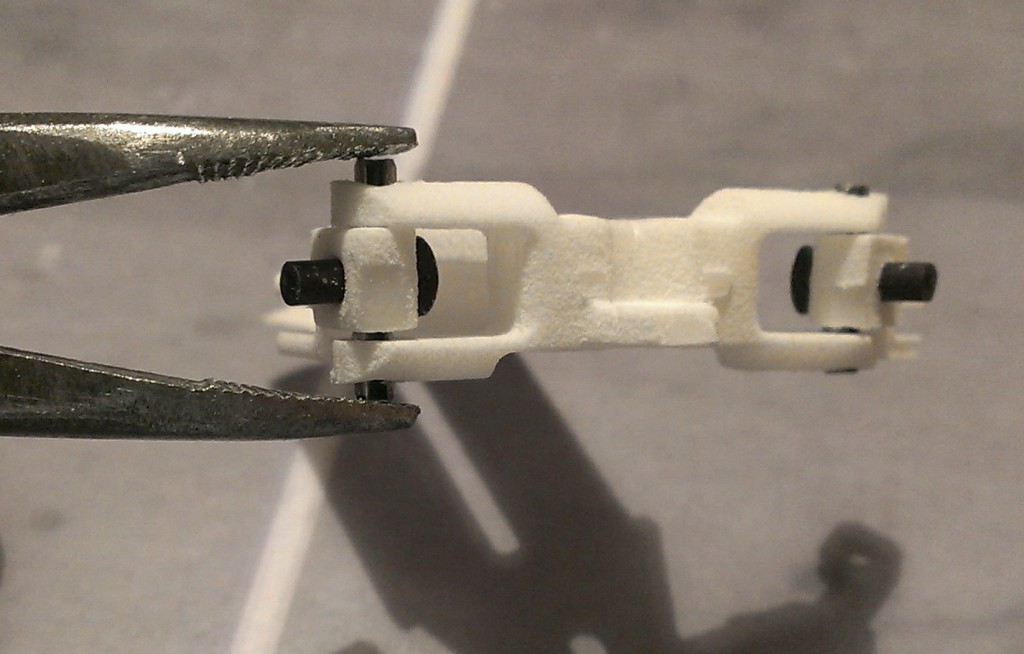
Take the side cutters and cut through the joins as shown. One hub from the set.

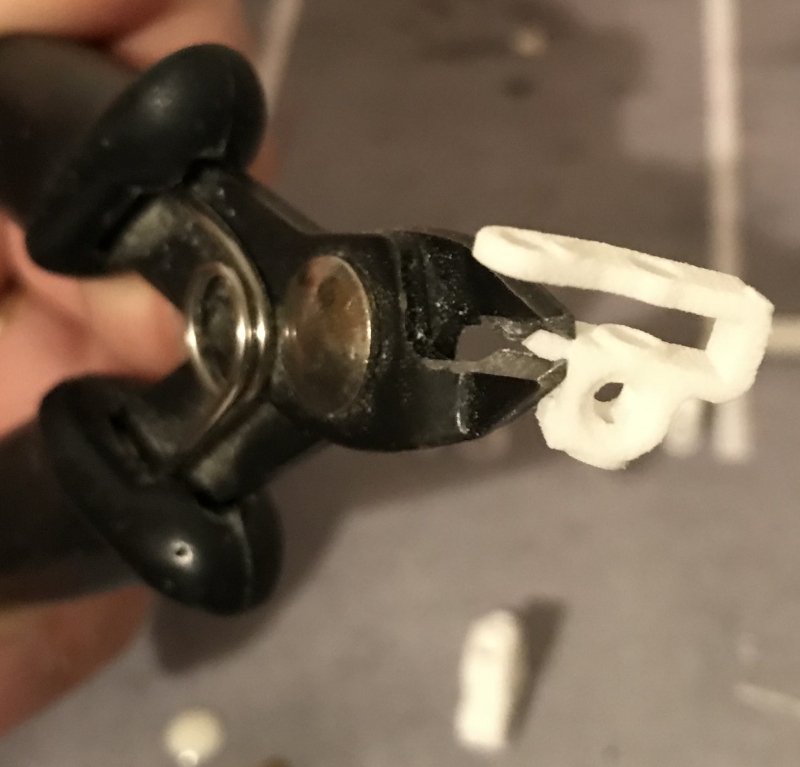
Then remove the other hub
Now trim the joining parts off the hubs so they’re clean. Side cutters or a sharp scalpel can be used.
The finished parts should look like this
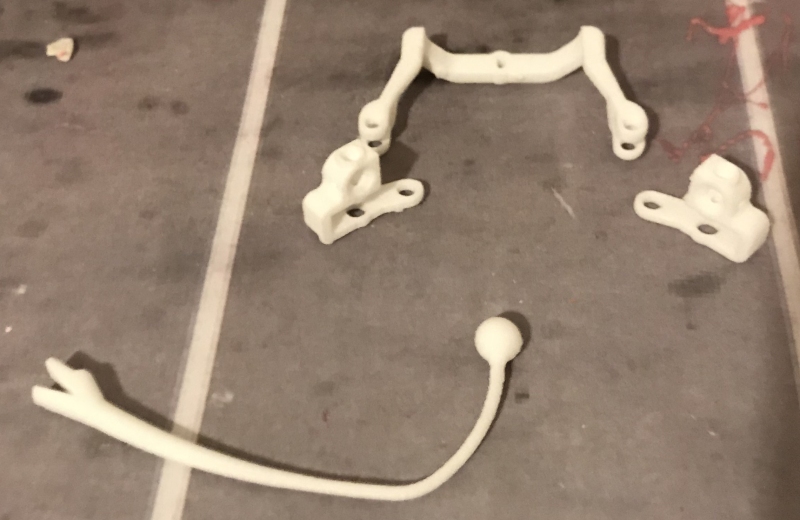
Now remove all the other detail parts. Start with the boa constrictor horn but be careful, it’s very thin!

The pile of finished parts is growing, slowly
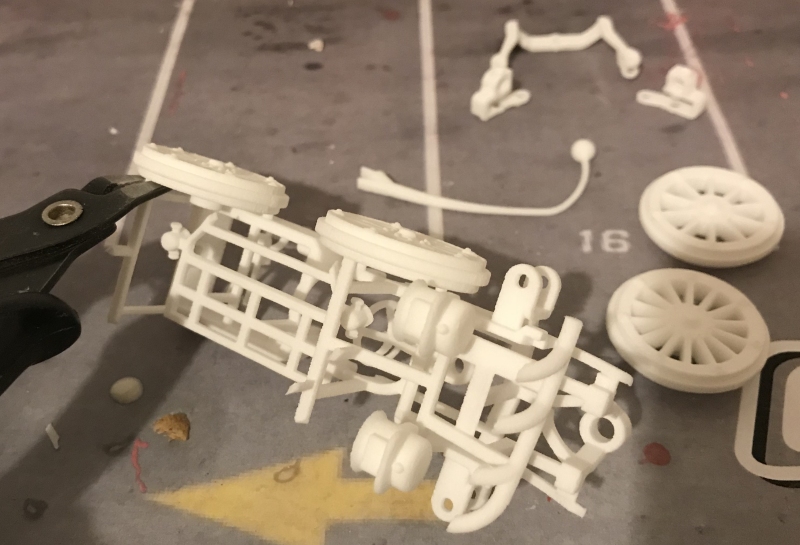
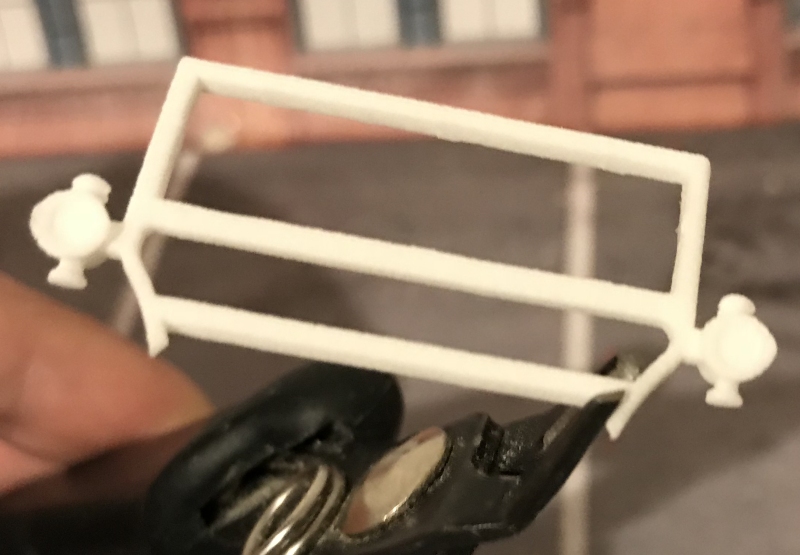
Now remove the wheels. The rear wheels have more spokes than the front wheels.
Next remove the windscreen. This has several strengthening ribs to let it survive the 3D printing and polishing process but we’ll take these off later.
It’s getting there….
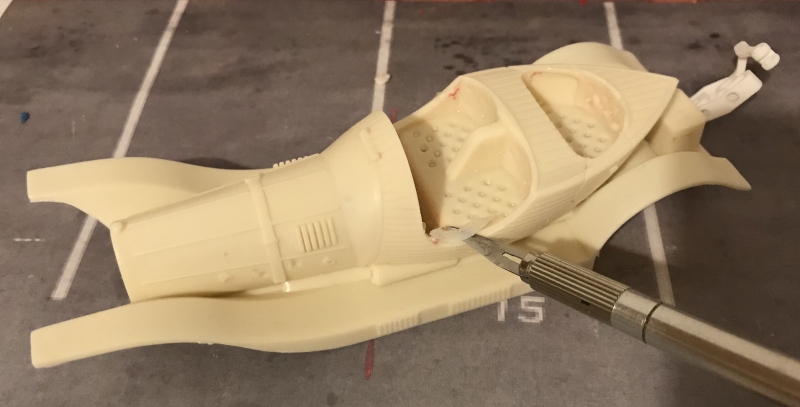
Now remove the strengthening ribs inside the screen. This is the first cut with the side cutters, I’ll use a scalpel on them next.

The inside now looks like this. All that’s needed is to remove the lower strengthening bar as shown.
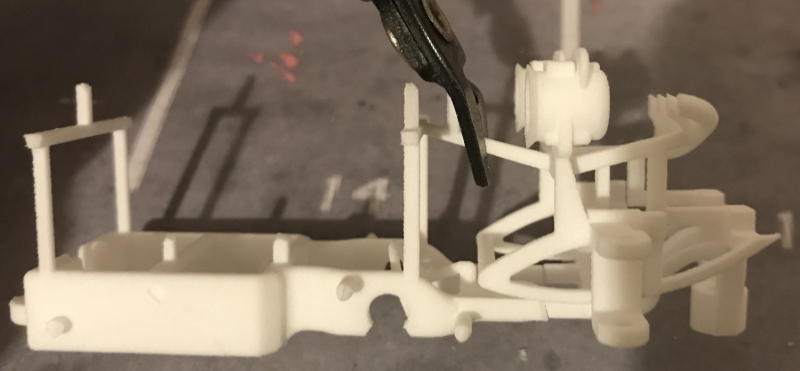
Clip the struts that hold the motor pod in place.
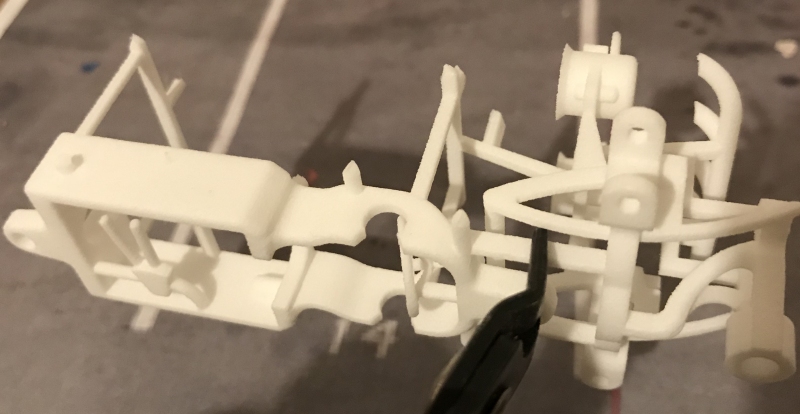
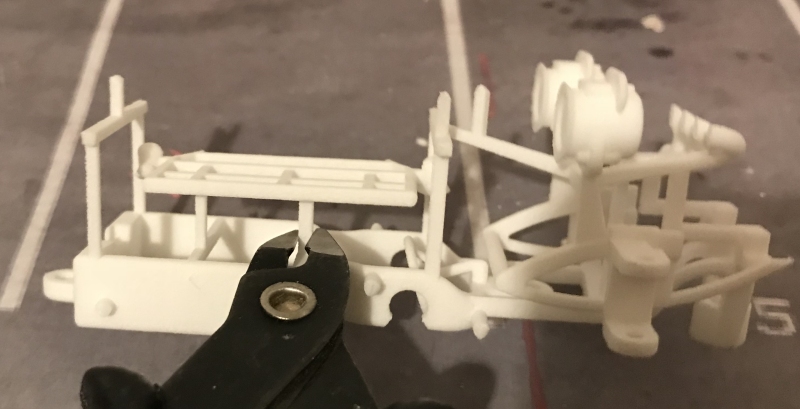
Then remove the headlight / front suspension assembly. This is made up of thin struts supported by thin struts so make sure you don’t cut the wrong thing. Look at the next pictures to make sure you’re on the right track.
You can see that the guide holder is here too, this all glues to the resin bodyshell later.
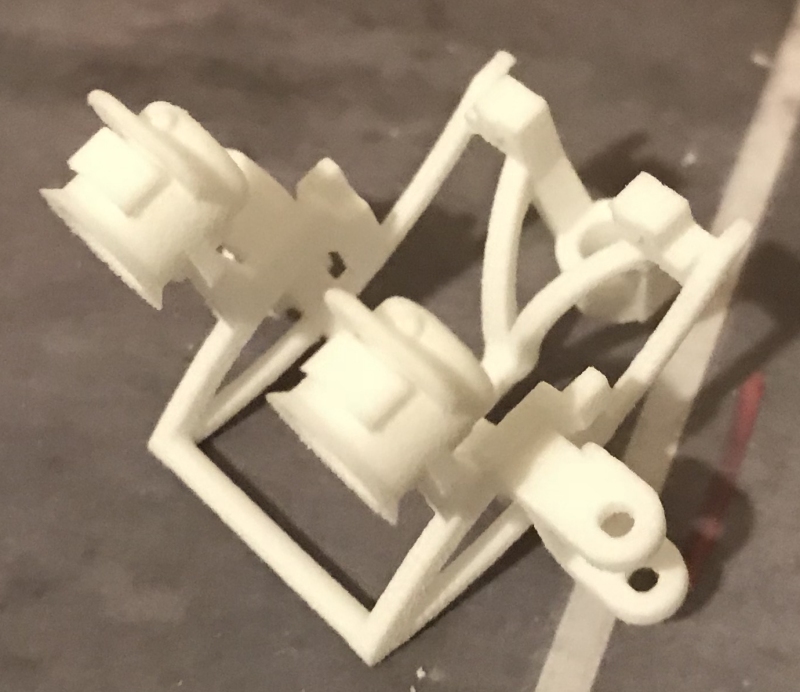
Another view of the front chassis.
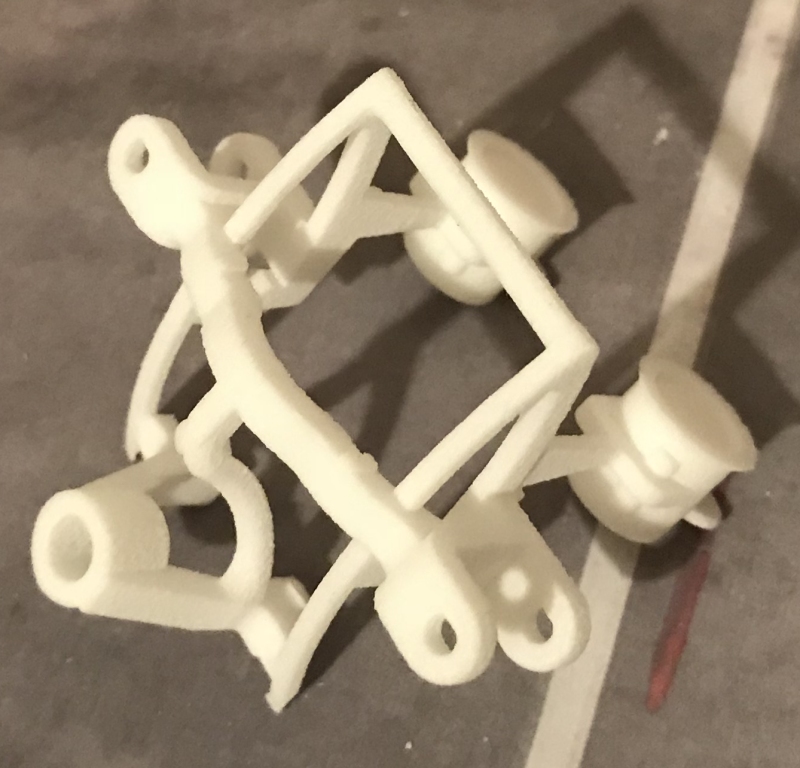
Last one. Got it?

Look at this awesome pile of parts you now have!
Remove the steering wheel and handbrake from inside the motor pod.
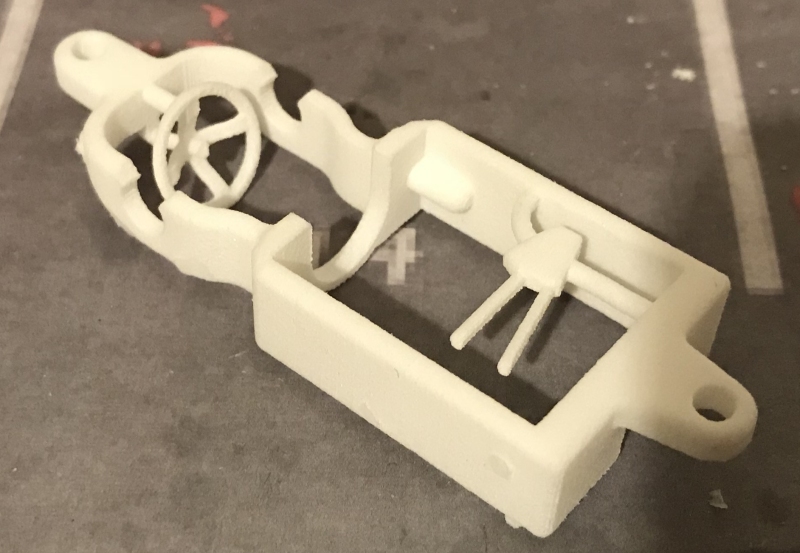
The exhaust manifold was in there too, this is everything.
Now remove the resin flash from the bodyshell using a scalpel
From the rear too

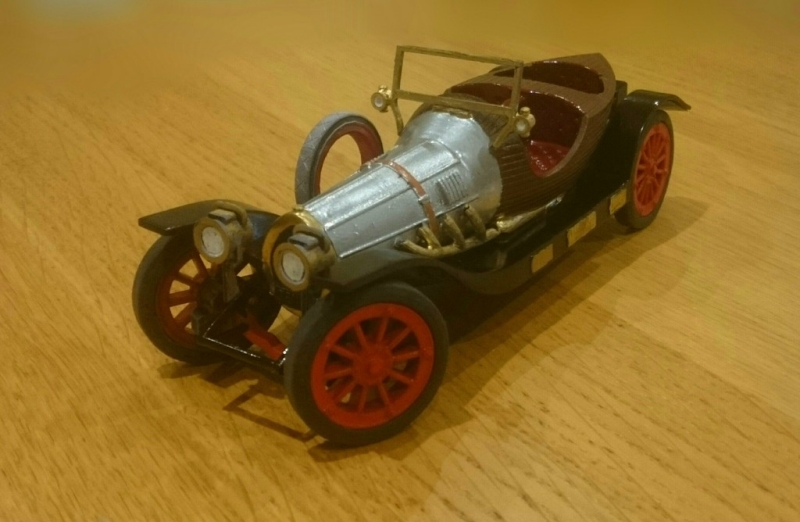
The resin bodyshell needs to be washed in soapy water then dried completely. Use some good quality primer and get everything done together.
For the bodyshell, I masked off the main part and then used gloss black on the wings (not those wings). The wheels and front chassis are gloss red so they were done in that colour spray next.
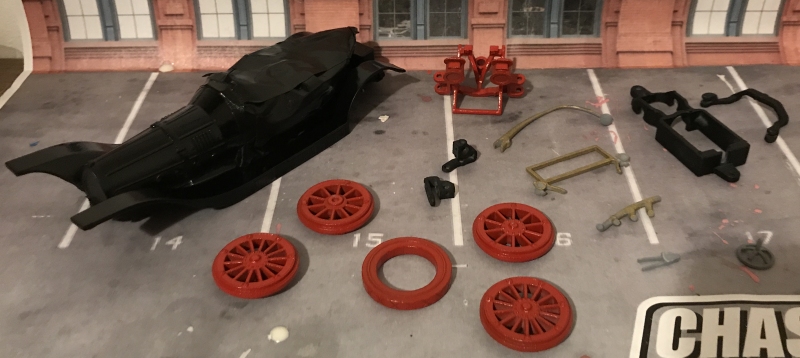
The brass parts were done with a paint pen, it works nicely over the grey primer and the gloss paint too.
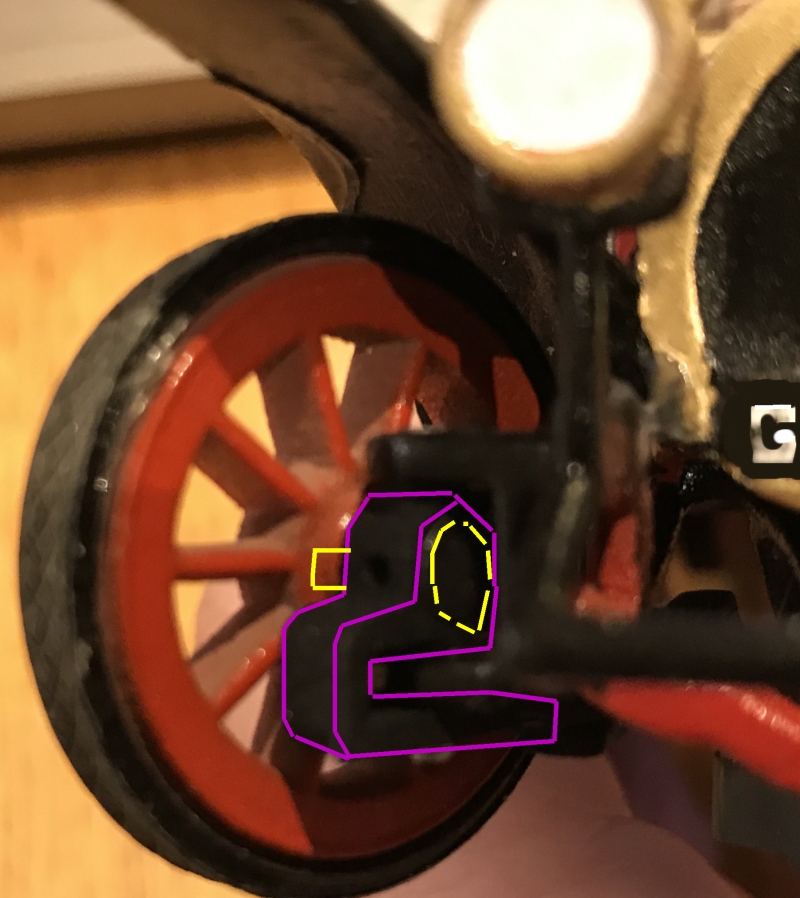
The steering assembles just like the other systems, the stub axles fit through the hubs and the pins link it together (PCS32 system shown, but Chitty works the same)
The steering linkage fits in the same way too
Here it is fitted together, the outline of the hub is in purple, the stub axle is yellow
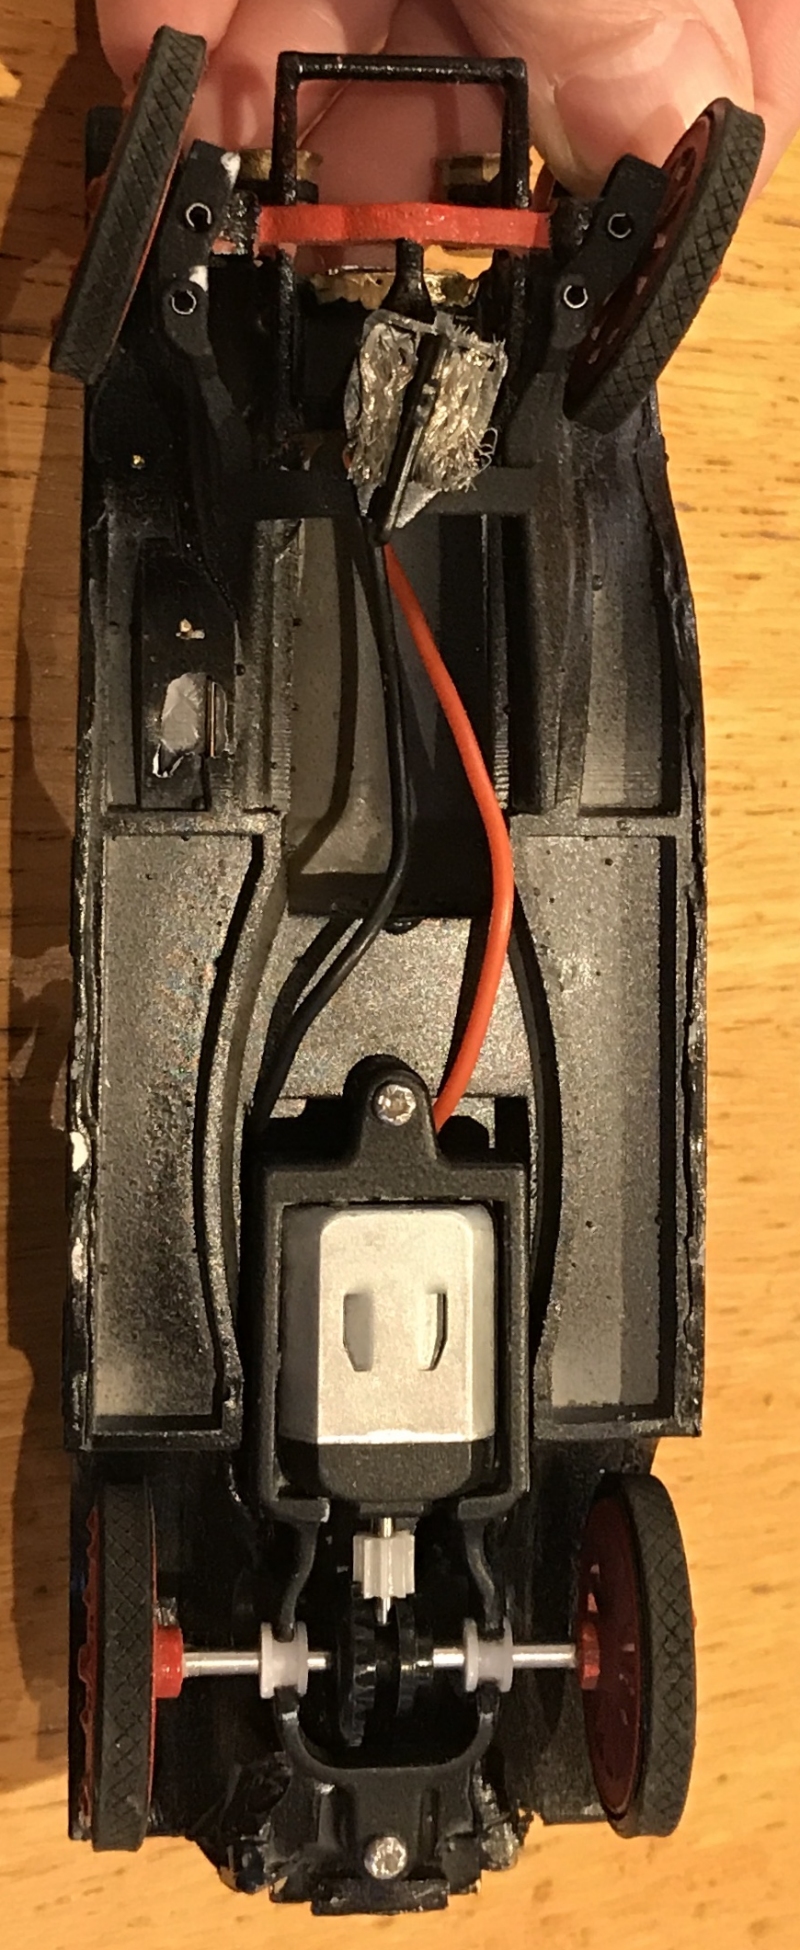
View from underneath
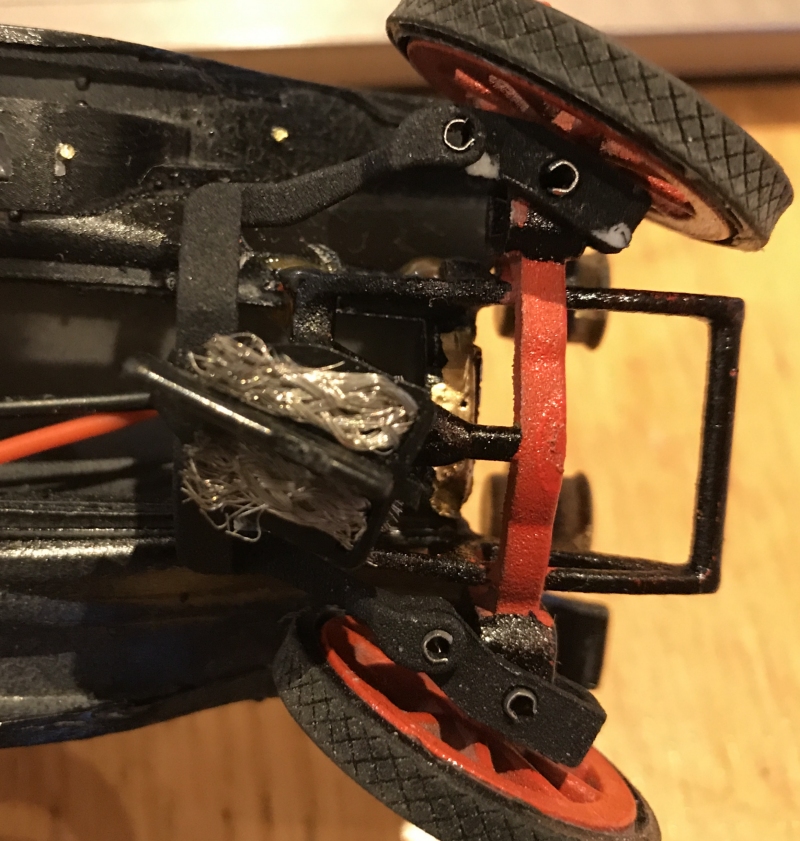
The motor pod fits in position as shown
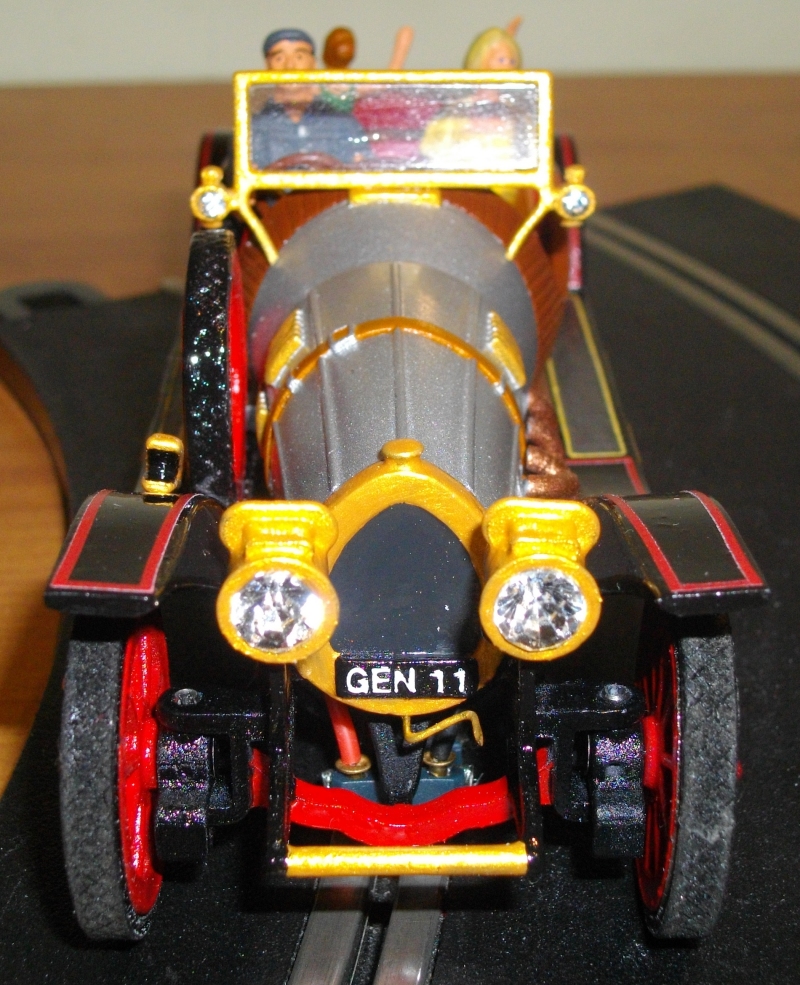
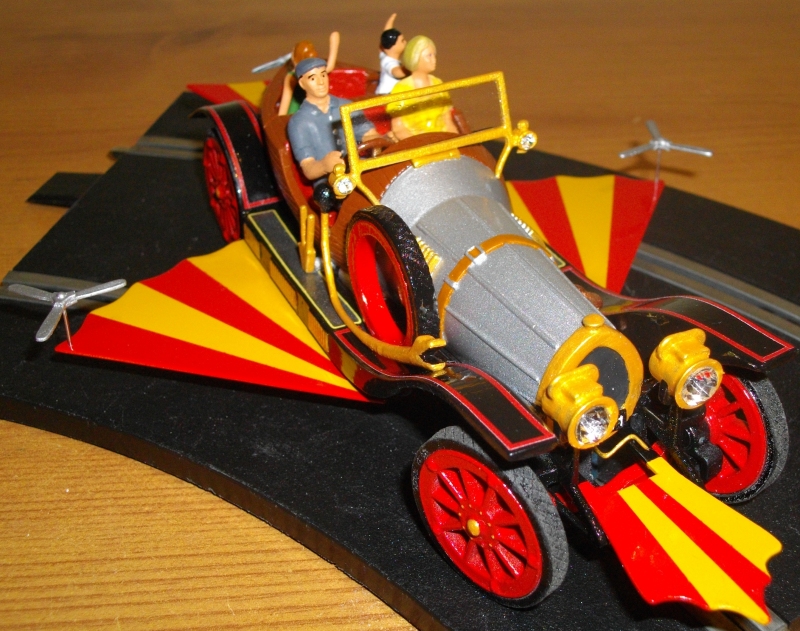
But how about if you have more talent than me and you’re really good at building models? In that case, take inspiration from the pictures below and add your own wings and passengers!
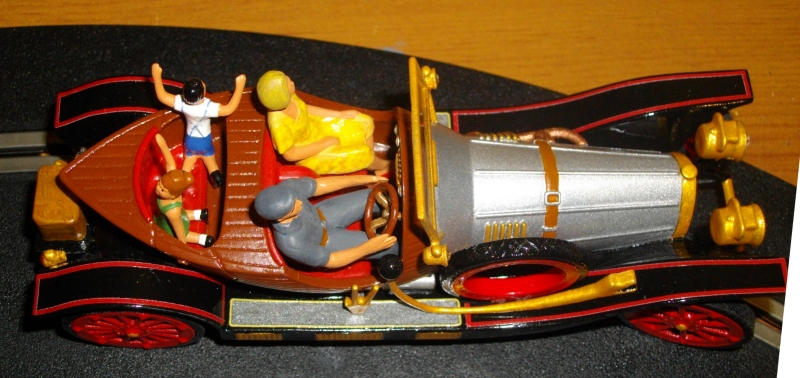
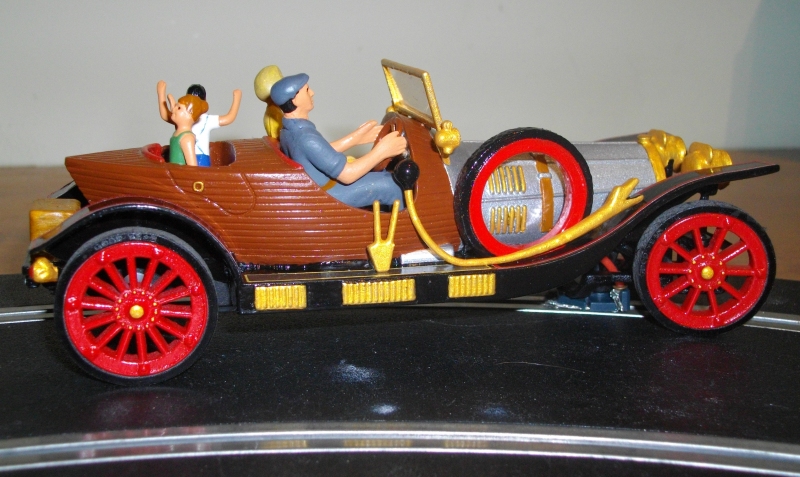
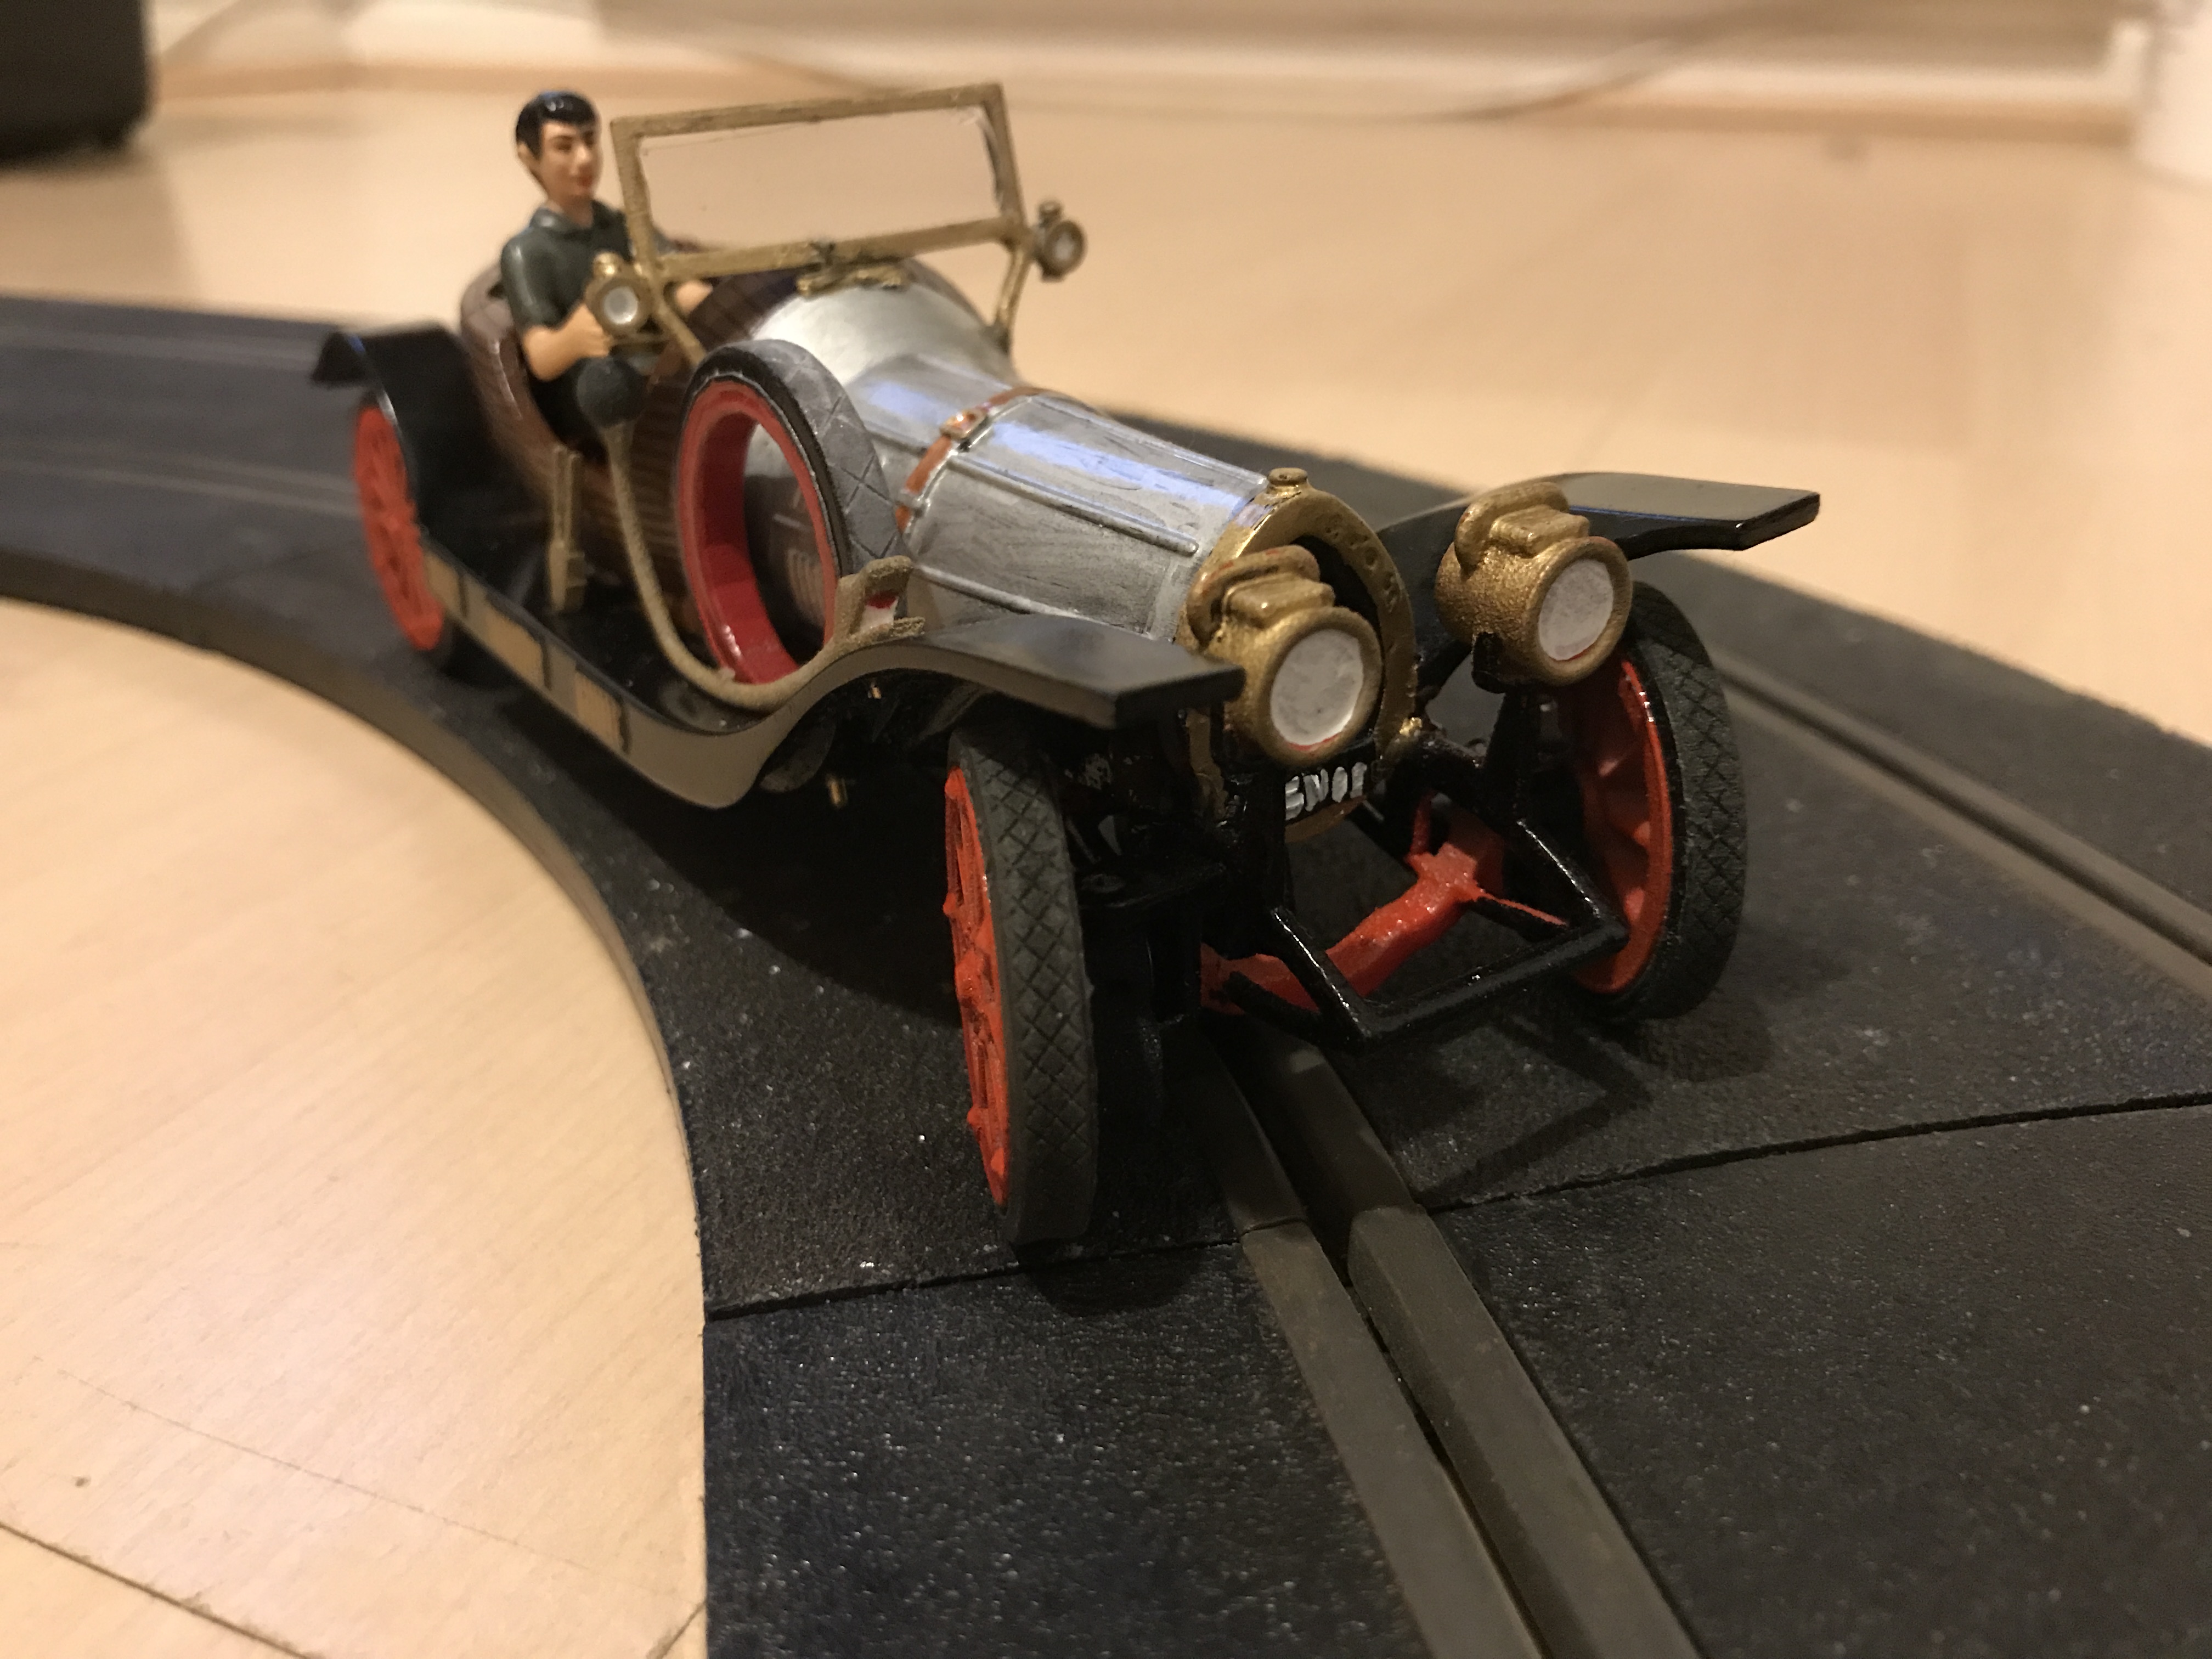
Because this is one of my cars, it’s fun to drive around the track as well as sit on display. Squeeze the power on gently in the corner and you can slide the tail out